5. MAINTENANCE, ADJUSTMENTS AND CALIBRATIONS
Page 101
© 2008 DH Instruments, a Fluke Company
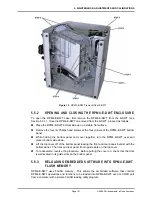
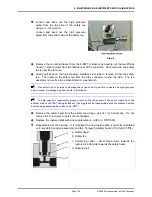
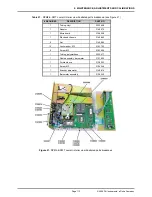
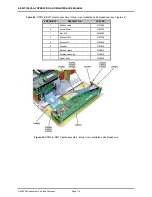
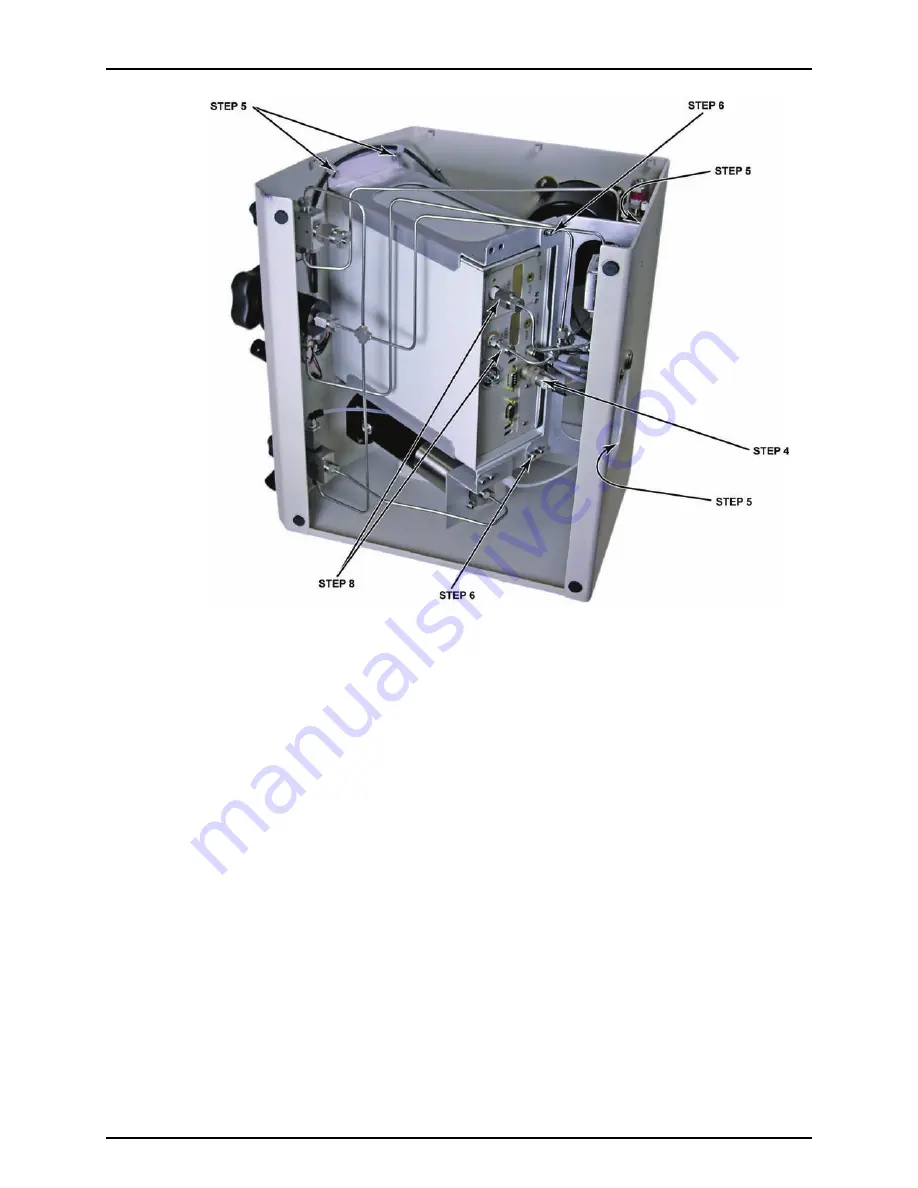
Figure 13.
RPM4-E-DWT removal from E-DWT
5.5.2
OPENING AND CLOSING THE RPM4-E-DWT ENCLOSURE
To open the RPM4-E-DWT case, first remove the RPM4-E-DWT from the E-DWT (see
Section 5.5.1). Once the RPM4-E-DWT is removed from the E-DWT, proceed as follows:
n
Place the RPM4-E-DWT bottom side up on a stable, flat surface.
o
Remove the four (4) Phillips head screws at the four corners of the RPM4-E-DWT bottom
panel.
p
While holding the bottom panel and cover together, turn the RPM4-E-DWT over and
place it bottom side down.
q
Lift the top cover off of the bottom panel leaving the front and rear panels behind with the
bottom panel. The front and rear panel fit into guide slots on the top cover.
r
To reassemble, reverse the procedure. Before putting the cover on, check that the front
is well seated in its guide slots on the bottom panel.
5.5.3
RELOADING EMBEDDED SOFTWARE INTO RPM4-E-DWT
FLASH MEMORY
RPM4-E-DWT uses FLASH memory. This allows the embedded software that controls
RPM4-E-DWT operations and functions to be loaded into RPM4-E-DWT over its COM1 port
from a computer with a simple FLASH loading utility program.


