7
DHOLLANDIA
WARNING
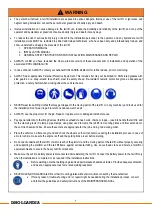
The personnel involved in tail lift installation are exposed to various dangers. Improper use of the tail lift, or ignorance and
neglect during installation, will put the personnel at great risk of bodily injury and death.
Improper installation can cause damage to the tail lift, can reduce the durability and reliability of the tail lift, and can put the
operator and bystanders at great risk of serious bodily injury and death in many ways.
To reduce the risk of serious bodily injury or death to the installation personnel, to the operator, and any bystanders, tail lift
installation works MUST be restricted to skilled and trained technicians, who have been duly and professionally trained, and
know, understand and apply the manuals of the tail lift:
1.
OPERATION MANUAL
2.
INSTALLATION MANUAL
3.
GENERAL SAFETY INSTRUCTIONS FOR INSTALLATION, MAINTENANCE AND REPAIR
ALWAYS confirm you have reviewed the most up-to-date version of these manuals prior to installation and operation of the
associated DHOLLANDIA tail lift.
In case of doubt, ALWAYS contact your national DHOLLANDIA distributor for further advice, prior to continuing.
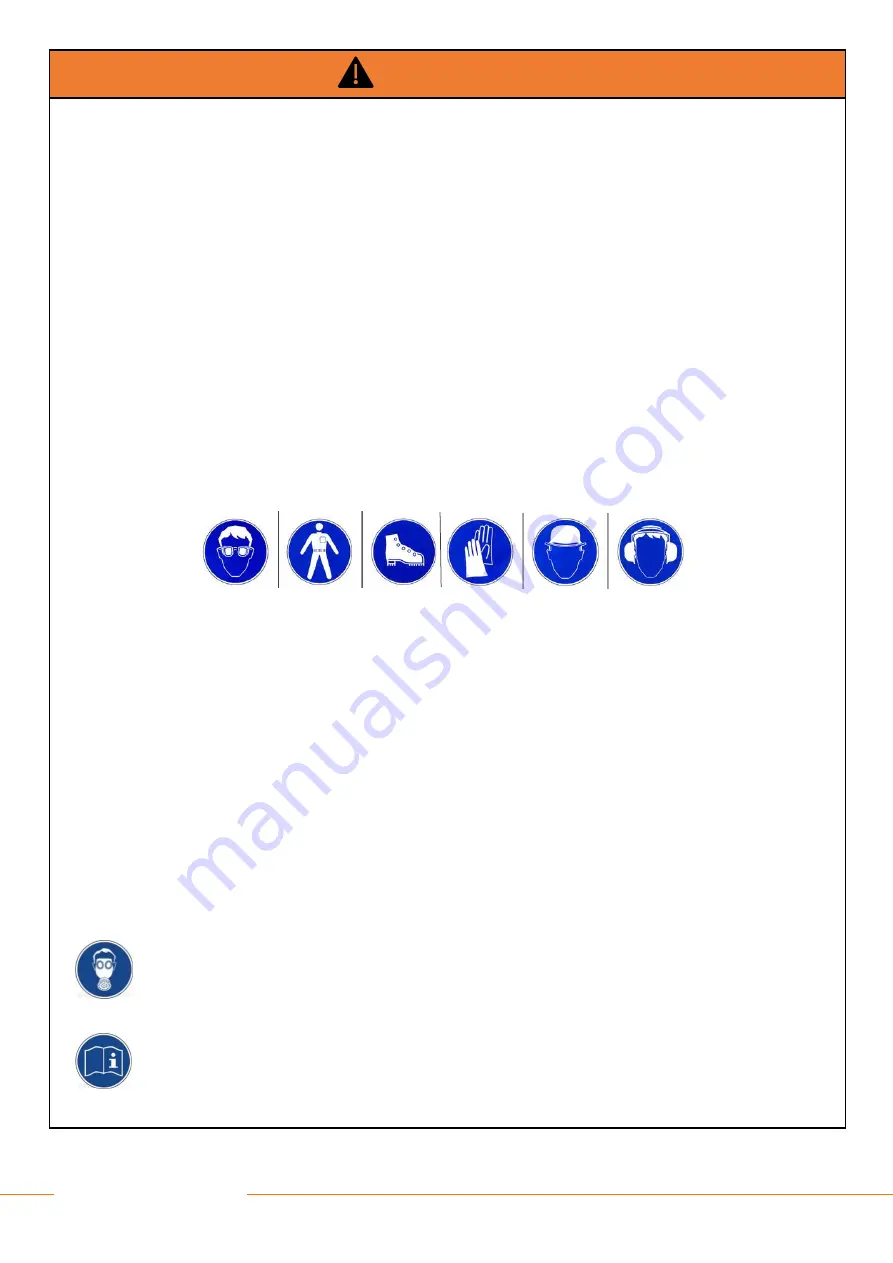
ALWAYS wear appropriate Personal Protective Equipment. This includes but may not be limited to: ANSI rated glasses with
side guards, or a wrap-around face shield; steel toe safety shoes; fire-resistant overalls; protective gloves; adequate ear
protection; a safety helmet when working under the vehicle chassis.
NEVER wear loose-fitting clothes that may get trapped in the moving parts of the tail lift, or in any machinery and tools used for
the installation. Don’t wear rings, bracelets, necklaces, watches etc…
ALWAYS use the proper tool for the job. Repair or replace worn or damaged tools before use.
Pay special attention to the lifting devices (forklifts, overhead cranes, hoists, chains or ropes…) used to handle the tail lifts, and
for the clamping tools (C-clamps, pipe clamps, vise grips) used to clamp the tail lift, its mounting plates and floor extension to
the vehicle chassis and box. Ensure these tools are appropriate for the job, and in good working order.
Place the vehicle on a flat even ground and chock the wheels so that it cannot move during the installation process. In case of
a motor vehicle, make sure the engine is off and the parking brake is set before starting.
Do not work underneath the tail lift, or within reach of the platform and the moving parts of the tail lift, without properly securing
and supporting the platform and the tail lift frame against accidental falling. Use an overhead crane and hoists, a forklift or
equivalent means to secure the heavy tail lift components.
Make sure the vehicle battery power is disconnected while installing the tail lift. Connect the battery power to the tail lift only
when the installation is completed, or as required in the installation instructions.
Before welding, note that welding on galvanized parts releases hazardous fumes. Provide adequate ventilation,
and wear an appropriate toxic fume rated welding respirator.
NEVER modify DHOLLANDIA tail lifts or their mounting plates without prior written consent by the manufacturer
If for any reason, trouble-shooting and / or repair might be needed during the installation process, consult
and follow the guidelines and safety instructions of the MAINTENANCE MANUAL.
Summary of Contents for DH-LM Series
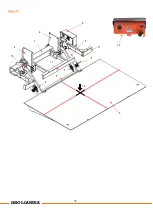
Page 11: ...10 DHOLLANDIA 1 2 9 8 11 2 13 4 7 11 5 v 3 v 10 Figure 6 1 14 6 v...
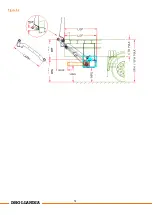
Page 13: ...12 DHOLLANDIA Figure 6 2 MTG MFT...
Page 27: ...26 DHOLLANDIA Figure 9 6...
Page 34: ...33 DHOLLANDIA Figure 9 15...
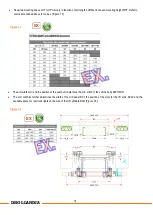
Page 42: ...41 DHOLLANDIA EX EX Figure 11 9 Figure 11 10...
Page 46: ...45 DHOLLANDIA Figure 14 1 EX...
Page 50: ...49 DHOLLANDIA Figure 16 2 400mm 400mm 250mm 400mm 400mm 250mm...
Page 52: ...51 DHOLLANDIA EF0583 LM EN EF0565 EN EF0620 EN EF0570 CAP serial nr EF0564 EN EF0581 EN xxxx...
Page 58: ...57 DHOLLANDIA...
Page 59: ...58 DHOLLANDIA...
Page 60: ...59 DHOLLANDIA...
Page 68: ...67 DHOLLANDIA Figure 18 4 Figure 18 5...
Page 70: ...69 DHOLLANDIA For option OAE510 15 see Figure 18 7 below Figure 18 7...

