OPERATING
6.
Increase and decrease the water flow while
cutting using the water valve lever on the
valve connected to the water supply hose.
7. Shut the water valve lever and disconnect
the water source hose from the saw when
finished.
8. Disconnect the water supply hose from the
blade guard and water valve fitting as
necessary.
Water Pressure Switch (Optional)
The water pressure switch will shut the engine
off if a low water pressure condition exists.
Once water is supplied to the saw, turn the
water pressure switch to
ON
. The switch is
located on the switch plate on the right side of
the instrument panel. When the cutting is
complete, turn the pressure switch to
OFF
before shutting the water from the water
source.
Water Pump (Optional)
The water pump directs cooling water to the
blade and minimizes dust when cutting.
1. Ensure all water supply lines are
connected.
2. Ensure that the water valve located on the
control panel is in the
OFF
position.
3. Turn on the water pump switch to start the
pump. DO NOT start the water pump until
just before cutting. DO NOT leave the
water pump on when the cutting task is
complete to avoid draining the battery.
4. Push the water valve to the
ON
position.
The water will not flow to the blade until the
blade is zeroed and lowered into the cut.
5. When cutting is complete, move the water
valve to the
OFF
position.
6. Turn off the water pump switch
OFF
to stop
the pump.
Cutting Guides
Use the cutting guides as needed to help
follow the cutting line. Always check the cutting
guides for proper alignment with the blade prior
to cutting.
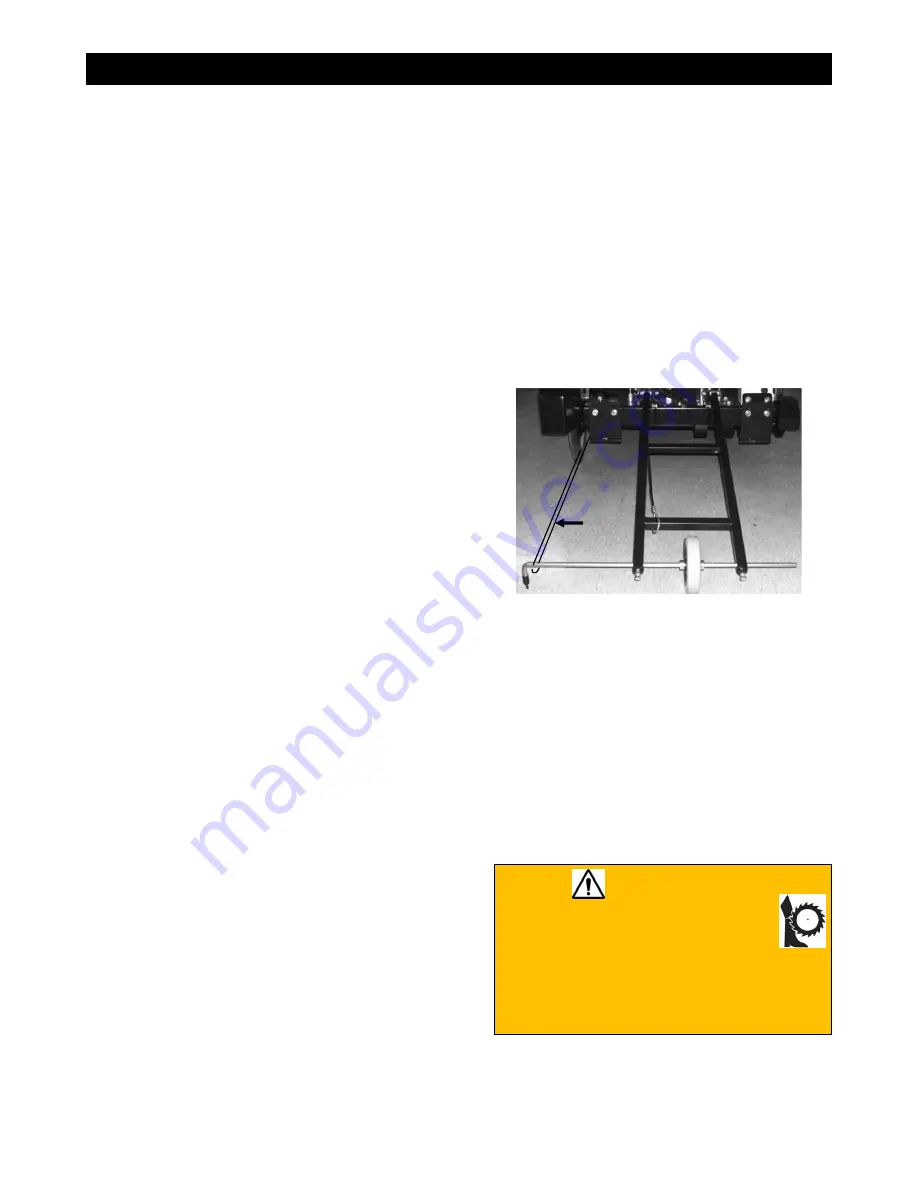
Adjusting the Front Pointer
1. Remove the lanyard from the cable cleat.
2. Lower the front pointer frame to the ground.
3. Loosen the appropriate front pointer frame
screw.
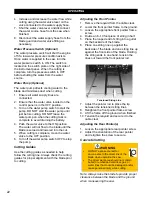
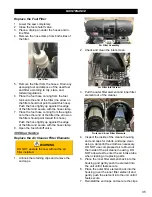
4. Divide an 8–10 foot piece of string in half.
5. Place the looped end of string into a gullet
on the backside of the blade.
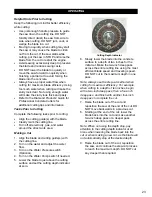
6. Place one string line up against the
backside of the blade and one string line up
against the front side of the blade. Holding
the string ends in one hand, tension the
lines out toward the front pointer rod.
Tensioned String Line
7. Adjust the pointer rod to place the tip
between the tensioned string lines.
8. Retighten the front pointer frame screw.
9. Lift the frame off the ground when finished.
10. Tension the lanyard and secure it to the
cable cleat.
Adjusting the Rear Pointer(s)
1. Loosen the appropriate rear pointer screw.
2. Adjust the orientation of the rear pointer
and retighten the screw to secure.
Concrete Cutting
WARNING
•
DO NOT expose yourself or
anyone else to the direct line of the
blade when operating the saw.
•
The direct work area should not contain
buried or embedded electrical, gas, or
water lines that could be damaged and/or
cause personal injury while cutting.
Note: Always raise the blade to provide proper
clearance between the blade and the ground
when maneuvering the saw.
22
Summary of Contents for CC3538JK Series
Page 1: ...CORE CUT OPERATOR S MANUAL CC3538JK Electronic Fuel Injection May 2020 Rev 20 00 Part 1802723...
Page 2: ......
Page 47: ...REFERENCES 47...
Page 48: ...REFERENCES 48...
Page 49: ...REFERENCES 49...
Page 51: ...REFERENCES...


