OPERATING
Making a Cut Using the Blade Depth Stop
1. Align the blade and cutting guide(s) with
the cutting line.
2. Turn on the water and adjust the water
flow.
3. Turn on the
Water Pressure
switch
(Optional).
4. Turn on the
Water Pump
switch if needed.
5. Lower the blade to just above the cutting
surface and set the cutting depth indicator
at zero.
6. Slowly lower the blade into the concrete
surface to a depth of two inches for the
initial cut.
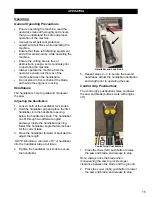
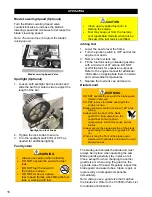
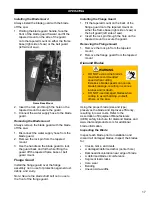
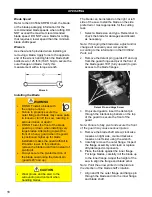
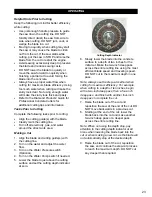
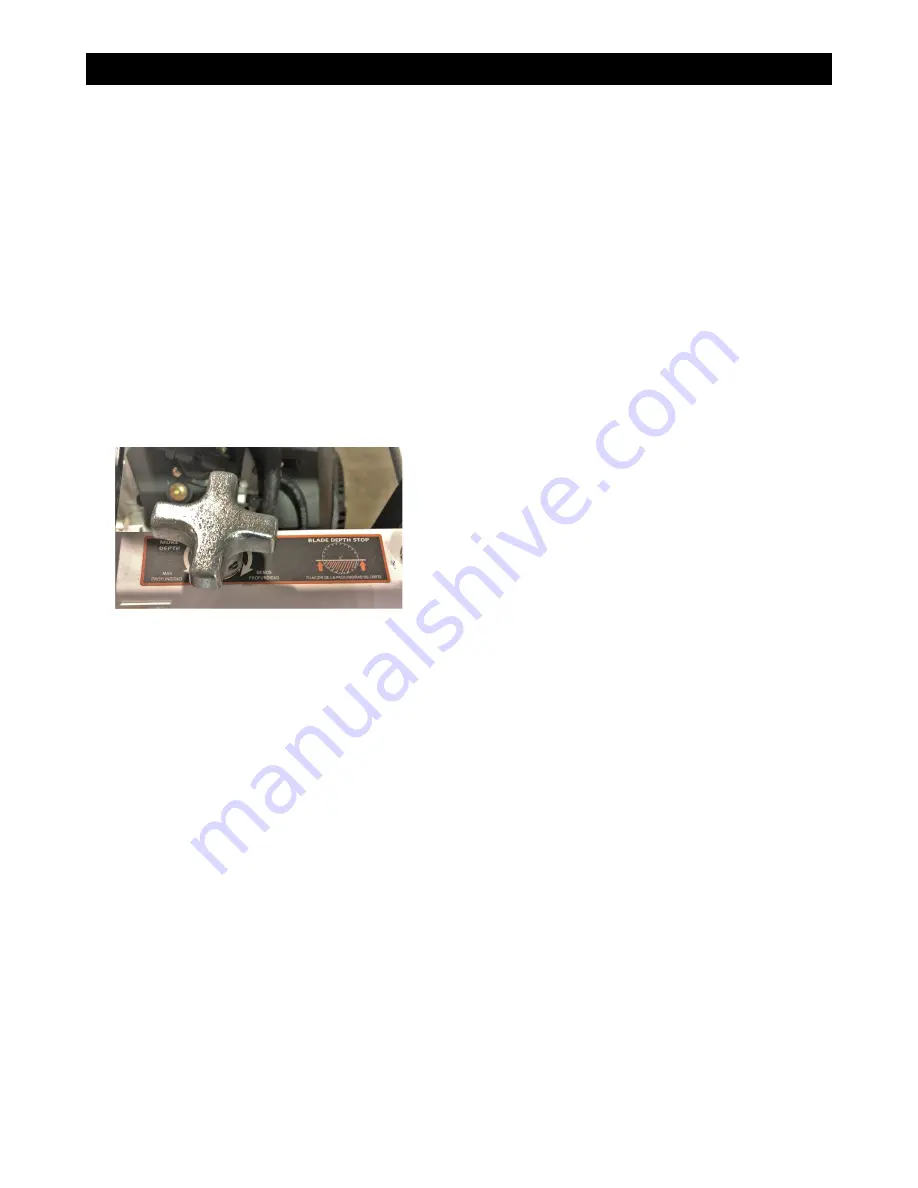
7. Turn the
Blade Depth Stop
knob clockwise
until resistance is felt, which means the
cutting depth is set.
Blade Depth Stop
8.
Make the two-inch deep pass across the
entire cutting line using the most efficient
blade speed and traveling speed. DO NOT
cut to the maximum depth in one pass.
Note: Always use the step-cut method when
cutting for maximum efficiency. For example,
when cutting to a depth of ten inches, begin
with a two-inch deep pass, then a four-inch
deep pass, and finish with another four-inch
deep pass to complete the cut.
9. Raise the blade out of the cut and
reposition the saw at the end of the cut. DO
NOT move backwards in a previous cut.
10. Turn the
Blade Depth Stop
knob
counterclockwise to increase the cutting
depth.
11. Starting at the end of the cut, lower the
blade back into the cut to the desired depth
and turn the
Blade Depth Stop
knob
clockwise until resistance is felt.
12. Make another pass across the entire
cutting line.
13. Continue the step-cut process using the
Blade Depth Stop
to reach the maximum
depth. DO NOT cut any deeper than
required.
Continuing a Partial-Cut
1. Maneuver the saw to the desired location.
2. Align the blade with the previous cut and
slowly lower the blade back into the
concrete. Use extreme caution to make
sure the blade is perfectly aligned within
the cut. DO NOT continue cutting until the
blade is aligned within the cut!
3. Continue the step-cut process (using the
Blade Depth Stop
if preferred) to reach the
maximum depth. DO NOT cut any deeper
than required.
Finishing a Cut
1. Place the speed control lever at STOP.
2. Raise the blade from the cut (provide
proper ground clearance).
3. Turn off the
Water Pump
switch and
Water
Pressure
switch.
4. Turn off the water supply.
Parking Brake (Optional)
The parking brake keeps the saw from moving
forward or backward unintentionally and is
generally used on steeper slopes and hills.
Engaging the Parking Brake
Slide the brake lever over and out of the
DISENGAGE slot and down into the ENGAGE
slot.
Disengaging the Parking Brake
Slide the brake lever over and out of the
ENGAGE slot and up into the DISENGAGE
slot.
24
Summary of Contents for CC3538JK Series
Page 1: ...CORE CUT OPERATOR S MANUAL CC3538JK Electronic Fuel Injection May 2020 Rev 20 00 Part 1802723...
Page 2: ......
Page 47: ...REFERENCES 47...
Page 48: ...REFERENCES 48...
Page 49: ...REFERENCES 49...
Page 51: ...REFERENCES...

