MAINTENANCE
Yearly Service
Replace and Gap Spark Plugs
There are two spark plugs associated with the
engine. One in the front of the saw directly
below the oil fill cap, and one directly opposite
of the first between the engine and the upright
assembly.
•
Refer to the engine operator’s manual for
all spark plug specifications.
•
Ensure the engine is turned off and
sufficiently cooled down prior to replacing
the spark plugs.
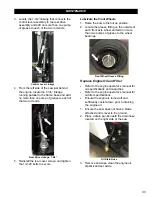
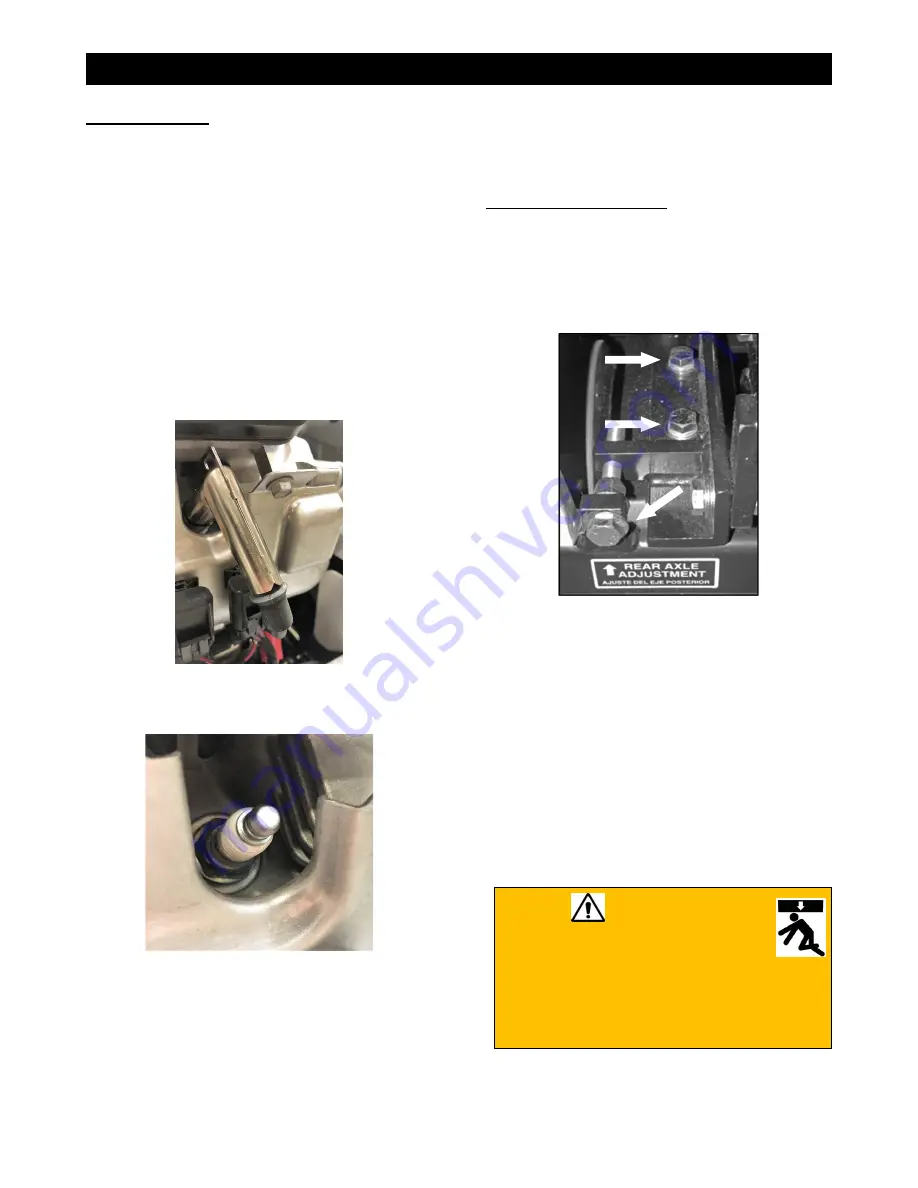
1. Pull the spark plug wire (with a metal cap)
away from the spark plug.
Spark Plug Wire with Metal Cap
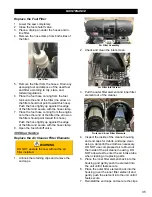
2. Remove the spark plug using a 5/8” spark
plug socket.
Spark Plug
3. Gap the new spark plug in accordance with
the engine manufacturer’s specifications.
4. Install the new plug and torque it in
accordance with the engine manufacturer’s
specifications.
5. Reinstall the plug wire ensuring that it is
fully seated onto the plug.
6. Repeat steps 1 through 5 for the second
plug.
Regular Maintenance
Drive Alignment
Adjust the rear axle when the saw’s drive
alignment is off (saw will not cut in a straight
line).
Note: The rear axle can be adjusted
based on preference
.
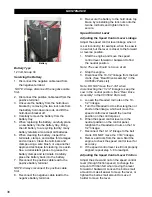
Rear Axle Bearing Bolts and Adjustment Bolt
1. Loosen the two left rear axle bearing
screws.
2. Loosen the hex nut on the rear axle
adjustment bolt.
3. Turn the adjustment bolt clockwise to
adjust the drive alignment toward the left,
or counterclockwise to adjust the drive
alignment toward the right.
4. Retighten the hex nut on the adjustment
bolt.
5. Retighten the two left rear axle bearing
screws.
Wheels
WARNING
Raise the saw to a proper height
for access when working
underneath the saw. Use chocks to block
the wheels, and fit blocks or jacks under
the frame edges at the front and back of
the frame for additional support.
36
Summary of Contents for CC3538JK Series
Page 1: ...CORE CUT OPERATOR S MANUAL CC3538JK Electronic Fuel Injection May 2020 Rev 20 00 Part 1802723...
Page 2: ......
Page 47: ...REFERENCES 47...
Page 48: ...REFERENCES 48...
Page 49: ...REFERENCES 49...
Page 51: ...REFERENCES...

