MAINTENANCE
Replacing the Jackshaft Belts
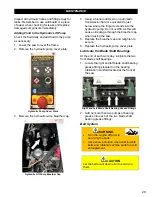
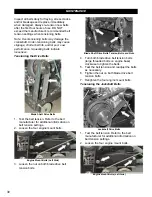
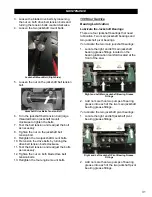
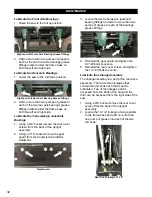
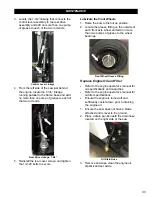
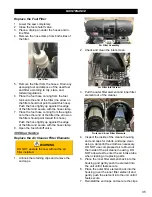
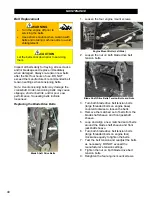
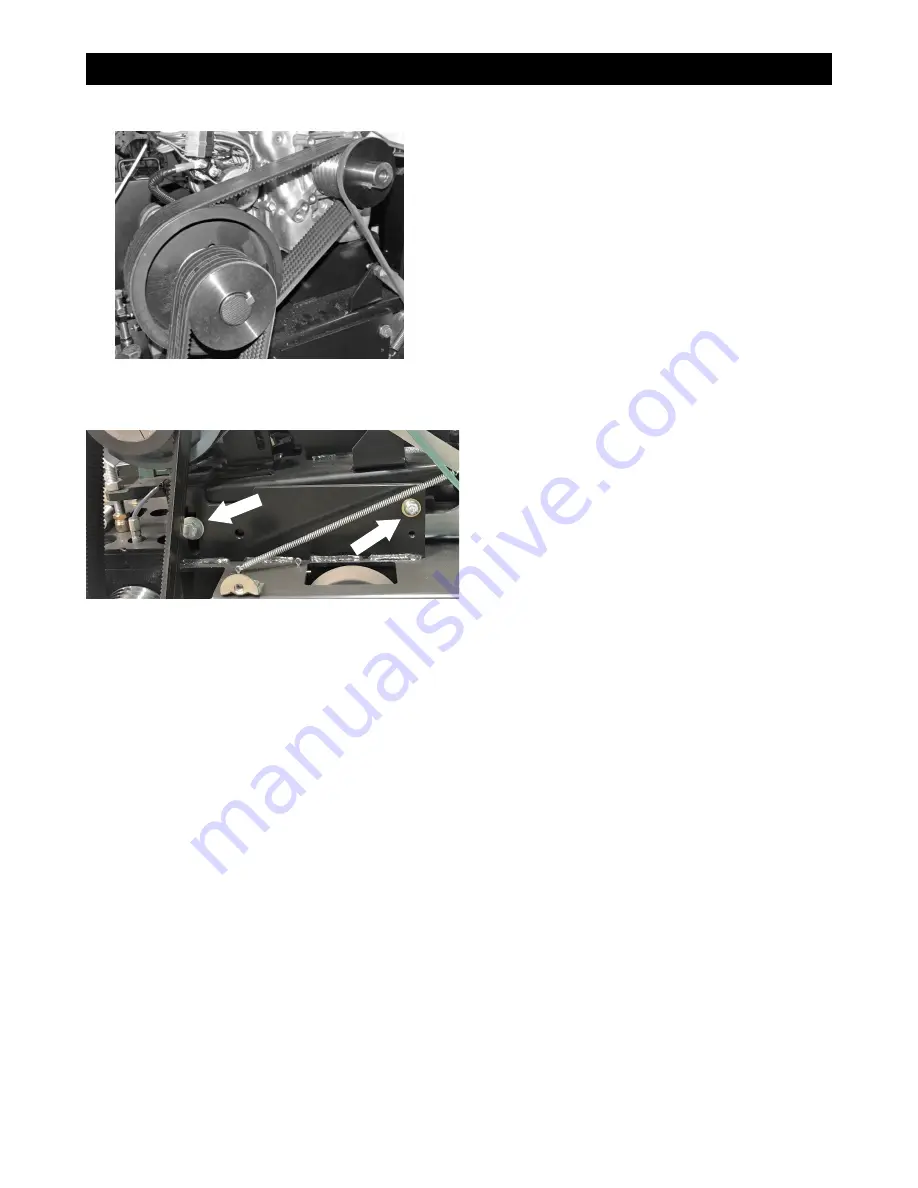
Jackshaft Drive Belts
1. Loosen the four engine mount screws and
loosen the blade drive belts.
Engine Mount Bolts (Left Side)
2. Loosen the two jackshaft mount screws.
3. Lift up on the idler arm and remove the
transmission drive belt.
4. Loosen the nut on both blade drive belt
tension bolts.
5. Turn both blade drive belt tension bolts
(large threaded bolts on engine base)
counterclockwise to loosen the belts.
6. Remove the matched set of belts from the
blade shaft sheave and front jackshaft
sheave.
7. Loosen the nut on the jackshaft belt tension
bolt.
8. Turn the jackshaft belt tension bolt (large
threaded bolt on jackshaft mount)
counterclockwise to loosen the belts.
9. Remove the matched set of belts from the
rear jackshaft sheave and engine sheave.
10. Loop and align a new matched set of belts
around the rear jackshaft sheave and
engine sheave.
11. Turn the jackshaft belt tension bolt (large
threaded bolt on jackshaft mount)
clockwise to tighten the belts.
12. Test the belt tension and readjust the bolt
as necessary. DO NOT exceed the
manufacturer’s tension settings.
13. Tighten the nut on the jackshaft belt
tension bolt.
14. Retighten the two jackshaft mount screws.
15. Reinstall and tension the blade drive belts
in accordance with the procedure found in
the
“Daily Maintenance”
section of this
manual.
16. Retighten the four engine mount screws.
17. Reinstall the transmission drive belt.
Replacing the Transmission Drive Belt
Replace the idler pulley spring when the
transmission drive belt begins slipping during
normal operation, or when the spring becomes
overstretched, not allowing the belt to be fully
tightened.
1. Lift up the idler arm and remove the
transmission drive belt. Gently release the
arm.
2. Loop and align a new belt around the
engine sheave and transmission sheave.
3. Lift up the idler arm and loop the belt under
the idler pulley. Gently release the arm to
tension the belt.
Belt Sheaves
The belt sheaves may need to be changed
when changing the blade size. Refer to the
CC3500J Parts List for additional information.
Note: All belts must be removed prior to
changing the sheaves
.
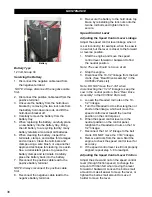
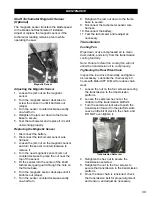
Changing the Small and Large Jackshaft
Sheaves (14” through 26” Saws)
1. Remove both setscrews from the front of
the bushing.
2. Place one of the removed setscrews into
the third setscrew hole (in line with slot) on
the bushing. Using a 1/2” impact wrench,
tighten the setscrew into the hole to
separate the sheave from the bushing. If
the sheave and bushing will not separate,
wedge a flat-head screwdriver into the slot
on the bushing and tap the other end of the
screwdriver with a rubber mallet to
separate the sheave and bushing.
3. Remove the sheave and bushing.
4. Remove the setscrew used to separate the
sheave and bushing.
41
Summary of Contents for CC3538JK Series
Page 1: ...CORE CUT OPERATOR S MANUAL CC3538JK Electronic Fuel Injection May 2020 Rev 20 00 Part 1802723...
Page 2: ......
Page 47: ...REFERENCES 47...
Page 48: ...REFERENCES 48...
Page 49: ...REFERENCES 49...
Page 51: ...REFERENCES...


