MAINTENANCE
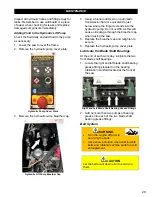
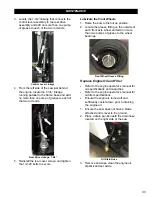
5. Fit the appropriate size bushing and
sheave together and slide them onto the
jackshaft.
Note: Align the bushing with the jackshaft key
in place on the shaft prior to installing, or drive
the key into the key hole once the sheave and
bushing are fully installed
.
Note: Ensure the sheaves are properly aligned
prior to securing them. See “Aligning the Belt
Sheaves” later in this section.
6. Place the two setscrews into the setscrew
holes (in line with each other) on the
bushing and retighten the setscrews to
secure the bushing and sheave.
Changing the Small Jackshaft Sheave (30”
Saw), Blade Shaft Sheave, Transmission
Sheave, and Engine Sheave
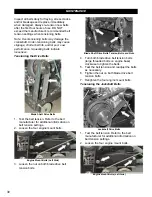
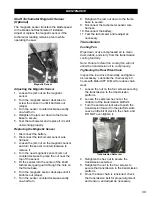
1. Remove the four setscrews (two on
transmission sheave) from the sheave
grooves.
2. Remove the sheave.
Note: The transmission sheave must be
removed prior to removing the engine sheave
.
3. Align the appropriate size sheave with the
drive key and fit the sheave onto the shaft.
Note: If desired, drive the key into the key hole
once the sheave is fully installed
.
Note: Ensure the sheaves are properly aligned
prior to securing them. See “Aligning the Belt
Sheaves” later in this section.
4. Place the four setscrews (two on
transmission sheave) into the setscrew
holes in the sheave grooves, and retighten
the setscrews to secure the sheave.
Note: The engine sheave must be installed
prior to installing the transmission sheave.
Aligning the Belt Sheaves
Always align the large jackshaft sheave with
the engine sheave, and the small jackshaft
sheave with the blade shaft sheave prior to
securing the sheaves in place.
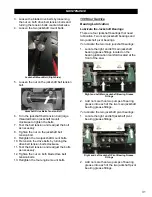
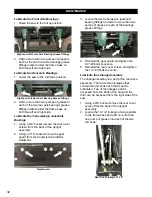
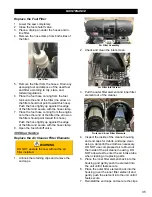
1. Use a straightedge (use skinny side of
straightedge for least amount of bending)
and place it against the outside edge of
one of the sheaves.
2. Adjust either or both sheaves for alignment
and secure in place.
Engine
WARNING
Let the engine cool down prior to
servicing the saw.
DO NOT service the saw with the
engine running (unless stated otherwise).
Refer to the engine manual and
manufacturer for a full engine maintenance
schedule and additional engine
maintenance information
.
Lifting
CAUTION
Always use a strap to lift the machine.
Ensure the strap is rated high enough to
handle the load.
1. Ensure the work area is clear of any
obstructions and all personnel are at a safe
distance prior to lifting the machine.
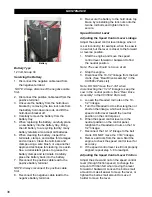
2. Using a properly rated strap, place the
strap around the frame lift using a basket
style hitch.
3. Slowly lift the machine only high enough to
conduct the required work.
Transporting
Always secure the machine using tie down
straps to avoid damage during transport.
Never transport the saw with a blade attached.
Note: Never tow the machine as this may
cause damage to the drive components.
Storing
Complete the tasks listed below prior to storing
the saw for longer time frames:
•
Turn off all switches and controls.
•
Remove blades.
•
Lower the saw completely to remove strain
on the lifting mechanism.
•
Clean and wipe down the saw to remove
dust, debris, and slurry from saw
components.
•
Remove the battery and store in a proper
location, out of reach from children.
42
Summary of Contents for CC3538JK Series
Page 1: ...CORE CUT OPERATOR S MANUAL CC3538JK Electronic Fuel Injection May 2020 Rev 20 00 Part 1802723...
Page 2: ......
Page 47: ...REFERENCES 47...
Page 48: ...REFERENCES 48...
Page 49: ...REFERENCES 49...
Page 51: ...REFERENCES...


