OPERATING
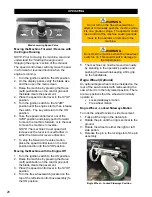
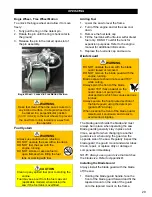
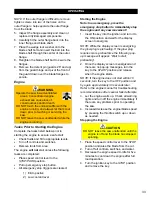
NOTE: If the outer flange is difficult to remove,
tighten screws into two of the holes on the
outer flange to help separate the outer flange
from the blade
.
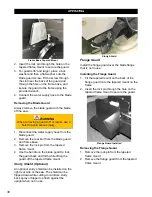
5. Inspect the flange assembly and clean or
replace dirty/damaged components.
6. Carefully fit the outer flange back into the
inner flange and blade shaft.
7. Place the wedge lock washer onto the
blade shaft bolt and insert the bolt into the
blade shaft through the center of the outer
flange.
8. Retighten the blade shaft bolt to secure the
flanges.
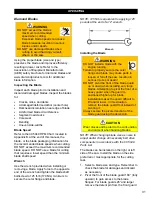
9. Remove the detent pin (guards 26” and up)
from the guard hinge and pivot the front of
the guard down over the blade flanges to
secure.
Engine
WARNING
Operate the saw in well-ventilated
areas. Concentrated engine
exhaust can cause loss of
consciousness and/or death.
DO NOT touch the engine/muffler with the
engine running, and always let them cool
down prior to touching or servicing the
saw.
DO NOT leave the saw unattended while the
engine is running
.
Tasks Prior to Starting the Engine
Complete the tasks listed below prior to
starting the engine to ensure a safe start:
•
Check fluids and fill to appropriate levels.
•
Turn off controls and switches.
•
Remove tools from area.
The engine
will not
start unless the following
tasks are completed:
•
Place speed control lever to the
STOP/PARK
position.
•
Pull up emergency stop button.
•
All emergency stop triggers are cleared:
1) E-Stop active
2) Low coolant level
Starting the Engine
Note: In an emergency, press the
emergency stop button to immediately stop
the engine and any saw movement!
1. Insert the key into the ignition and turn it to
the
ON
position and wait for the display
screen to energize.
NOTE: While the display screen is energizing,
the glow plug is preheating. If the glow plug
requires more preheat time the following pop-
up message will appear: “Wait to start,
preheating”.
2. Once the display screen is energized and
there are no pop-up messages, turn the
key to the
START
position and release
when the engine starts.
NOTE: If the engine does not start within 10
seconds, turn the key to the OFF position and
try again approximately 30 seconds later.
Refer to the engine manual for troubleshooting
recommendations after several failed attempts
.
3. Let the engine warm up. Check all warning
lights and turn off the engine immediately if
there are any problems prior to operating
the saw.
4. Increase/decrease the engine/blade speed
by pressing the throttle switch up or down
as needed.
Stopping the Engine
CAUTION
DO NOT leave the saw unattended until the
engine is off and the blade has stopped
spinning.
1. Place the speed control lever to the
STOP
position and raise the blade from the cut.
2. Turn off all controls, switches, and water.
3. Decrease the engine speed to idle for five
minutes to cool down the engine after full
load operation.
4. Turn the ignition key to
the
STOP
position
and remove the key.
33
Summary of Contents for CC5049D
Page 1: ...CORE CUT OPERATOR S MANUAL CC5049D Rev 21 00 Part 1802721...
Page 2: ......
Page 8: ...INTRODUCTION CC5049D Controls 8...
Page 11: ...INTRODUCTION CC5049D Specifications 11...
Page 58: ...REFERENCES 58...
Page 59: ...REFERENCES 59...
Page 60: ...REFERENCES 60...
Page 67: ......


