OPERATING
Water Supply
The water supply directs cooling water to the
fuel cooler and blade and minimizes dust when
cutting.
Using the Water Supply
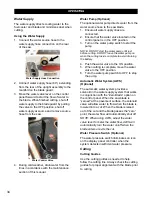
1. Connect the water source hose to the
water supply hose connection on the rear
of the saw.
Water Supply Hose Connection
2. Connect water supply hose (64”) extending
from the rear of the upright assembly to the
manifold on the blade guard.
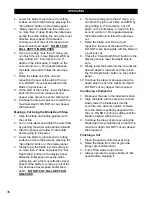
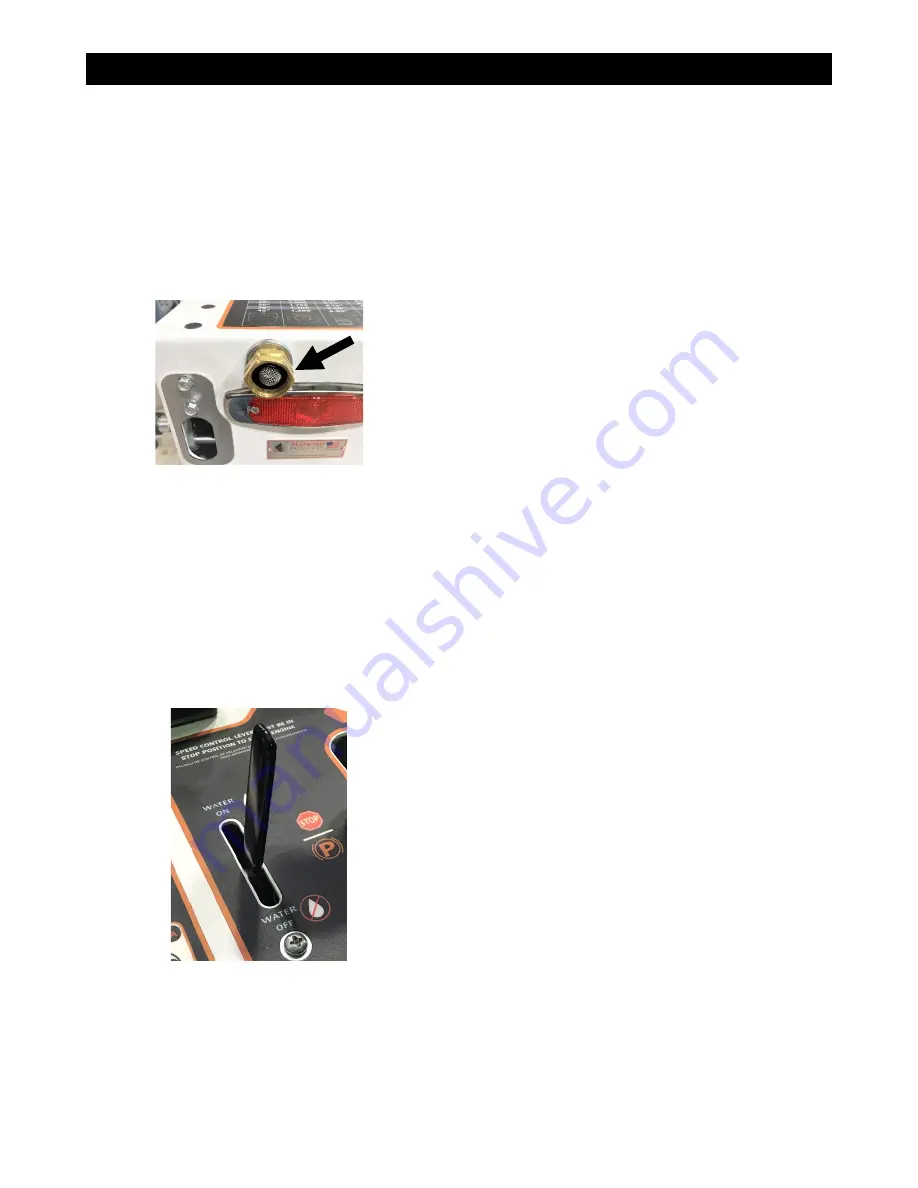
3. Move the water valve lever on the control
panel forward to start the flow of water to
the blade. When finished cutting, shut off
water supply to the blade guard by pulling
the valve to the
OFF
position, shut off
water supply at source and remove source
hose from the saw.
Water Control Valve
4. During cold weather, drain water from the
lines in accordance with the maintenance
section of this manual.
Water Pump (Optional)
The optional water pump directs water from the
water source hose to the saw blade.
1. Ensure all water supply lines are
connected.
2. Ensure that the water valve located on the
control panel is in the
OFF
position.
3. Turn on the water pump switch to start the
pump.
NOTE: DO NOT start the water pump until just
before cutting. DO NOT leave the water pump on
when the cutting task is complete to avoid draining
the battery.
4. Push the water valve to the
ON
position.
5. When cutting is complete, move the water
valve to the
OFF
position.
6. Turn the water pump switch to
OFF
to stop
the pump.
Automatic Water System (AWS)
(Optional)
The automatic water system provides a
solenoid in the water supply system that works
in conjunction with the “Zero Blade” option on
the control panel. When the saw blade is
“zeroed” at the pavement surface, the solenoid
valve will allow water to flow when the blade is
lowered into a cut. When the blade is raised
out of the cut and the blade passes the “zero”
point, the water flow will automatically shut off.
NOTE: When using AWS, adjust the water
valve lever to meter the water flow. AWS will
automatically turn the water on/off when the
blade enters or exits the cut.
Water Pressure Switch (Optional)
The water pressure switch illuminates an icon
on the display panel controller when the
system detects insufficient water pressure.
Cutting
Cutting Guides
Use the cutting guides as needed to help
follow the cutting line. Always check the cutting
guides for proper alignment with the blade prior
to cutting.
34
Summary of Contents for CC5049D
Page 1: ...CORE CUT OPERATOR S MANUAL CC5049D Rev 21 00 Part 1802721...
Page 2: ......
Page 8: ...INTRODUCTION CC5049D Controls 8...
Page 11: ...INTRODUCTION CC5049D Specifications 11...
Page 58: ...REFERENCES 58...
Page 59: ...REFERENCES 59...
Page 60: ...REFERENCES 60...
Page 67: ......

