MAINTENANCE
11. Add a 50/50 mix of water and anti-freeze to
the “Cold Full” line.
12. Replace the coolant recovery tank cap.
1500 Service Hours
Replace Engine Crankcase Breather
Element
Refer to the engine manufacturer’s Operation
and Maintenance manual for proper
replacement parts.
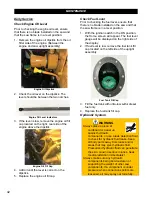
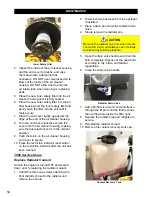
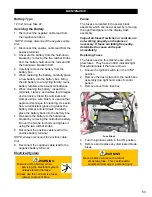
1. Place a container under the breather
assembly located behind the DOC next to
the hydraulic overflow tank.
Engine Crankcase Breather Assembly
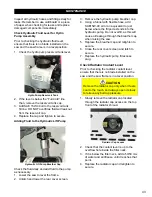
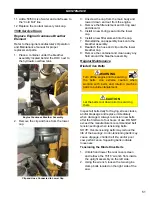
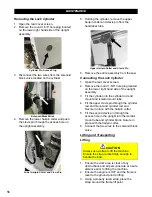
2. Remove the clip and hose from the lower
cap.
Clip and Hose Connected to Lower Cap
3. Unscrew the cap from the main body and
lower it down and out from the engine.
4. Remove the filter element and O-ring seal
and discard.
5. Install a new O-ring seal onto the lower
cap.
6. Install a new filter element into the cap.
7. Reinstall the cap assembly back onto the
breather assembly.
8. Reattach the hose and clip onto the lower
breather cap.
9. Remove the container and clean away any
fluid around the breather assembly.
Regular Maintenance
Blade Drive Belts
WARNING
Turn off the engine prior to servicing
the belts. Use extreme caution when
working with belts and rotating machine
parts to avoid entanglement.
CAUTION
Let the belts cool down prior to servicing
them.
Inspect all belts daily for fraying, stress cracks,
and/or breakage and replace immediately
when damaged. Always re-tension new belts
after the first two to four hours of use. DO NOT
exceed the manufacturer’s recommended belt
tension settings when tensioning belts.
NOTE: Over-tensioning belts may reduce the
life of the bearings. Under-tensioning belts may
cause slippage, shorter belt life, and/or poor
saw performance. Squealing belts indicate
looseness
.
Tensioning the Blade Drive Belts
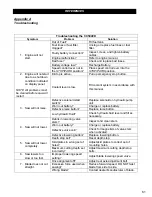
1. Unlatch and lower the rear cover screen
and retrieve the 15/16” wrench from inside
the upright assembly on the left side.
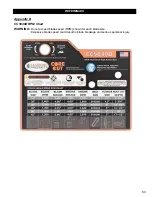
2. Using the wrench, loosen the two engine
clamp bolts located on the right side of the
saw.
51
Summary of Contents for CC5049D
Page 1: ...CORE CUT OPERATOR S MANUAL CC5049D Rev 21 00 Part 1802721...
Page 2: ......
Page 8: ...INTRODUCTION CC5049D Controls 8...
Page 11: ...INTRODUCTION CC5049D Specifications 11...
Page 58: ...REFERENCES 58...
Page 59: ...REFERENCES 59...
Page 60: ...REFERENCES 60...
Page 67: ......

