


CC7574DKV OPERATOR’S MANUAL
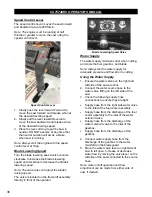
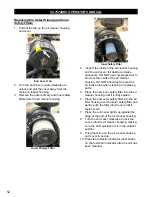
4. Turn on the water.
5. Move the lever on the right side water valve
to the fully open position.
6. Adjust the water flow using the left side
water valve.
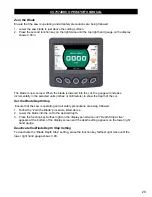
7.
Lower the blade to just above the cutting
surface and zero the blade by pressing the
“Zero Blade” button on the display panel.
8.
Slowly lower the blade into the surface to
no more than 2” deep.
9. Press the function key farthest right on
the display panel twice until “Depth
Stop Active” appears at the bottom of
the display screen and the depth
setting appears on the lower right hand
gauge.
10. Continue with the first cut.
11. Raise the blade out of the cut and
reposition the saw at the start of the cut.
DO NOT move backwards with the blade in
a previous cut.
12. Press the function key farthest right on the
display panel twice to turn the depth stop
off. Lower the blade down to the new
desired depth and repeat step 8.
13. Continue the step-cut process using the
depth stop to reach the maximum depth.
DO NOT cut any deeper than required.
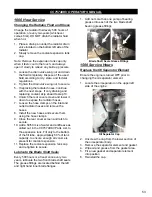
Continuing a Partial Cut
1. Maneuver the saw to the start of the cut
line.
2. Align the blade with the previous cut and
slowly lower the blade back into the
concrete. Use extreme caution to make
sure the blade is perfectly aligned within
the cut. DO NOT continue cutting until the
blade is aligned within the cut!
3. Continue the step-cut process (using the
blade depth stop if preferred) to reach the
maximum depth. DO NOT cut any deeper
than required.
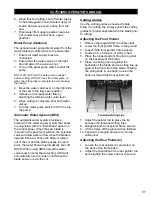
Finishing a Cut
1. Place the speed control lever at
Stop
.
2. Raise the blade from the cut (provide
proper ground clearance).
3. If the saw is equipped with a clutch
(optional), turn off the
Blade Clutch
switch
with engine at idle to stop the blade
rotation.
4. Turn off the water supply.
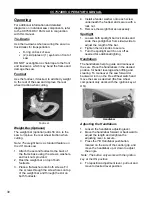
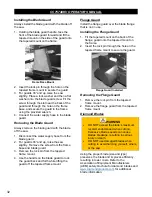
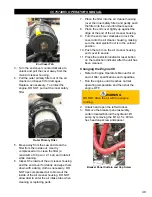
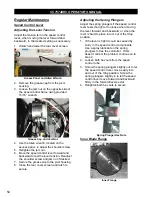
Hood Operation
1. Pull up and out on rubber latch located on
lower front of hood.
2. Grasp bottom of hood firmly and lift
upwards.
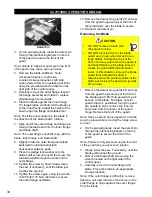
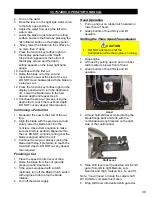
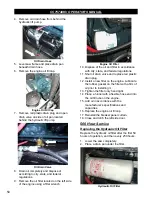
Shifting the Three Speed Transmission
CAUTION
•
DO NOT attempt to shift the
transmission while the engine is running.
1. Stop engine.
2. Lift hood by pulling up and out on rubber
latch located on lower front of hood.
3. Grasp bottom of hood firmly and lift
upwards.
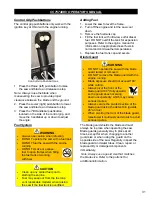
Hood
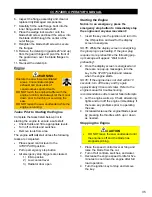
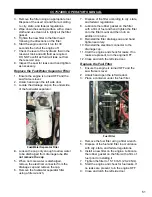
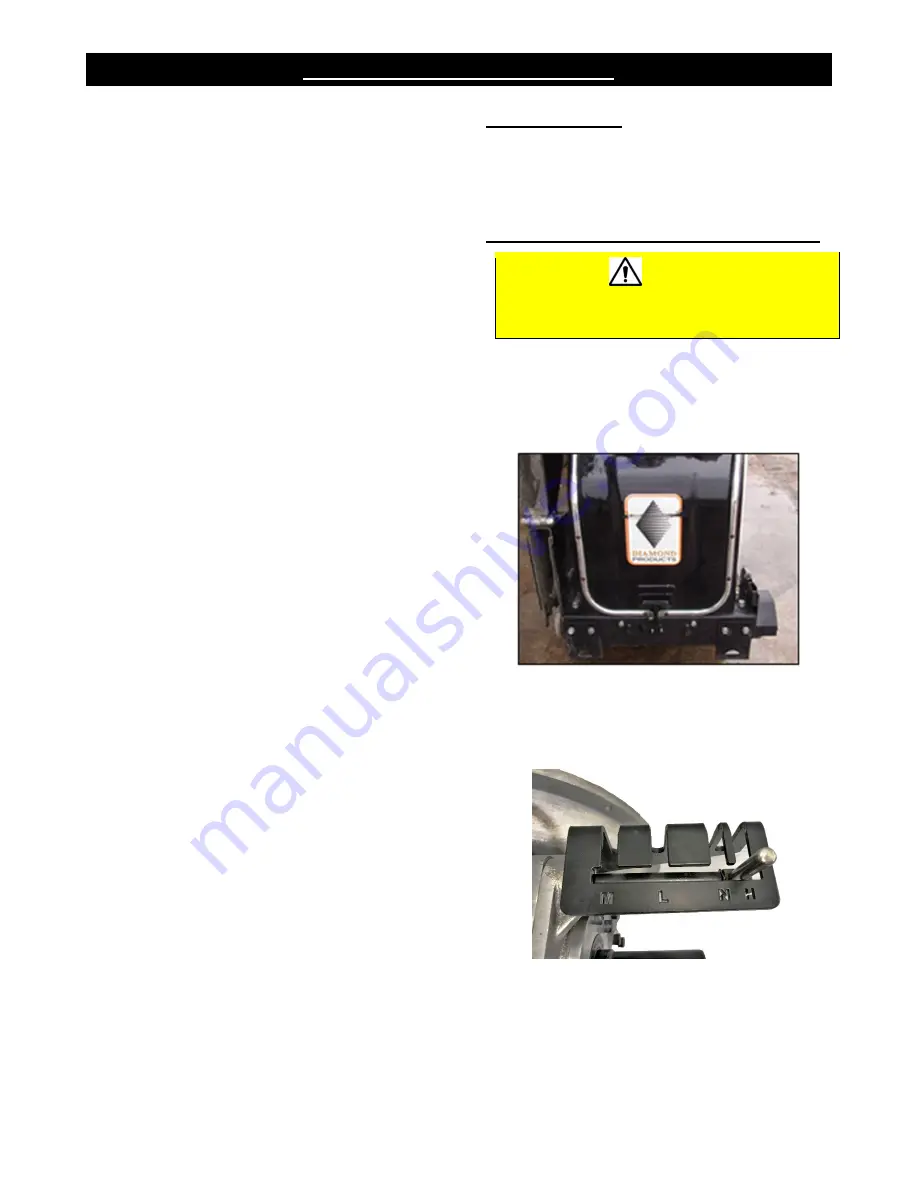
4. Lift and hold shift lever while rotating the
blade flange back and forth with the
combination wrench located on the right
side of the control panel.
Shift Lever
5. Slide shift lever over the desired slot in shift
gate (from left to right Medium, Low,
Neutral, and High, marked M, L, N, and H).
Note: You will need to rotate the output shaft
BY HAND to complete this motion.
6. Drop shift lever into desired shift gate slot.
39
Summary of Contents for CC7574DKV
Page 1: ...CORE CUT OPERATOR S MANUAL CC7574DKV CC7574DKV 3 MAY 2022 Part 1802742 01...
Page 2: ......
Page 11: ...CC7574DKV OPERATOR S MANUAL CC7574DKV Specifications 11...
Page 12: ...CC7574DKV OPERATOR S MANUAL CC7574DKV 3 Specifications 12...
Page 65: ...CC7574DKV OPERATOR S MANUAL Appendix B CC7574DKV RPM Chart CC7574DKV 3 RPM Charts 65...
Page 66: ...CC7574DKV OPERATOR S MANUAL 66...
Page 67: ...CC7574DKV OPERATOR S MANUAL CC7574DKV Blade Size Conversion Chart 67...
Page 68: ...CC7574DKV OPERATOR S MANUAL CC7574DKV 3 Blade Size Conversion Chart 68...
Page 71: ......


