


CC7574DKV OPERATOR’S MANUAL
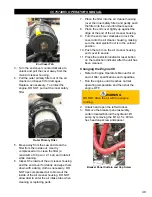
4. Lower saw to level frame.
5. Remove the red vinyl plug from the frame
base (below gearbox) to view the fluid level
from the sight glass.
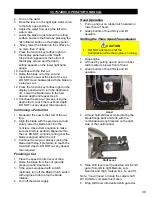
6. Remove the fill cap and add Synthetic ATF
fluid to the lower gearbox to at least half full
(view level through sight glass).
7. Replace the fill cap and retighten to secure.
8. Replace the red vinyl plug in frame base.
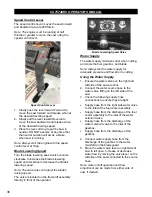
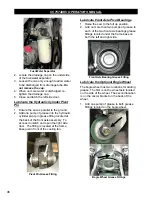
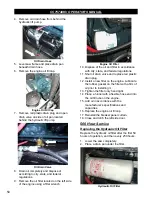
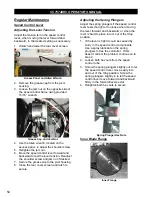
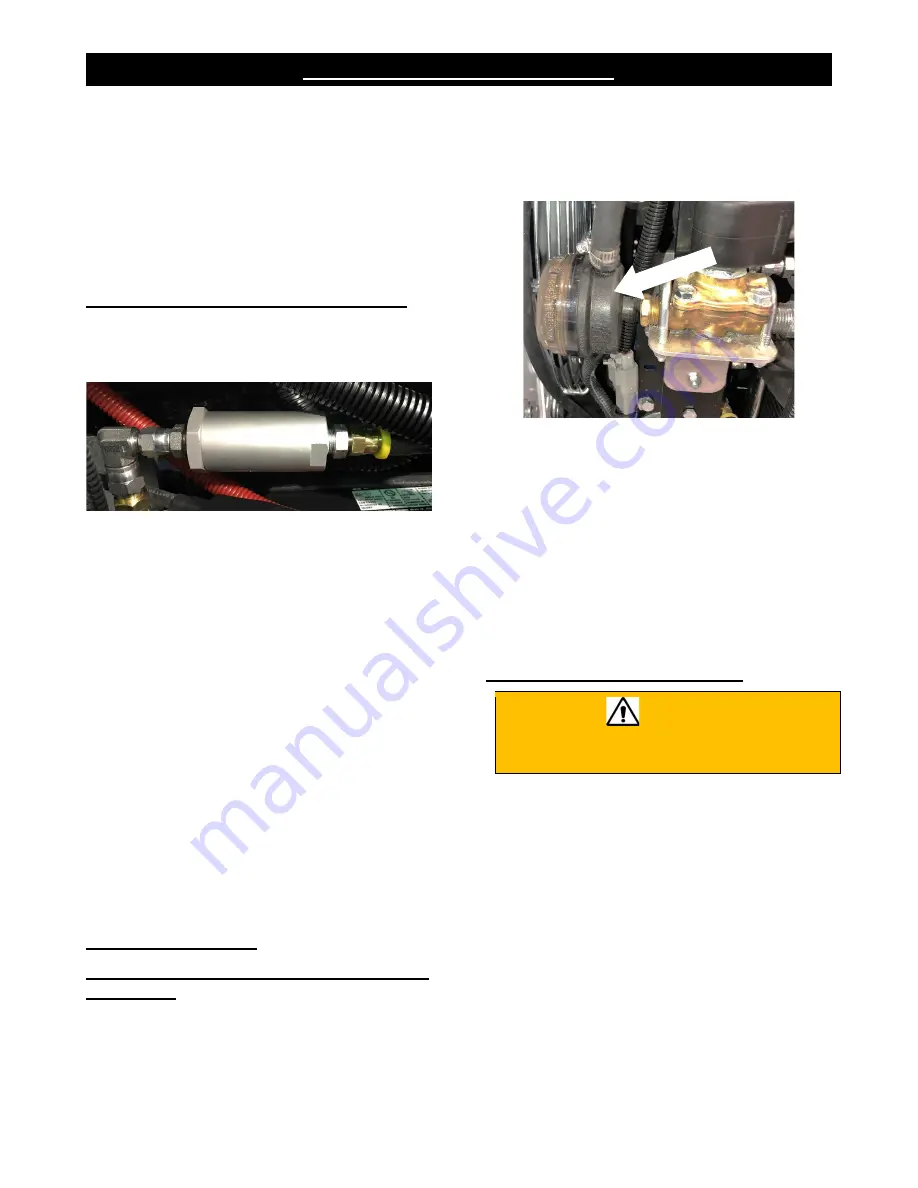
Cleaning the In-Line Oil Suction Filter
Clean the in-line oil suction filter every 100
hours. Replace the filter when it cannot be
properly cleaned or is damaged.
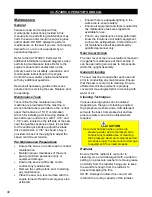
In-Line Oil Suction Filter
1. Lower the saw completely.
2. Unlatch and open the right side door.
3. Place a drain pan underneath the filter.
4. Use a wrench to hold the hex filter cap in
position. Use another wrench on the barrel
flats and loosen the barrel from the cap. A
very small amount of oil may drain.
Dispose of the used oil according to city,
state, and federal regulations.
5. Remove the spring and bronze element
from the barrel. Clean the inside of the
barrel and the bronze filter element using
an industrial cleaning solvent. Replace the
filter if damaged or not cleanable.
6. Fit the bronze filter inside the spring and
place the assembly back into the filter
barrel.
7. Retighten the filter barrel to the hex filter
cap to secure.
8. Close and latch the right side door.
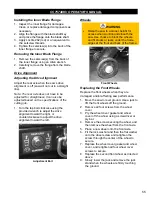
250 Hour Service
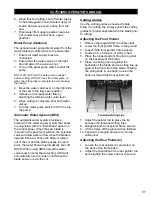
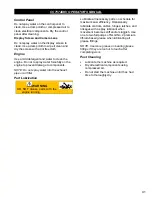
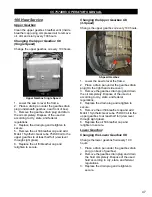
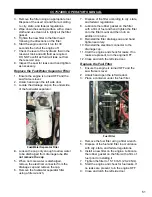
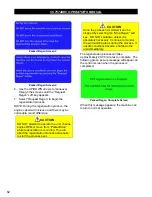
Check and Clean the Water System Inlet
Strainer(s)
The water system has an inlet strainer located
on the right hand side of the saw between the
fuel cooler and the auto water solenoid valve.
Inspect this strainer daily to ensure proper
water flow.
NOTE: A second inlet water strainer is
included with the optional water pump.
9. Unlatch and open the right side door to
locate the inlet strainer.
Water Inlet Strainer
10. Carefully unscrew the clear strainer cap
from the strainer.
11. Gently remove the strainer screen from the
strainer body.
12. Clean the strainer screen with low pressure
water and a gentle detergent.
13. Replace the strainer screen into the
strainer body.
14. Reinstall the clear strainer cap and hand
tighten to secure.
15. Close and latch the right side door.
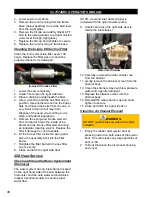
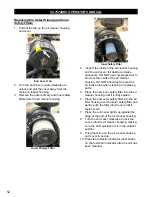
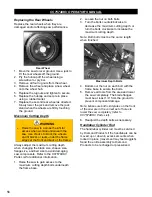
Clean the Air Cleaner Element
WARNING
DO NOT operate the saw without the filter
installed
1. Empty the rubber dust ejector boot by
pressing inward on both sides of the ejector
boot. This will release any large particles of
dust or dirt.
2. Pull out the tab on the air cleaner housing
end cover.
48
Summary of Contents for CC7574DKV
Page 1: ...CORE CUT OPERATOR S MANUAL CC7574DKV CC7574DKV 3 MAY 2022 Part 1802742 01...
Page 2: ......
Page 11: ...CC7574DKV OPERATOR S MANUAL CC7574DKV Specifications 11...
Page 12: ...CC7574DKV OPERATOR S MANUAL CC7574DKV 3 Specifications 12...
Page 65: ...CC7574DKV OPERATOR S MANUAL Appendix B CC7574DKV RPM Chart CC7574DKV 3 RPM Charts 65...
Page 66: ...CC7574DKV OPERATOR S MANUAL 66...
Page 67: ...CC7574DKV OPERATOR S MANUAL CC7574DKV Blade Size Conversion Chart 67...
Page 68: ...CC7574DKV OPERATOR S MANUAL CC7574DKV 3 Blade Size Conversion Chart 68...
Page 71: ......