CC7574DKV OPERATOR’S MANUAL
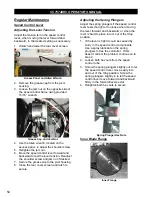
Installing the Inner Blade Flange
1. Inspect the inner flange for damages.
Clean or replace damaged components as
necessary.
2. Align the flange with the blade shaft key
and place the flange onto the blade shaft.
3. Apply Loctite 262 (red) or an equivalent to
the setscrew threads.
4. Tighten the setscrew(s) into the back of the
inner flange to secure.
Removing the Inner Blade Flange
1. Remove the setscrew(s) from the back of
the inner flange using an Allen wrench.
2. Carefully remove the flange from the blade
shaft.
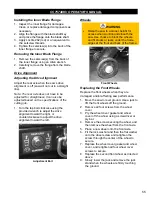
Drive Alignment
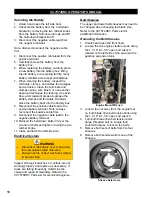
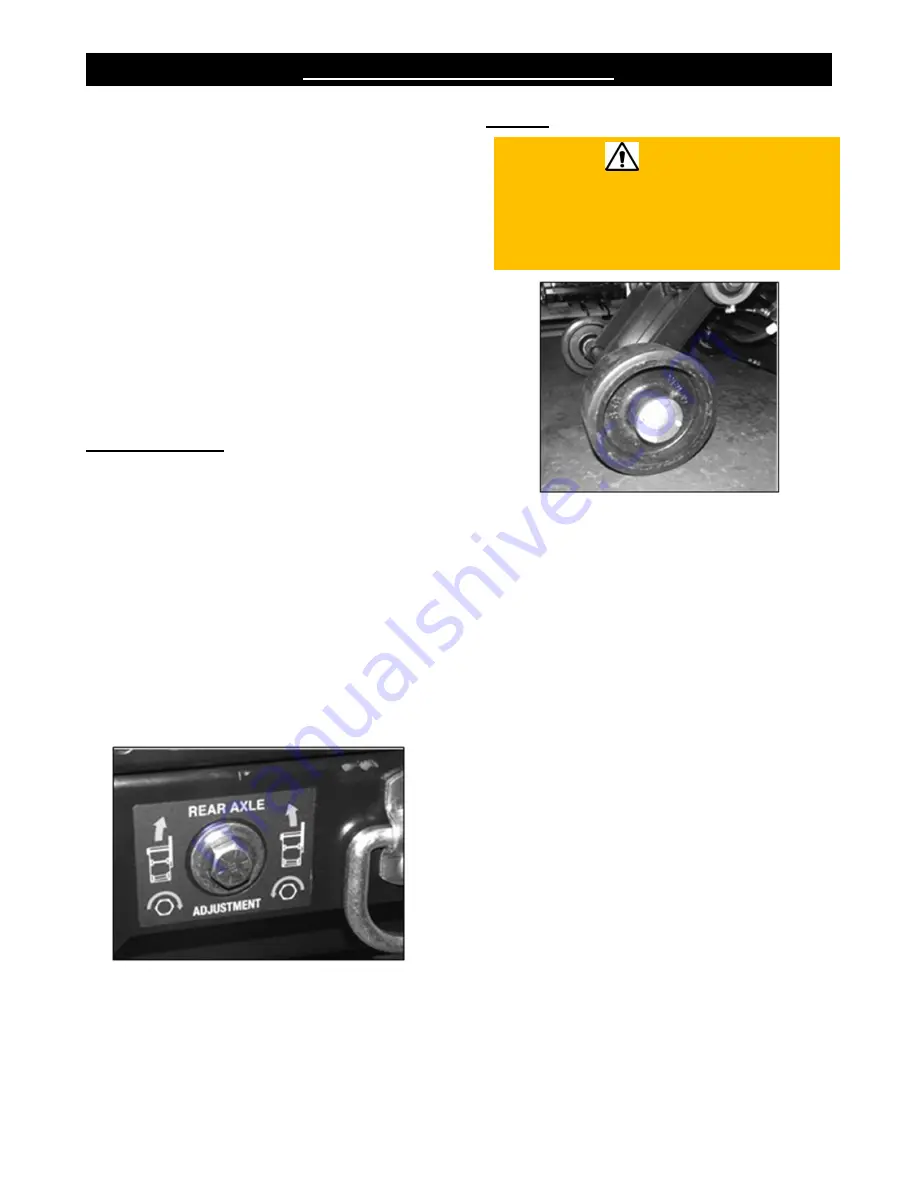
Adjusting the Drive Alignment
Adjust the rear axle when the saw’s drive
alignment is off (saw will not cut in a straight
line).
Note: The rear axle does not have to be
adjusted for straightness; it can also be
adjusted based on the specifications of the
cutting job.
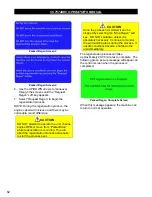
1. Turn the tap bolt clockwise using the
provided wrench to adjust the drive
alignment toward the right, or
counterclockwise to adjust the drive
alignment toward the left.
Adjustment Bolt
Wheels
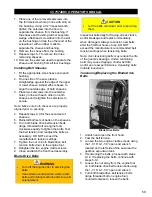
WARNING
•
Raise the saw to a proper height for
access when working underneath the
saw. Use chocks to block the wheels,
and fit blocks or jacks under the frame
edges at the front and back of the frame.
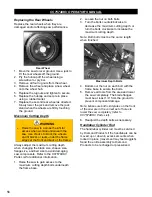
Front Wheels
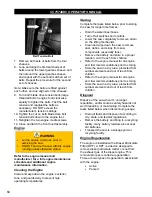
Replacing the Front Wheels
Replace the front wheels when they are
damaged and/or affecting saw performance.
1. Move the saw to level ground. Use a jack to
lift the front wheels off the ground.
2. Remove all four screws from the wheel
cover.
3. Pry the wheel cover gasket and wheel
cover off the wheel using a screwdriver or
pry bar.
4. Remove the screw securing the wheel, and
then remove the wheel from the front axle.
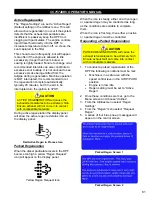
5. Place a new wheel onto the front axle.
6. Fit the lock washer and then the flat washer
onto the wheel screw and retighten the
screw through the center of the wheel to
secure.
7. Replace the wheel cover gasket and wheel
cover, and retighten all four wheel cover
screws to secure.
8. Replace the second front wheel as directed
above.
9. Slowly lower the jack and remove the jack
stand when the wheels are firmly touching
the ground.
55
Summary of Contents for CC7574DKV
Page 1: ...CORE CUT OPERATOR S MANUAL CC7574DKV CC7574DKV 3 MAY 2022 Part 1802742 01...
Page 2: ......
Page 11: ...CC7574DKV OPERATOR S MANUAL CC7574DKV Specifications 11...
Page 12: ...CC7574DKV OPERATOR S MANUAL CC7574DKV 3 Specifications 12...
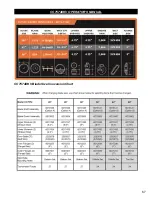
Page 65: ...CC7574DKV OPERATOR S MANUAL Appendix B CC7574DKV RPM Chart CC7574DKV 3 RPM Charts 65...
Page 66: ...CC7574DKV OPERATOR S MANUAL 66...
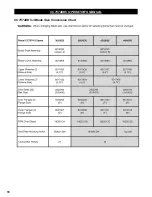
Page 67: ...CC7574DKV OPERATOR S MANUAL CC7574DKV Blade Size Conversion Chart 67...
Page 68: ...CC7574DKV OPERATOR S MANUAL CC7574DKV 3 Blade Size Conversion Chart 68...
Page 71: ......

