Dia-Clean Digital Video Microscope - e
18
Use the following procedure for fault locate detection:
1. Remove the dust cap covering the unit’s OPTICAL PORT.
2. Connect a cable to the OPTICAL PORT connector.
3. Push the switch to the to the desired function:
Turns the LASER off.
Turns the LASER on with a continuous laser output. The red Laser Active LED remains on.
Turns the LASER on with a pulsing laser output. (The red Laser Active LED pulses at a 2 Hz rate).
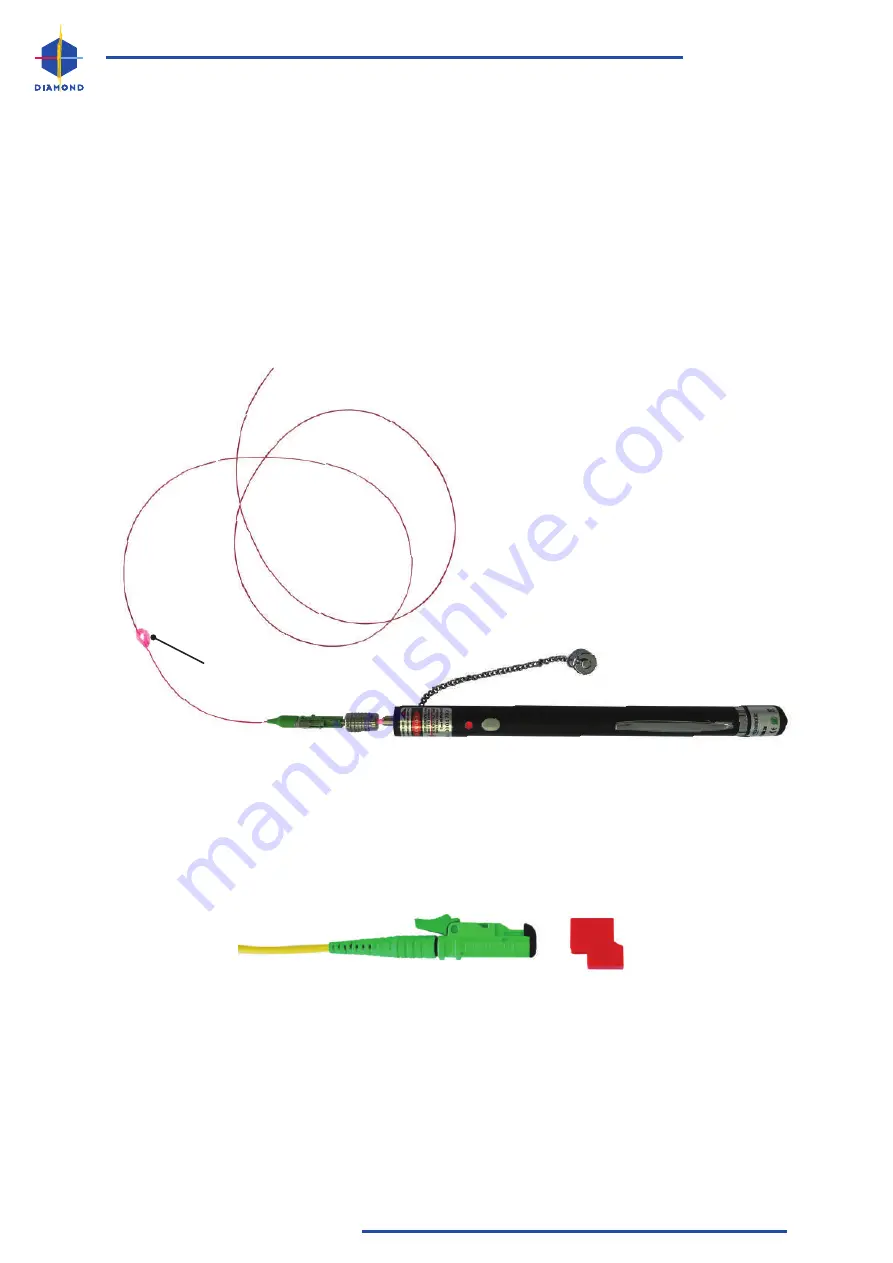
4. Visually examine the fiber components, locating the faults by a red glow (see Figure 1).
5. Turn unit off.
6. Remove cable from port and replace cap.
Optical port
“red” glow
cable under test
11
INSPECTION


