
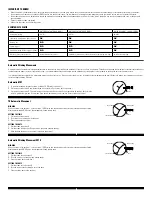


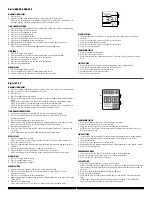


CHIME
When Chime is “on,” your watch will chime once on the hour every hour: A chime will also accompany mode changes, with a higher pitched chime
signaling the TIME mode.
1. To set Chime “on or off,” press (B) till Options is activated. Press either (D) or (E) till “Alrms” is highlighted, press (A) to select.
2. Press either (D) or (E) till “Chime” is highlighted, press (A) to select. The Chime icon will activate indicating that the chime is on.
(see Fig. 1)
3. Press (A) again to turn chime off.
SETTING ALARMS
1. Press (B) till Options icon is activated. Press either (D) or (E) till “Alrms” is highlighted, press (A) to select
(see Fig. 2)
. The Alarm W, 1, 2
icons will begin to flash.
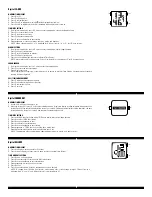
2. Press either (D) or (E) to highlight, Alarm Weekday, 1 or 2, “AL-wk, AL-1 or AL-2” and press (A) to select. Either the Alarm W, 1, or 2 icon will begin to flash
depending on your selection.
ALARM- WEEK, “AL-wk”
1. Pressing (D) will “+” the minute while pressing (E) will “–” the minute. Press (A) to select and advance to the HOUR setting.
2. Pressing (D) will “+” the hour while pressing (E) will “–” the hour. Press (A) to select. At this point blinking minutes will appear again on the display and you may go
through and change any of the settings again or press (B) to EXIT and return to the “AL-wk, AL-1, AL-2 or Chime” menu. Pressing (B) again will take you back to the
Options menu.
REMEMBER if you press and hold (B) at anytime during the above operation, any settings you have made will be saved and you will go back to TIME mode.
ALARM 1, 2, “AL-1, AL-2”
1. Press either (D) or (E) to highlight Alarm 1 or 2, “AL-1 or AL-2” and press (A) to select. Either the Alarm 1, 2 icon will begin to flash depending on your selection.
2. The Alarm 1 or 2 default view will display with the MINUTES flashing. Pressing (D) will “+” the minute while pressing (E) will “–” the minute. Press (A) to select and
advance to the HOUR setting.
3. Pressing (D) will “+” the hour while pressing (E) will “–” the hour. Press (A) to select and advance to the MONTH setting.
4. Pressing (D) will “+” the month while pressing (E) will “–” the month. Press (A) to select and advance to the DATE setting.
5. Pressing (D) will “+” date while pressing (E) will “–” the date. Press (A) to select. At this point blinking minutes will appear again on the display and you may go
through and change any of the settings again or press (B) to EXIT and return to the “AL-wk, AL-1, AL-2 or Chime” menu. Pressing (B) again will take you back to
the Options menu.
REMEMBER if you press and hold (B) at anytime during the above operation, any settings you have made will be saved and you will go back to TIME mode.
TIMER
1. To set the FREE Timer, press (B) till Options is activated. Press either (D) or (E) till “Timer” is highlighted, press (A) to select. The timer icon will begin to flash.
2. The Timer default view will display with the SECONDS flashing. Pressing (D) will “+” the seconds while pressing (E) will “–” the seconds. Press (A) to select and advance
to the MINUTE setting.
3. Pressing (D) will “+” the minute while pressing (E) will “–” the minute. Press (A) to select and advance to the HOUR setting.
4. Pressing (D) will “+” the hour while pressing (E) will “–” the hour. Press (A) to select. At this point blinking seconds will appear again on the display and you may go
through and change any of the settings again or press (B) to EXIT and return to the Options menu.
REMEMBER if you press and hold (B) at anytime during the above operation, any settings you have made will be saved and you will go back to TIME mode.
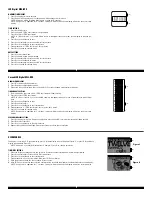
VIEWS, “Views”
This module allows for different display views while in TIME mode. There are (5) five views total to choose from and once set they will remain as the Time view until reset.
BASIC VIEW
This is the default view for the module. It features a prominent time with seconds, day and date.
DATE/TIME, “Dt/Tm”
This view features a prominent month and date, the day and year and current time.
TIME1/TIME2, “T1/T2”
This view features both time zones simultaneously, with emphasis on time 2. The time zone emphasis can be changed by pressing (A) while in Time mode.
TIME ONLY, “Tm”
This view features a large hour, minutes and seconds. While in this view the Dt/Tm view can be accessed by pressing (D). It will display this
alternate view only while (D) is being pressed, once released Time only view returns.
SETTING VIEWS
1. Press (B) till Options icon is activated. Press either (D) or (E) till “Views” is highlighted, press (A) to select.
2. Press (D) or (E) to highlight the desired view and press (A) to select, setting the new Time view and returning you to the Options menu.
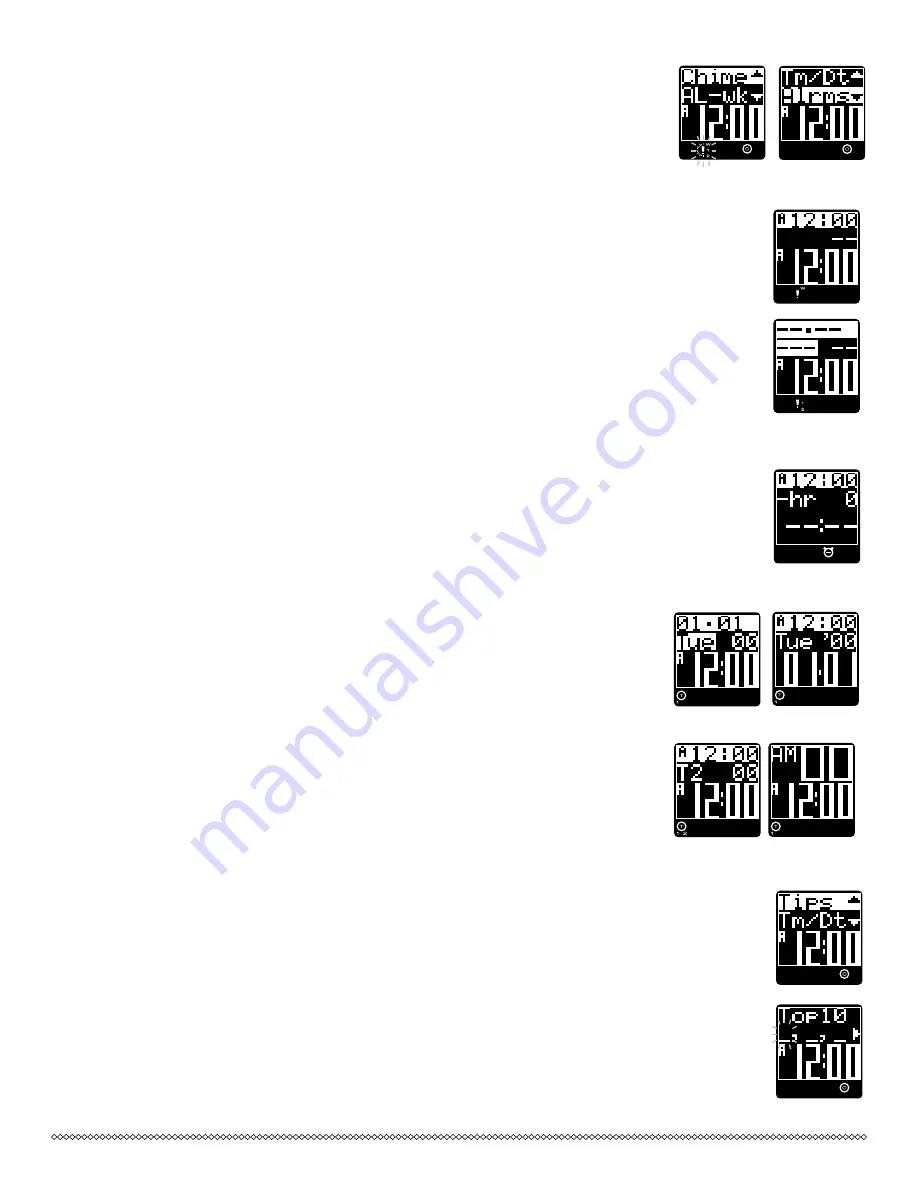
TIPS, “T
IPS
”
This module features “tips for successful living.” Tips can only be accessed while in Time mode, by pressing (E). The tip will scroll (2) two times
before reverting back to the Time mode display. Repeatedly pressing (E) will scroll through the tips quickly interrupting any currently scrolling tip.
The modules default tips setting is Random, “Rndm,” however there are (2) alternate settings, All and Top10.
RANDOM TIPS, “Rndm”
This setting randomly selects a different tip from the list, with every press of the (E) button while in Time mode.
ALL TIPS, “All”
This setting displays the tips in numerical order from the list, with every press of the (E) button while in Time mode.
TOP 10 TIPS, “Top10”
This setting allows you to choose up to 10 of your favorite tips and only select from that list and in the order that you set them with every press of the (E) button while in
Time mode.
SETTING TIPS
1. Press (B) till Options icon is activated. Press either (D) or (E) till “Tips” is highlighted, press (A) to select.
(See Fig. 1)
2. Press (D) or (E) to highlight either All, Random or Top 10, “All, Rndm or Top10” and press (A) to select.
SETTING TOP 10, “Top10”
1. The Top 10 view will display with the first underscore flashing.
(See Fig. 2)
2. Pressing (D) will advance to the “next” Tip while pressing (E) will bring up the “previous” Tip.
3. Press (A) to select and advance to the next Tip setting. This can be repeated for up to 10 tips. At this point the first Tip you set will appear again blinking on the display
and you may go through and change any of the Tip settings again or press (B) to EXIT and return to the “All, Rndm or Top10” menu. Pressing (B) again will take you back
to the Options menu.
REMEMBER if you press and hold (B) at anytime during the above operation, any settings you have made will be saved and you will go back to TIME mode.
Figure 1
Figure 2
Alarm Weekday display
Alarms 1,2 display
3:00 Timer display
FREE Timer display
T1/T2 view
Tm view
Basic view
Dt/Tm view
Basic view
Dt/Tm view
Figure 1
Figure 2
Figure 1
Figure 2


