


Digital QAA-006, QAA-033
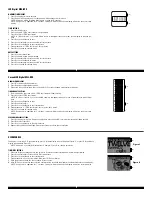
NORMAL TIME DISPLAY
1. Press A for EL.
2. Press B to change mode. Mode sequence is time, time zone 2, alarm, timer.
NOTE: In any setting mode, if no pusher is operated for 10 seconds, all changes will
be saved and the setting will automatically return to display mode.
TIME AND DATE SETTING
1. Press and hold A for 3 seconds to enter setting mode; 12/24-hour format will begin flashing.
2. Press B to change 12/24-hour format.
3. Press A to set and advance to seconds.
4. Press B to reset seconds to zero.
5. Press A to set and advance to hour.
6. Press B to increase digits; press and hold B for fast advance.
7. Press A to set and advance to next setting value.
8. Setting sequence is 12/24-hour format, seconds, hour, minutes, year, month, date.
9. Press A to exit setting mode.
NOTE: Weekday will automatically update upon exiting setting mode.
TIME ZONE 2
1. Press B to change to time zone 2.
2. Press and hold A for 3 seconds to enter setting mode; hour will begin flashing.
3. Press B to increase digit; press and hold B for fast advance.
4. Press A to set and advance to minutes.
5. Press B to increase digit; press and hold B for fast advance.
6. Press A to exit setting mode.
ALARM MODE
1. Press B to change to alarm mode.
2. Press and hold B for 3 seconds to toggle alarm/chime on/off.
3. Alarm will sound for 10 seconds. Press any pusher to silence alarm.
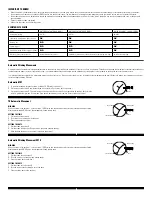
(A)
(B)
Digital G1, G3
NORMAL TIME DISPLAY
1. Press A to change mode. Mode sequence is normal time, recall, alarm, and countdown timer.
2. Press and hold A 3 seconds to toggle auto EL on/off.
3. Press B for EL.
4. Press C to toggle hourly chime on/off.
5. Press D to flash time zone 2. Press and hold D 3 seconds to toggle normal time display/time
zone 2.
NOTE: In any mode, press and hold C 3 seconds to change to chronograph mode.
NOTE: At any point in any setting mode, press B to exit setting mode.
NOTE: In any setting mode, if no pusher is operated for 30 seconds, all changes will
be saved and the setting will automatically return to display mode.
TIME AND CALENDAR SETTING
1. In normal time display, press and hold B 3 seconds; hour will begin flashing.
2. Press C to increase digit; press D to decrease digit. Press and hold C or D for fast
increment/decrement.
3. Press A to set and advance to next setting value.
4. Repeat steps 2 and 3 through setting sequence. Setting sequence is: hour, minute, second,
year, month, date, 12/24-hour format, month/date or date/month format.
5. Press B to exit setting mode.
6. To set Time Zone 2, press and hold D 3 seconds to change to Time Zone 2. Then use steps
1-5 to set.
NOTE: Weekday is automatically updated upon exiting setting mode.
RECALL MODE
1. Press A to change to recall mode.
NOTE: If no data is stored, display will show NO DATA. If data is saved, display will
show the current set (1-9).
2. Press C to toggle through set data: total time, best time, average time, and each lap (up to
100 laps).
3. Press D to display current set; press D again to scroll to next set.
4. Press and hold D 3 seconds to delete all stored data in the current set.
NOTE: At any point in recall displays, press A to exit and change to alarm mode.
ALARM MODE
1. Press A to change to alarm mode.
2. Press C to toggle alarm on/off.
3. Press D to toggle alarm 1/alarm 2.
ALARM SETTING
1. In alarm mode, press and hold B 3 seconds; hour will begin flashing.
2. Press C to increase digit; press D to decrease digit. Press and hold C or D for fast
increment/decrement.
3. Press A to set and advance to next setting value.
4. Repeat steps 2 and 3 through setting sequence. Setting sequence is: hour, minute, time zone
1/time zone 2.
5. Press B to exit setting mode.
NOTE: Alarm will sound for 20 seconds. Press any pusher to silence alarm.
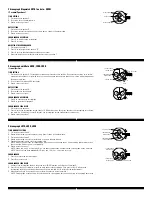
(B)
(D)
(A)
(C)
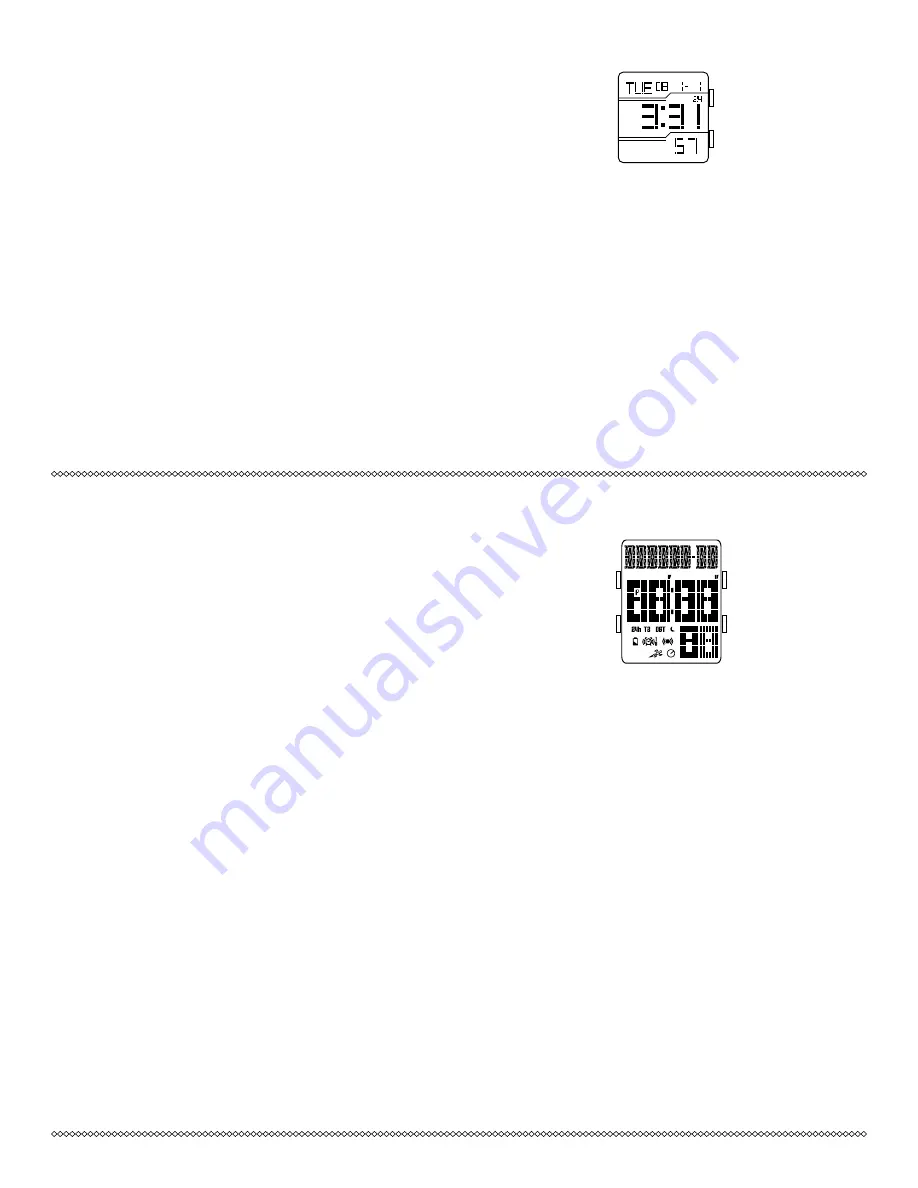
COUNTDOWN TIMER
1. Press A to change to timer mode. Default setting is 5 minutes.
2. Press C to start timer; press D to stop the timer.
3. Press and hold D 3 seconds to clear the countdown and reset the timer.
NOTE: Alarm will sound for 20 seconds when countdown reaches zero. Press any
pusher to silence alarm.
TIMER SETTING
1. In timer mode, press and hold B 3 seconds to enter setting mode; hour will begin flashing.
2. Press C to increase digit; press D to decrease digit. Press and hold C or D for fast
increment/decrement.
3. Press A to set and advance to next setting value.
4. Repeat steps 2 and 3 through setting sequence. Setting sequence is: hour, minute, seconds.
5. Press B to exit setting mode.
CHRONOGRAPH MODE
1. In any mode, press and hold C 3 seconds to change to chronograph mode.
2. Press C to start the chronograph; press D to stop the chronograph.
3. Press and hold D 3 seconds to reset to zero.
LAP COUNTING
1. Press C while the chronograph is running for lap reading.
NOTE: If no other pusher is pressed after C is pressed, display will automatically show
total chronograph time after 5 seconds, then next lap running time after another 5
seconds.
2. Press B to return to chronograph next lap (up to 100 laps).
3. Press D to stop chronograph.
4. Press and hold B 3 seconds to save set data, or press and hold D 3 seconds to reset to
zero.
NOTE: Upon saving, display will show next empty set available (1-9) or MEMORY
FULL. Change to Recall Mode to scroll through saved data.
ALARM SETTING
1. In alarm mode, press and hold A for 3 seconds to enter setting mode; hour will begin
flashing.
2. Press B to increase digit; press and hold B for fast advance.
3. Press A to set and advance to minute.
4. Press B to increase digit; press and hold B for fast advance.
5. Press A to exit setting mode.
COUNTDOWN TIMER
1. Press B to change to timer mode.
2. Press A to start/stop the timer.
3. When timer reaches zero, alarm will sound for 15 seconds. Press any pusher to silence
alarm.
TIMER SETTING
1. Press and hold A for 3 seconds to enter setting mode; hour will begin flashing.
2. Press B to increase digit; press and hold B for fast advance.
3. Press A to set and advance to next setting value.
4. Setting sequence is hour, minute, second.
5. Press A to exit setting mode.