


Day/Date Watch IS02, 507.2-3, 517.2, 2105, 2305, 2405
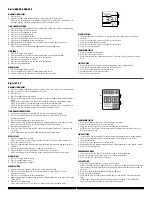
DATE SETTING
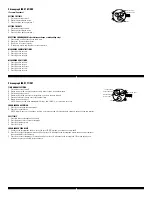
1. Pull the crown out to position 2.
2. Turn clockwise and set the date for the previous day.
DAY SETTING
With crown still in position 2, turn counter-clockwise and set the day for the previous day.
TIME SETTING
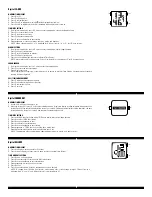
1. Pull crown out to setting 3.
2. Turn counter-clockwise to advance the time and continue until the day/date changes to the present day.
3. Set the correct time.
4. Push crown back to position 1.
Date Watch
GL10, IS13, VJ32A11, VJ32A31, 9T13, 505.2-3, 515.1-3, 515.2-3, 585.2, 715-2, 2115, 2315
DATE SETTING
1. Pull the crown out to position 2.
2. Turn counter-clockwise and set the date for the previous day.
TIME SETTING
1. Pull crown out to setting 3.
2. Turn counter-clockwise to advance the time and continue until the day/date changes to the present day.
3. Set the correct time.
4. Push crown back to position 1.
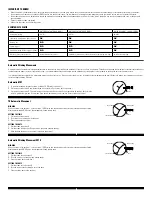
(1) (2) (3)
DATE
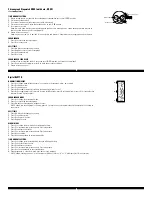
(1) (2) (3)
DATE
DAY
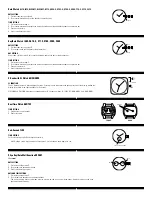
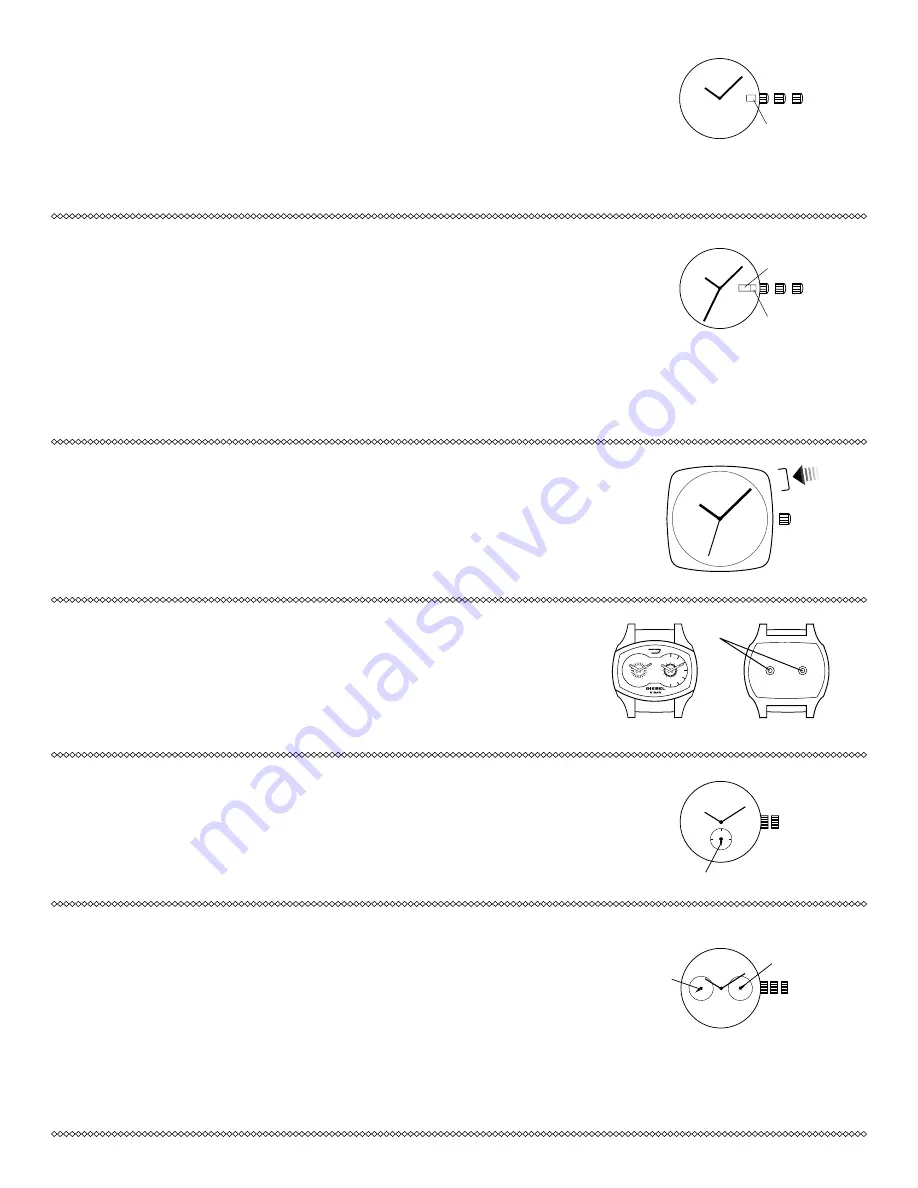
FRONT
BACK
BUTTONS
CROWN
EL BUTTON
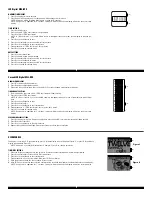
3 Hand with EL Watch 6N30/OU30
EL FUNCTION
The EL (light-up) button is located above the crown. Pressing it once will activate the light-up function of the display making the
display face visible in low-light situations for 3 seconds.
DZ1065 and DZ1066 hold rights covered under U.S. Patent numbers: 6,106,127, 6,299,321, and 6,486,561.
Dual Time Watch K62/132
TIME SETTING
1. Push buttons to move hands.
2. Set correct time.
Sub-Second 1L45
TIME SETTING
Pull crown out to position 2 and rotate to set time.
NOTE: When crown is pushed back to position 1, small second hand begins to run.
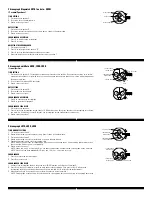
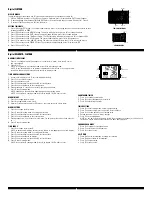
(1) (2)
SMALL SECOND HAND
2 Eye Day/Date Multifunction VX36A1
(1 crown)
DATE SETTING
1. Pull crown out to position 2.
2. Turn clockwise to advance date hand.
3. Push crown back to position 1.
DATE AND TIME SETTING
1. Pull crown out to position 3.
2. Turn clockwise to advance hour and minute hands.
The hand showing days of the week will also move with the hour and minute hands. Keep turning until you have
reached the desired day.
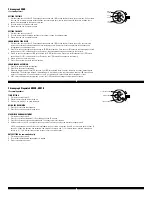
(1) (2) (3)
DATE
DAY


