10
4.
Connecting to a Computer
By connecting the scanner to a computer, you can access the scanned
images on the memory card directly, or use the scanner as a memory
card reader, so that you can freely copy, paste or delete files to and from
the memory card using the computer.
4.1
How to connect to a computer
1.
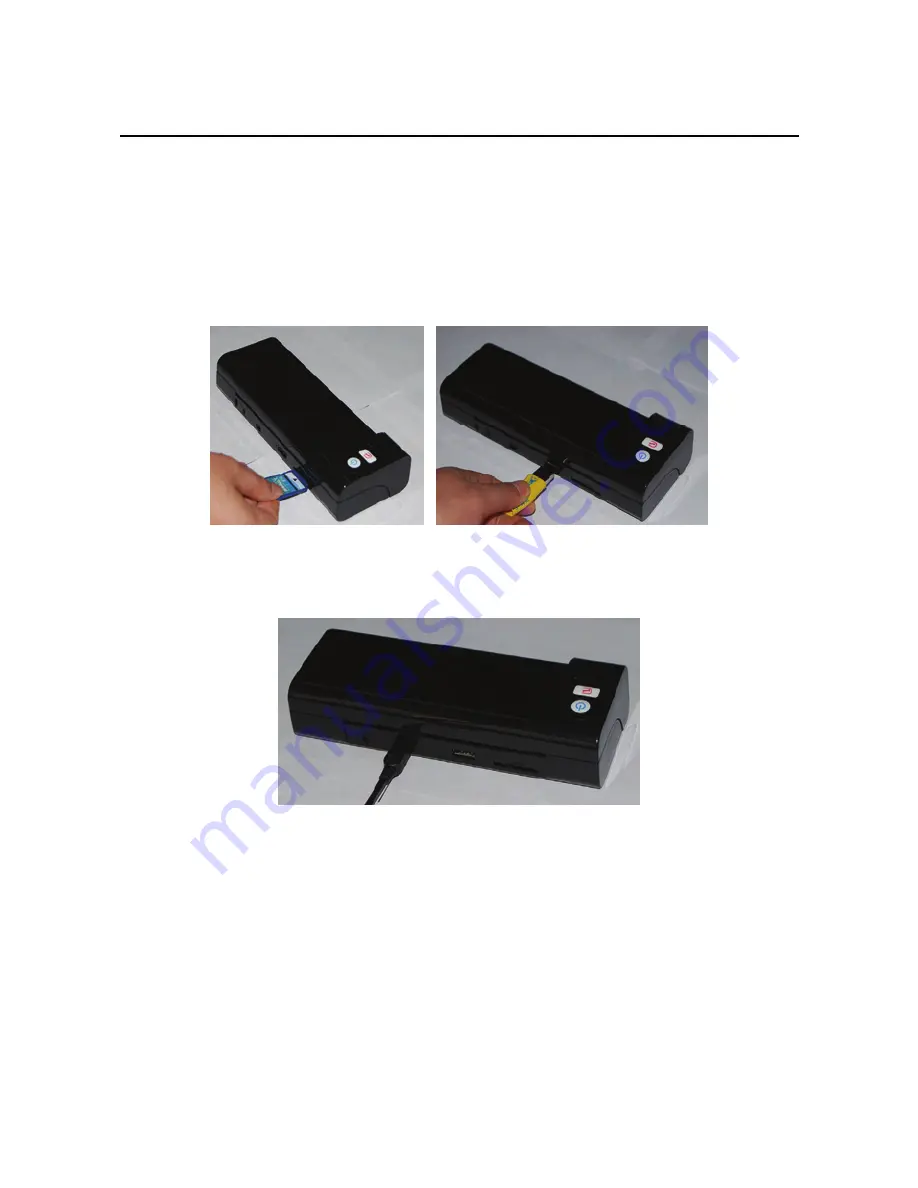
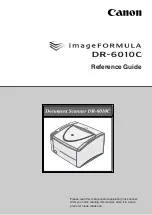
Insert a memory card or flash disk containing your scanned images
into the memory card slot.
2.
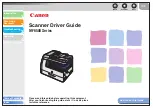
Connect the mini end of the USB cable (included with scanner) to
the Mini USB connector on the scanner.
3.
When the scanner connects successfully with a computer, a
Removable Disk (F) (F represents the removable drive letter) will
be shown in Windows Explorer. If a memory card or flash disk is
inserted to the scanner, the Removable Disk will be replaced with
the name of the memory card or USB.
4.
You can now view or edit the files on the memory card or flash disk
using your own graphic editing software.
Summary of Contents for Photo Scanner
Page 1: ...Photo Scanner User Guide...


