background image

User Manual

THE STANDARD IN PRECISION MEASUREMENT


Thermocouple Thermometer  
with Dual Type K/J Inputs  
and Data Logging 

with NIST-Traceable Calibration

Model 20250-02

Summary of Contents for 20250-02

Page 1: ...User Manual THE STANDARD IN PRECISION MEASUREMENT Thermocouple Thermometer with Dual Type K J Inputs and Data Logging with NIST Traceable Calibration Model 20250 02...

Page 2: ...data Hold Max Min Avg readings and auto power off The instrument is fully tested and calibrated to NIST traceable standards Careful use of this meter will provide years of reliable service Unpacking...

Page 3: ...nce for major events Electronic Offset function allows compensation of thermocouple errors to maximize overall accuracy USB interface Data logging capacity of 18 000 sampling points User selectable re...

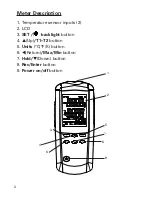
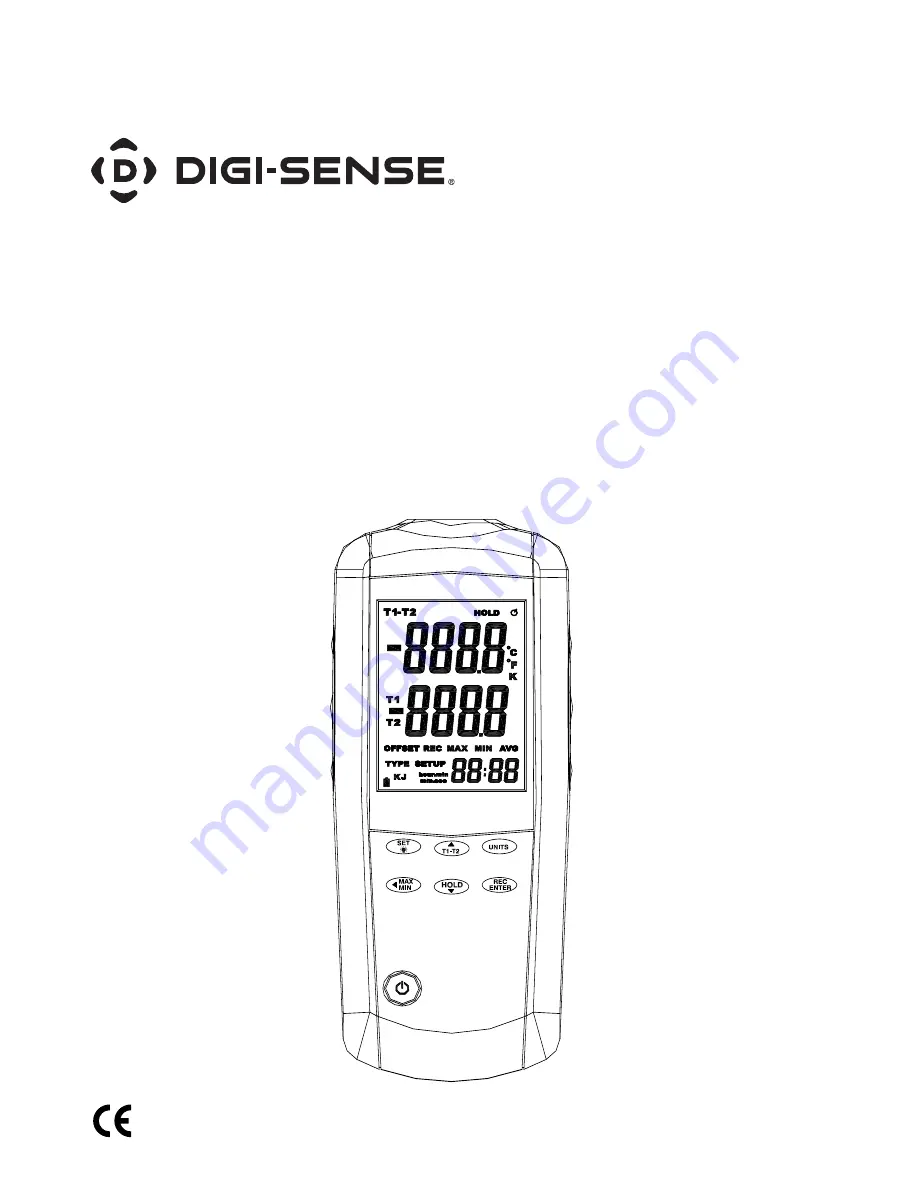
Page 4: ...scription 1 Temperature sensor inputs 2 2 LCD 3 SET backlight button 4 Up T1 T2 button 5 Units C F K button 6 Return Max Min button 7 Hold Down button 8 Rec Enter button 9 Power on off button 5 6 1 4...

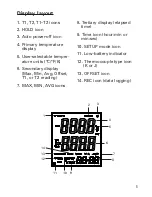
Page 5: ...e temper ature units C F K 6 Secondary display Max Min Avg Offset T1 or T2 reading 7 MAX MIN AVG icons 11 12 2 1 3 4 5 6 7 8 9 10 13 14 8 Tertiary display elapsed time 9 Time icon hour min or min sec...

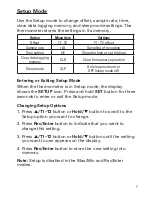
Page 6: ...d secondary displays When the meter is in Setup mode press T1 T2 button to scroll to the Setup option you want to change or press T1 T2 button to increase the displayed setting 4 Press Units button to...

Page 7: ...ld button to scroll to the Setup option you want to change 2 Press Rec Enter button to indicate that you want to change this setting 3 Press T1 T2 button or Hold button until the setting you want to u...

Page 8: ...il the setting you want to use appears on the display Fig 1 Press Rec Enter button to store the new setting in memory and continue to T2 offset Using the Offset to Adjust for Probe Errors Use the offs...

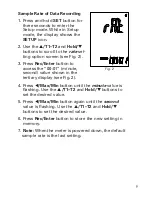
Page 9: ...access the 00 01 minute second value shown in the tertiary display see Fig 2 Fig 2 Fig 2 4 Press t Max Min button until the minute value is flashing Use the T1 T2 and Hold buttons to set the desired...

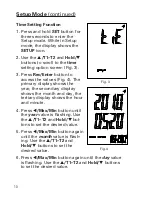
Page 10: ...e primary display shows the year the secondary display shows the month and day the tertiary display shows the hour and minute 4 Press t Max Min button until the year value is flashing Use the T1 T2 an...

Page 11: ...emaining from 18 000 to 0 Once the memory is full the first value shown will be FULL rather than a number Or if you try to record the REC icon will flash five times and disappear At this point you are...

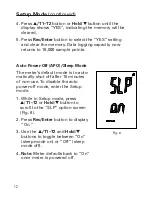
Page 12: ...s Fig 6 Auto Power Off APO Sleep Mode The meter s default mode is to auto matically shut off after 15 minutes of non use To disable the auto power off mode enter the Setup mode 1 While in Setup mode p...

Page 13: ...s plugged into the selected input or the thermocouple is not connected properly the display shows If the tempera ture being measured is outside the thermocouple s valid range the display shows OL over...

Page 14: ...ry or secondary display 3 Press Hold button again to turn off the Hold function Max Min Avg Functions 1 Press t Max Min button to step through the maximum MAX minimum MIN and average AVG readings The...

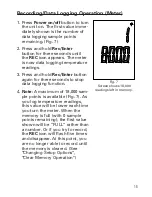
Page 15: ...ain for three seconds to stop data logging function 4 Note A maximum of 18 000 sam ple points is available Fig 7 As you log temperature readings this value will be lower each time you turn the meter W...

Page 16: ...ouse is dragged over the icon it is titled Data Logger Setting 7 In the Data Logger Setting menu confirm time and select date format sampling rate memory full directions auto power off status and star...

Page 17: ...ved in an Excel format that will include all summary information as captured on the Data Summary tab 12 To print recorded data simply select the print icon on the menu bar Software Installation 1 Inse...

Page 18: ...100 C 0 5 rdg 1 8 F 1 C T1 T2 temperatures below 148 F 100 C 0 5 rdg 3 6 F 2 C T1 T2 temperature differential 0 5 rdg 3 6 F 2 C Specifications Auto power off Unit shuts off automatically after 15 minu...

Page 19: ...ry power falls low the low battery icon will appear on the screen Replace the three AAA batteries by removing the screw holding the rear battery compart ment cover to access the battery compartment En...

Page 20: ...For Product and Ordering Information Contact Toll Free 1 800 358 5525 Phone 1 847 327 2000 Fax 1 847 327 2700 Davis com Digi Sense 1065DGMAN_20250 02 Rev 1 Manual Part No 00100 34...

Reviews: