9
Setup and Operation
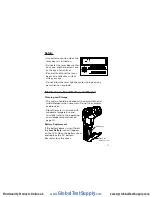
1. Hold the meter by its handle grip and point it toward
the surface to be measured.
2. Pull and hold the trigger to turn the meter on and
begin testing. The display will light if the battery is
good. Replace the battery if the display does not
light. Meter automatically powers down after
10 seconds once the trigger is released.
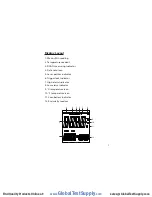
3. While measuring, the
SCAN
icon will appear in the
upper left-hand corner of the LCD.
4. Release the trigger and the
HOLD
icon will appear at
the top of the LCD, indicating that the reading is
being held.
5. Press the
Up
/ Laser
button to turn on the laser
pointer. When the laser is on, the
Laser
icon will
appear at the top of the LCD. Press the
Up
/ Laser
button again to turn laser off.
6. While in the
HOLD
mode, press the
MODE
button to
access and set emissivity (EMS) value, temperature
units (°C or °F), Max/Min readings, trigger lock (on/
off), high alarm (on/off and set point), and low alarm
(on/off and set point). Each time you press the
MODE
button, you advance through each option.
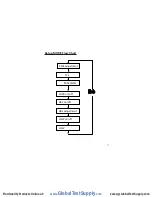
Refer to the flow chart on page 11 to see the
sequence of functions in the mode cycle.
a. Emissivity (EMS). When the
Emissivity
icon is
flashing, use the
Up
and
Down
buttons to
adjust from 0.10 to 1. Then press the
MODE
button again to enter setting.
www.
GlobalTestSupply
.com
Find Quality Products Online at:
sales@GlobalTestSupply.com

