Administrators: Configure the AnywhereUSB® Plus in the web user interface
Reboot the Hub
AnywhereUSB® Plus User Guide
73
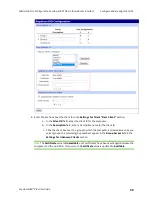
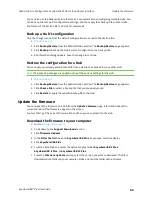
4. Determine whether you want to retain the current DHCP and manual configuration settings. IP
configuration option: automatic (automatically obtain an IP address each time you power on
the Hub) or static (manually assign an IP address).
n
Do not select the
Keep Stored IP Configuration
option to remove the current IP
configuration option. In this situation, the DHCP (Auto IP) process is used. For more
information about DHCP and Auto IP, see
Automatically obtain an IP address for the
. This is the default.
n
Select the
Keep Stored IP Configuration
option to retain the current IP configuration
option. The IP, netmask, gateway, and DNS values will be used for the network
configuration. These manual values are kept in the configuration settings even if you
are currently using DHCP, so you can flip back and forth.
5. Click
Restore
. The Hub is rebooted.
6. You must
Reboot the Hub
You can reboot the Hub if needed. For example, changes to some Hub settings require saving the
changes and rebooting the Hub for the changes to take effect on the Hub.
Note
If the
Set Time
option is selected in the
Time Configuration
page, and the Hub is rebooted, the
Set Time
option is de-selected and the time reverts to the last time stamp that was written to the
Hub log file. If you want to more accurately set the time, you should either
or
1.
2. Select
Reboot
from the Administration section. The
System Reboot Confirmation
page
appears.
3. Click
Reboot
.
4. Wait approximately 15 seconds for the reboot to complete. When the reboot is complete, all
the LEDs turn on and then turn off, leaving the power LEDs on. For the AnywhereUSB 24 Plus
model, one or both of the power LEDs will be on.
Uninstall the AnywhereUSB Manager
You can uninstall the
AnywhereUSB Manager
if needed.
1. Locate the
AnywhereUSB Manager
installer.
n
If you saved the installer when you originally installed the
AnywhereUSB Manager
,
navigate to that location on your computer.

