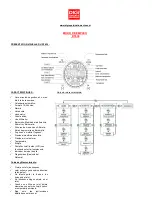
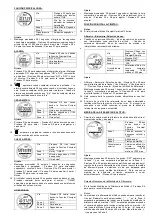
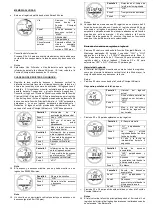
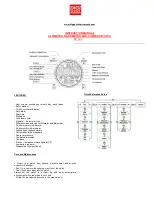

Altimeter
– Barometer Use Selection:
- When Altimeter Use is selected, all pressure changes are
interpreted as altitude change.
- When Barometer Use is selected, all pressure changes are
interpreted as weather change.
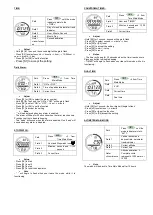
Path
Press
1 from
Altitude Main Mode
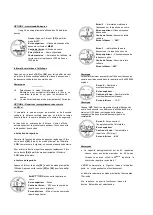
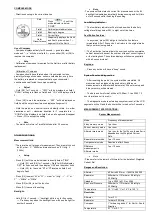
Field 1
Display the “
REF
”
Field 2
Current time
Field 3
“
USE
”
Outer
circumference
Altitude animation. A
complete circle represents
1000 meter or 1000ft.
Setup
- Altimeter
– Barometer Use Selection
-
Press [S3] or [S4] to switch the direction of arrow (“Altimeter Use”
or Barometer Use”)
- Press [S1] to accept the setting
- Reference Altitude Adjustment
- Hold [S2] for 1 second --> Current altitude on field 2 will begin to
flash --> Press [S3] or [S4] to set the function --> Press [S1] to
accept the setting
Note
Setting of the reference altitude of a current location will also
change the sea level pressure. If the user is at a known altitude,
adjustment of the reference altitude to this correct altitude will give
the present sea level atmospheric pressure.
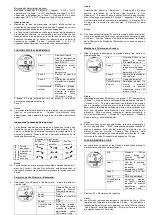
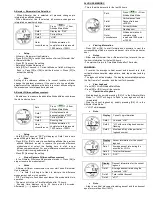
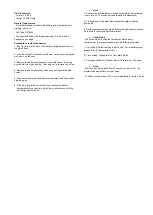
Altimeter Difference Measurement:
-
Enable user to measure the absolute altitude difference between
the start and stop time.
Path
Press
2 from
Altitude Main Mode
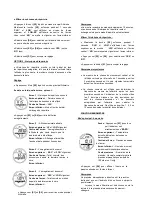
Field 1
Vertical ascent and
descent rate and “DIFF”
Field 2
Current Altitude
Field 3
Running time
Outer
circumference
Altitude animation. A
complete circle represents
1000 meter or 1000ft.
Setup
-
Hold [S2] for 1 second, “SET” will display on Field 1 and a zero
value will begin to flash on Field 2
- Press [S3] or [S4] to select a non-flashing altitude (the previous
altitude difference record) to resume the previous difference
measurement or select the flashing zero to start a new
difference measurement. For a new difference measurement the
time will start running automatically.
- Press [S1] to accept the setting
Stop or Resume Difference Measurement
- In the Altimeter Difference Measurement mode --> Press [S4] to
stop or resume the measurement
Notes
- Altimeter different measurement cannot start when Barometer
Use is selected.
-
“ : ” in field 3 will begin to flash to indicate the difference
measurement mode is in operation.
-
“DIFF” will begin to flash when user leaves this mode while it is in
operation.
- The watch will return to Time Main Mode after 12 hours.
- Running time displays up to 99 hours and 59 minutes.
Afterwards, (- -:- -) appears in Field 3.
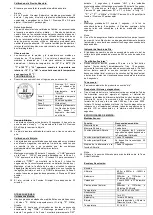
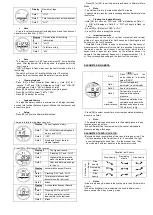
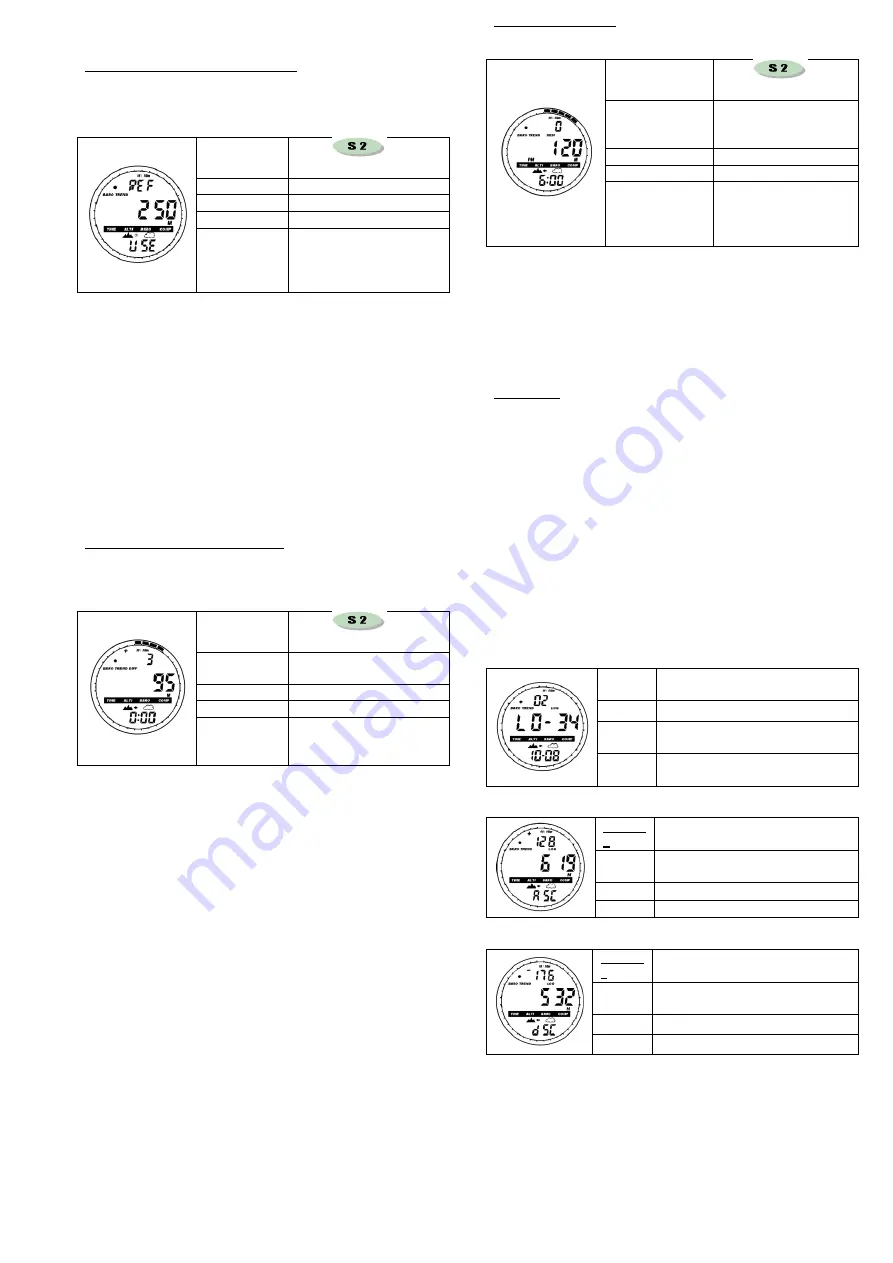
24 HOURS MEMORY:
- This is the altitude record for the last 24 hours
Path
Press
3 from
Altitude Main Mode.
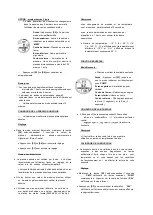
Field 1
Vertical ascent and
Descent rate and
« MEM »
Field 2
Current Altitude
Field 3
Flashing hour
Outer
circumference
Altitude animation. A
complete circle
represents 1000 meter
or 1000ft.
Viewing Information
- Press [S3] or [S4] to scroll forward and backward to view the
corresponding altitude, ascent and decent rate of the particular
hour
Notes
- Either select Altimeter Use or Barometer Use to record the on-
the-hour information for the last 24-hours.
- The watch will return to Time Main Mode after 10 minutes.
LOGBOOK:
- It records the average vertical ascent and descent rate, total
vertical distance travelled, elapsed time, date, lap number and log
number.
- The logbook has five displays. The display automatically displays
the first frame for 7 seconds, and the rest for 4-seconds.
View Logbook
- Press [S2] ×4 from Altitude Main Mode
- Press [S3] or [S4] to scroll the records
Operation of Logbook
- Start logbook by quickly pressing [S4] ×2 in the Altimeter Main
Mode --
> “LOG” will begin to flash, a new logbook will start
immediately
- Stop the current logbook by quickly pressing [S4] ×2 in the
Altimeter Main Mode
--
> “LOG” will disappear
Note
Display
1
Current Log information
Field 1
Year and “
LOG
”
Field 2
“
LO
” with current logbook number
flashing
Field 3
Month and Day of the particular
logbook number
Display
2
Ascent information for the current
logbook
Field 1
Average ascent rate during the
event and « LOG »
Field 2
Total vertical ascent
Field 3
“
ASC
”
Display
3
Descent information for the current
logbook
Field 1
Average descent rate during the
event and “LOG”
Field 2
Total vertical descent
Field 3
“
dSC
”
Note
- A lap is a vertical movement including ascent and then descent
equal or more than 50m (150ft).


