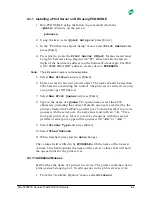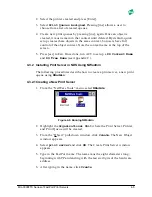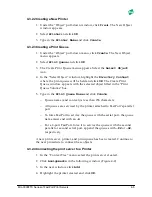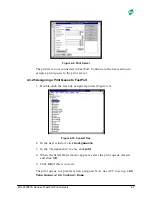
MIL-3000FTX Series of FastPort Print Servers
4-2
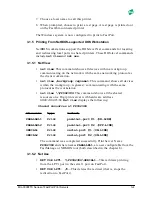
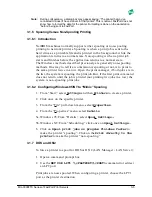
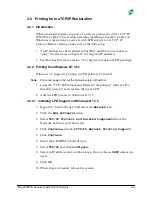
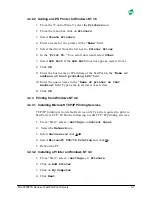
5. Once configuration is done, power cycle FastPort. Wait a few minutes
to allow it to login.
6. Use PCONSOLE to verify that FastPort has logged in:
a. Run
PCONSOLE
and choose one of the queues created.
b. Choose
Currently Attached Print Servers
.
The FastPort name appears.
7. Use NetWare’s “capture” or “nprint” to send data to a NetWare queue.
For Windows, use the “Print Manager” to redirect output to one of the
NetWare print queues.
4.2
Configuring in a Bindery Environment
FastPort can be configured to service up to 16 print queues on 16 bindery
style NetWare servers (NetWare 2.x, 3.x). If configuring FastPort for queues
on NetWare 4.x servers, use an alternate method (see section 4-4).
4.2.1 Using Act to Install the Print Server
Quick Configuration provides options when creating FastPort. Information
is stored in a configuration file called
FPXXXXXX
(where XXXXXX are the
last six digits of its address). The file is stored in the
\LOGIN\MILAN
on the
file server.
1. Highlight
Quick Configuration
and press [Enter]. The program
displays the available FastPort systems.
2. Use the arrow keys to select FastPort and press [Enter].
3. Highlight
FastPort
and press [Enter]. Select a file server.
4. Select a queue to be serviced: [ins] key to add a queue.
5. Repeat Steps 2-4 for all queues that use this FastPort.
6. Specify the printer type (serial or parallel).
7. Select a file server location to store the configuration file.
8. In the next screen, select from the available printer ports.
9. The “Print Server Configuration Summary” screen appears. Review
and write the configuration file to disk.
10. Use the [esc] key to return to the main menu. Power cycle FastPort to
implement the changes.

