MIL-3000FTX Series of FastPort Print Servers
4-3
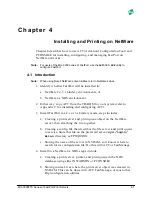
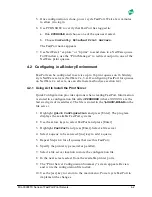
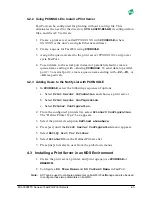
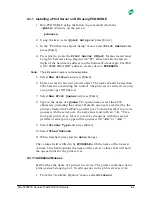
4.2.2 Using PCONSOLE to Install a Print Server
FastPort can be configured for printing without a config. file. This
eliminates the need for the directory
SYS:LOGIN\MILAN
, its configuration
files, and the ACT software.
1. Create a print server called FPXXXXXX with
PCONSOLE
(where
XXXXXX is the unit’s six digits Ethernet address).
2. Create a queue for FastPort using
PCONSOLE
.
3. Assign the queue created to the print server FPXXXXXX. and power
cycle FastPort.
4. To send data to the serial port instead of parallel (default), create a
queue name ending with
-S
using
PCONSOLE
. To send data to parallel
port 2/3 or serial port 2, create a queue name ending with
-P2
,
-P3,
or
-S2
, respectively.
4.2.3 Adding Users to the Notify List with PCONSOLE
1. In
PCONSOLE
, select the following sequence of options:
a. Select
Print Server Information
and choose a print server.
b. Select
Print Server Configuration
.
c. Select
Printer Configuration
.
2. From the configured printers list, select
Printer0 Configuration
.
The “Define Printer Type” box appears.
3. Select the printer description
Defined elsewhere
.
4. Press [esc] until the
Print Server Configuration
menu appears.
5. Select
Notify List for Printer
.
6. Select
Printer0
from the Defined Printers list.
7. Press [ins] and select a user from the pull-down menus.
4.3
Installing a Print Server in an NDS Environment
1. Create the print server, printer, and print queue (use
PCONSOLE
or
NWADMIN
).
2. Configure a
DS Tree Name
and
DS Context Name
in FastPort.
Note:
ACT can be used to configure parameters on FastPort. FastManage can also be used
to configure those two parameters on FastPort.

