Chapter 4: Media Station|V10 Software
37
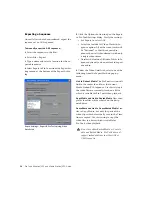
The following settings may also appear under
the Video Details tab, depending on the selected
export method:
Destination Folder
Choose where to store copied
video files.
Target Drive for Consolidate
Choose the target
drive for consolidated video. The new video files
will be stored in the OMFI MediaFiles folder on
that drive. You cannot save these export settings
until you have highlighted a target drive.
Striped drives appear in bold type.
Handle Length
Extends the beginning and end
of the consolidated file by the specified number
of frames. This lets you trim edits later, though
the sequence would need to be re-edited in Me-
dia Station|V10 (Pro Tools does not support
trimming video regions, so you can save space
and time by setting this to 0).
Render Video Effects
Always select Render Video
Effects. If you already manually rendered effects,
selecting this option will not create new files. It
is highly recommended that all effects be ren-
dered manually before exporting the sequence
(see “Render All Effects” on page 35).
Transcode Video To
Use this only if you need to
change the video resolution. Pro Tools supports
most resolutions supported by
Media Station|V10, and even supports mixed
resolutions in the Pro Tools Timeline, so in most
cases there is no need to spend extra time
transcoding the video. However, if you have
video of a resolution which is not currently sup-
ported by Pro Tools, use this setting to
transcode it to a supported resolution.
If your Pro Tools system is running on a
slower computer, you may be able to reduce
some of the processing overhead by
transcoding the video to 1:1. 1:1 video is
uncompressed, and consequently it does not
need to be decompressed before playing
back. However, 1:1 video requires signifi-
cant amounts of storage space.
Transcoding video during export may cause
some rendered and unrendered video effects
to not be included in the export. If transcod-
ing video with effects is required, first
transcode the files within the existing se-
quence, then render all of the effects, then
perform the export, and finally, open the ex-
ported sequence to be sure that all required
video effects appear correctly in the exported
video.
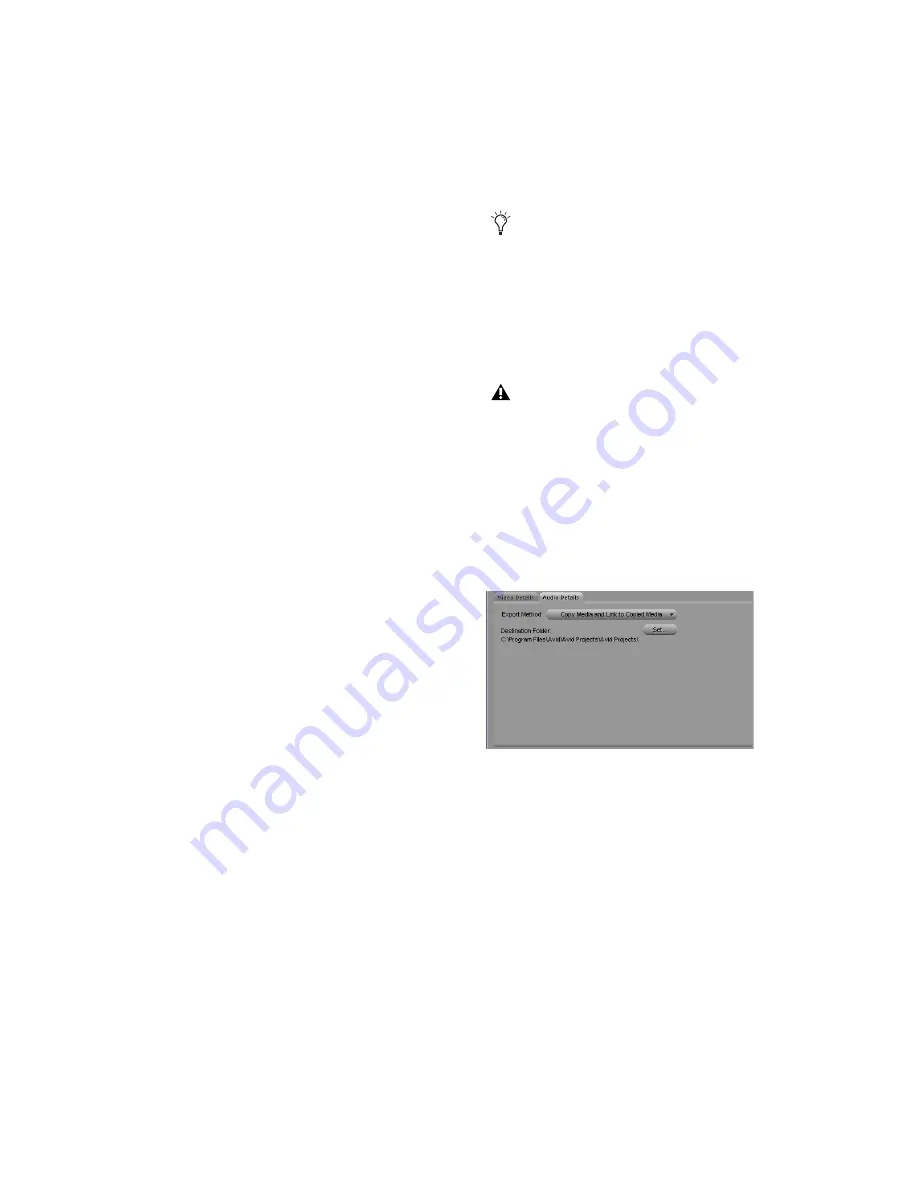
Export Settings dialog, Audio Details tab


