TellerScan 215 & 230 User Manual Rev 050609
12
Cleaning The TellerScan® 215 & 230 using Scanlite Software
Cleaning your scanner’s Rollers, Magnetic Head and Camera Faceplates
Cleaning Steps
In severe environments where ink and dirt build up rapidly, it may be necessary to clean the scanner rollers,
magnetic read head, scanhead faceplates, and document track every 3,000 to 5,000 documents. This simple
maintenance will dramatically improve the reliability of your scanner over its useful life.
1. Do not use stickers to cover up previously
sprayed numbers on documents. The
backing from the stickers can rub off onto
the rollers and cause documents to jam.
2. Do not use White Out on scanned
documents, the White Out can rub off the
documents onto the scanner camera
faceplate and distort the images.
3. Watch for loose debris falling into the
scanner such as staples and rubber
bands.
4. Carefully, turn the scanner upside down
and shake it to remove any loose debris.
Scanner Cleaning Supplies (to order call 847.446.2285)
1. Compressed Air - (acquired for a local office supply provider)
2. Cleaning
Kit – Consisting of one box of 25 cleaning cards & 6 Cleaning Swabs – (#130007-03)
The Scanlite program, which is available from the
Digital Check web site, is an excellent utility to run
while performing the cleaning procedures
recommended below. Scanlite provides an easy way
to initiate the scan cycles in order to feed the cleaning
cards properly through the scanner. Scanlite also
includes an ‘Eject’ button which operates the scanner
at half its normal speed, making it easy to scrub off the
four main drive rollers when using the cleaning swabs.
Visit the following site to download Scanlite:
http://www.digitalcheck.com/integration_support/drivers
_and_demo_programs
Helpful Hints
Step Action
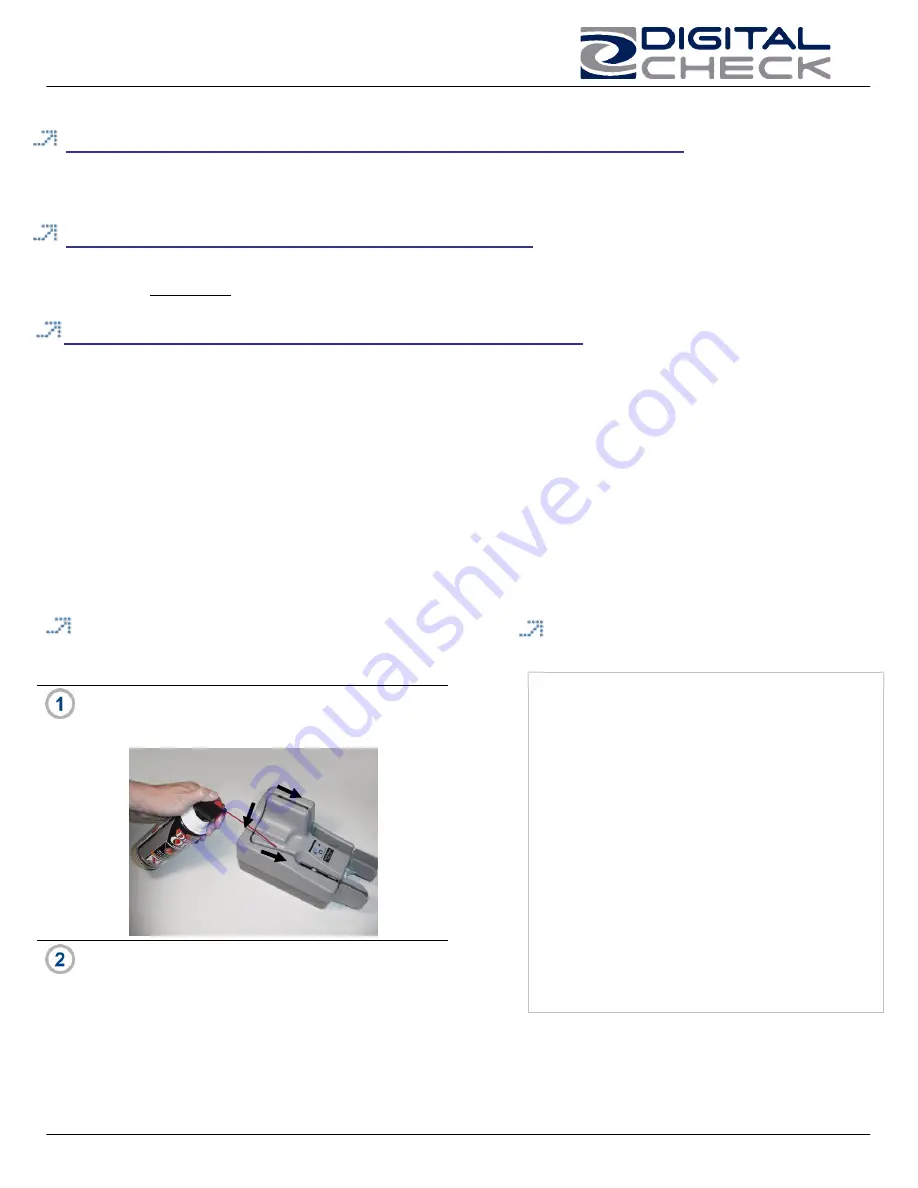
Use compressed air to clean the document
track as illustrated below:
You may need to remove the center or outer
covers to check for other debris that may have
entered the scanner. Using two hands pull
straight up on the center and left side covers
to remove. See the section below for
removing the rear right cover.


