6
6-5
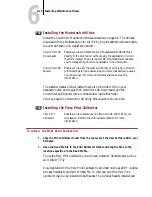
Installing Macintosh software
T
O
INSTALL
THE
A
DOBE
PSP
RINTER
D
RIVER
:
1.
Insert Macintosh Disk 1 in the Macintosh on which you want the printer driver
installed.
2.
Double-click the PSPrinter disk icon, and double-click the Installer icon.
3.
Click OK.
4.
Click Install.
5.
Click Accept to accept the terms of the license agreement.
The Installer proceeds to install PSPrinter, checks your Chooser version, checks
your Printer Descriptions folder, and installs the Colorwriter PPD file. At the end
of the installation, a help screen shows you how to select the Chooser and select
the PSPrinter driver in the Chooser.
6.
Click OK to dismiss the help screen, and then click Quit to end the installation.
7.
Eject the floppy disk.
Use Macintosh Disk 1 to install the driver on other Macintosh computers.
Setting up the Colorwriter in the Chooser
After you install the printer driver and printer description file, you need to set up
the Colorwriter in the Chooser to take full advantage of its features. This section
describes how to verify the connection and set up the Colorwriter with the Adobe
PSPrinter Driver v8.3.1. Some options are different when you use other versions
of the driver.
T
O
VERIFY
THE
A
PPLE
T
ALK
CONNECTION
AND
SET
UP
THE
C
OLORWRITER
:
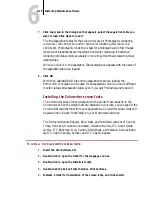
To verify the network connection, use a Macintosh on the same network as the
Colorwriter. With the networked Macintosh, perform the following operations:
1.
Choose the Chooser from the Apple menu. Make AppleTalk active by clicking the
“Active” button.
2.
Select the PSPrinter icon in the Chooser.
The upper right scroll list in the Chooser window lists the names of available
devices after you select the device type.


