8-24
DECcolorwriter 1000
8
FRU Disassembly/Assembly
Drum motor
1.
Power down the printer and remove the power cord.
2.
Remove the left side cabinet panel. Refer to the earlier topic “Printer cabinet
panels” on page 8-3.
3.
Loosen the drum belt tensioner set screw. Push the tensioner to loosen the
drive belt and then tighten the set screw to hold the belt in its loosened
position.
4.
Remove the drum belt from the drum pulley.
5.
Disconnect the drum motor's wiring harness leading to the print engine
control board.
6.
Remove the four outer screws securing the drum motor to the print engine
frame. Remove the motor.
Reverse these steps to reinstall the drum motor.
Tools required
n
#1 POSIDRIV® screwdriver
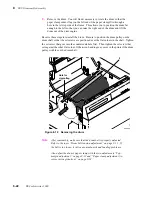
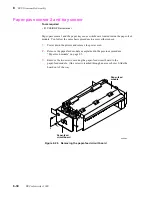
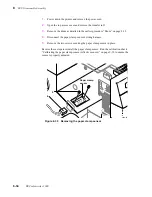
Figure 8-21 Removing the drum motor
Drum
motor
Drum
pulley
Drum
belt
3
4
6
6
Belt tensioner
8699-46
Summary of Contents for DECcolorwriter 1000
Page 11: ...Service Manual xi...
Page 16: ...Service Manual xv...
Page 56: ...2 24 DECcolorwriter 1000 2 Installing the Printer and Drivers...
Page 64: ...3 8 DECcolorwriter 1000 3 Verifying the Printer and Host Connections...
Page 70: ...4 6 DECcolorwriter 1000 4 Key Operator Training...
Page 170: ...8 46 DECcolorwriter 1000 8 FRU Disassembly Assembly...
Page 190: ...9 20 DECcolorwriter 1000 9 Checks and Adjustments...
Page 195: ...Service Manual A 5 Field Replaceable Units List A...
Page 198: ...A 8 DECcolorwriter 1000 A Field Replaceable Units List...
Page 204: ...C 6 DECcolorwriter 1000 C Wiring Diagrams...
Page 208: ...D 4 DECcolorwriter 1000 D Test Pattern Generator...

