Service Manual
9-13
Checks and Adjustments
9
7.
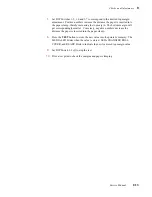
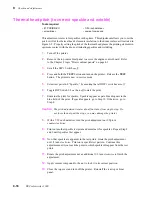
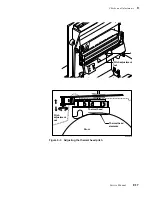
Set DIP Switches 1-5, 1-6 and 1-7 to correspond to the desired top margin
adjustment. Positive numbers increase the distance the paper is inserted into
the paper clamp, thereby increasing the top margin. The bottom margin will
get correspondingly smaller. Conversely, negative numbers decrease the
distance the paper is inserted into the paper clamp.
8.
Press the TEST button to store the new value into the printer's memory. The
MEDIA LED blinks when the value is stored. LEDs TRANSFER ROLL,
COVER, and READY blink to indicate the newly entered top margin value.
9.
Set DIP Switch 1-3 off to stop the test.
10.
Print a test print to check the margins and paper clamping.
Summary of Contents for DECcolorwriter 1000
Page 11: ...Service Manual xi...
Page 16: ...Service Manual xv...
Page 56: ...2 24 DECcolorwriter 1000 2 Installing the Printer and Drivers...
Page 64: ...3 8 DECcolorwriter 1000 3 Verifying the Printer and Host Connections...
Page 70: ...4 6 DECcolorwriter 1000 4 Key Operator Training...
Page 170: ...8 46 DECcolorwriter 1000 8 FRU Disassembly Assembly...
Page 190: ...9 20 DECcolorwriter 1000 9 Checks and Adjustments...
Page 195: ...Service Manual A 5 Field Replaceable Units List A...
Page 198: ...A 8 DECcolorwriter 1000 A Field Replaceable Units List...
Page 204: ...C 6 DECcolorwriter 1000 C Wiring Diagrams...
Page 208: ...D 4 DECcolorwriter 1000 D Test Pattern Generator...


