6-10
DECcolorwriter 1000
6
Troubleshooting
8.
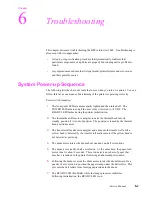
Inspect the wiring harness leading to the paper-feed module for nicks, cuts or
crimped wiring.
9.
Inspect the paper-feed module for obstructions.
Paper-clamping errors
Note
Figure 1-3 illustrates the location of all the printers' sensors.
1.
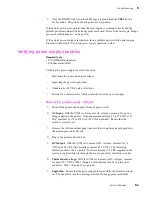
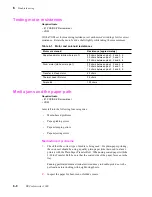
Check hex-encoded error indicators on the front panel by momentarily
pressing the TEST button. (The later topic “Displaying error codes on the
front panel” on page 6-18 explains how to interpret error codes.) In most
cases, either an error code from 22 or 26 through 2B through 2F is displayed.
These failures can be caused by faulty sensors, improper media size, roller
failure or poor media clamping. Also check for foreign objects in the paper
path.
2.
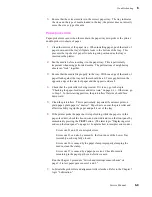
Ensure that the paper clamp operates correctly. The paper clamp should be
opened when the drum motor reverses and drives the drum against the drum
stops, which forces open the clamp.
3.
If the paper clamp is not opening correctly because the drum is not rotating
against the drum stops, then test the drum home position sensor. Refer to the
Chapter 9 topic “Switch and interrupt sensor checks” on page 9-8.
4.
Clean the paper clamp with alcohol and a lint-free cloth to ensure that it is
fully gripping the sheet of paper.
5.
If clamping does not improve, inspect and clean the lenses of the paper clamp
sensor. The lenses face upward and can be occluded by paper dust. You must
either clean the sensor with a long-stemmed swab through the access hole in
the left side of the printer frame or else you must remove the drum to access
the sensor underneath. Refer to the Chapter 8 topic “Drum” on page 8-19 for
information on drum removal.
6.
If the paper reaches the paper clamp but fails to be clamped, run the Chapter 9
procedure “Calibrating the paper clamp sensor (reflective sensor)” on
page 9-10 to calibrate the paper clamp sensor.
7.
If clamping still does not improve, replace the paper clamp sensor.
Print-eject jams
1.
Test the paper eject sensor. Refer to the Chapter 9 topic “Switch and interrupt
sensor checks” on page 9-8. If the sensor fails the test, replace it.
2.
Check to see if the upper eject roller drive belt is broken or slipped off of its
pulleys. In such a case, the upper roller will not rotate when the lower roller
rotates.
Summary of Contents for DECcolorwriter 1000
Page 11: ...Service Manual xi...
Page 16: ...Service Manual xv...
Page 56: ...2 24 DECcolorwriter 1000 2 Installing the Printer and Drivers...
Page 64: ...3 8 DECcolorwriter 1000 3 Verifying the Printer and Host Connections...
Page 70: ...4 6 DECcolorwriter 1000 4 Key Operator Training...
Page 170: ...8 46 DECcolorwriter 1000 8 FRU Disassembly Assembly...
Page 190: ...9 20 DECcolorwriter 1000 9 Checks and Adjustments...
Page 195: ...Service Manual A 5 Field Replaceable Units List A...
Page 198: ...A 8 DECcolorwriter 1000 A Field Replaceable Units List...
Page 204: ...C 6 DECcolorwriter 1000 C Wiring Diagrams...
Page 208: ...D 4 DECcolorwriter 1000 D Test Pattern Generator...

