3-4
Installation
Connecting the Printer to a Power Outlet
Firstly make sure that the voltage indicated on the printer's electrical data plate
matches the actual line voltage rating, then plug the power cord into the wall
outlet.
Read section "General Rules" for information on optimum printer performance.
Installing the Print Head
The print head is equipped with an ink detection sensor that guarantees con-
stant quality printing by indicating when the ink cartridge is nearly empty.
To install the print head:
•
Power on the printer.
•
Press the
Install Cartridge
button in order to move the print head to the
print head installation / replacement position.
•
Lift the printer's top cover.
•
Open the container in which the print head is stored.
•
A User Guide inside the container gives you the information needed for
installing the print head.
•
Remove the print head from its container, holding it on the side opposite the
electrical contacts so that you do not touch them.
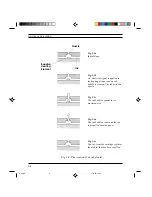
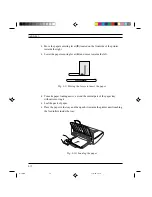
Fig. 3-2: Removing the print head from its container
S-3.PM5
11/7/94, 17:14
4
Summary of Contents for DECcolorwriter 120ic
Page 58: ...3 21 Installation Fig 3 21 Fonts selector switches settings S 3 PM5 11 7 94 17 16 21 ...
Page 59: ...3 22 Installation Fig 3 22 Character sets selector switches settings S 3 PM5 11 7 94 17 16 22 ...
Page 60: ...3 23 Installation Fig 3 23 Character sets selector switches settings S 3 PM5 11 7 94 17 16 23 ...
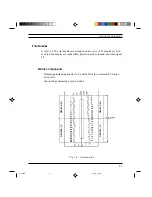
Page 78: ...7 3 Electrical Interconnections Fig 7 1 Main board S 7 PM5 3 14 97 3 38 PM 3 ...


