3-5
Installation
•
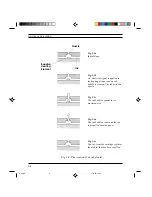
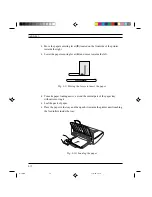
Holding the print head by its outside shell, remove the protective tape from
the nozzles in the direction of the arrow indicated below. Never touch the
nozzles area, nor rest the print head on it.
Fig. 3-3: Removing the protective tape
Fig. 3-4: Installing the print head
•
Make sure the print head is installed correctly. Try again if you are not sure.
•
Close the printer's top cover.
2
1
•
With the electrical contacts facing the front of the printer, insert the print
head in its slot by pushing it downwards (1), then pull it towards the front of
the printer until it clicks (2).
S-3.PM5
11/7/94, 17:14
5
Summary of Contents for DECcolorwriter 120ic
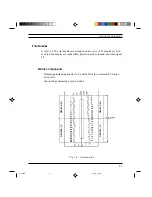
Page 58: ...3 21 Installation Fig 3 21 Fonts selector switches settings S 3 PM5 11 7 94 17 16 21 ...
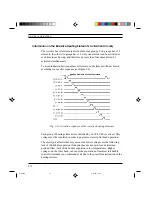
Page 59: ...3 22 Installation Fig 3 22 Character sets selector switches settings S 3 PM5 11 7 94 17 16 22 ...
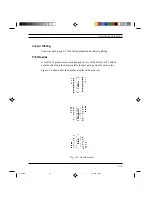
Page 60: ...3 23 Installation Fig 3 23 Character sets selector switches settings S 3 PM5 11 7 94 17 16 23 ...
Page 78: ...7 3 Electrical Interconnections Fig 7 1 Main board S 7 PM5 3 14 97 3 38 PM 3 ...

