3-16
Installation
Print Test
To check whether the printer is installed correctly, simply run a print test.
To run the print test:
•
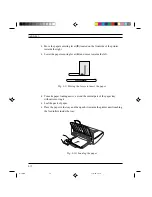
Make sure there is paper in the input tray.
•
Power the printer off and then on again while pressing the
Install Cartridge
button.
•
The printer will load a sheet of paper and begin to print the test. The mono-
chrome print test is four pages long, the color print test one page long.
•
The test ends when all pages have been printed; the printer is now ready to
be connected to the personal computer.
With this test you can check whether the printer works correctly, you can
obtain a printout of the printer's configuration data and view its default Setup
parameters.
Connecting the Printer to the Computer
Centronics Parallel Interface
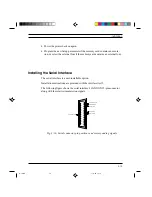
This interface is a standard component on the printer; no additional options are
required.
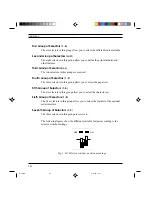
Handshaking is synchronized by the character strobe signal, issued from the
system, and by the BUSY signal issued from the printer.
Fig. 3-17: Signal timing
DATA
STROBE
BUSY
ACK
T
ack
T
s
T
d
T
d
S-3.PM5
11/7/94, 17:15
16
Summary of Contents for DECcolorwriter 120ic
Page 58: ...3 21 Installation Fig 3 21 Fonts selector switches settings S 3 PM5 11 7 94 17 16 21 ...
Page 59: ...3 22 Installation Fig 3 22 Character sets selector switches settings S 3 PM5 11 7 94 17 16 22 ...
Page 60: ...3 23 Installation Fig 3 23 Character sets selector switches settings S 3 PM5 11 7 94 17 16 23 ...
Page 78: ...7 3 Electrical Interconnections Fig 7 1 Main board S 7 PM5 3 14 97 3 38 PM 3 ...


