5-6
Diagnostics and Tests
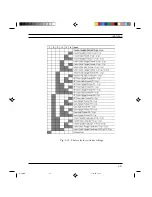
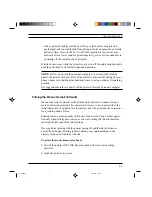
- If the Nozzle Test shows that one or more nozzles are not receiving the
electrical signal, remove the print head and clean the electric contacts on
both the carriage and print head using a clean brush or a cloth dampened
with an alcohol solution. If the fault persists, replace the print head. If this
did work, try replacing the print head carriage and relative flat cable.
Replace the main board as last resort.
- If incorrect or smeared characters are printed, make sure the print head
carriage moves freely.
Bear in mind that an excessive increase in the printer's environmental
temperature can cause the printed characters to smear or the creation or
irregular ink droplets.
Incorrect Paper Feed
These faults include paper jams, irregular paper feed or no paper feed at all.
Paper movements are controlled by a stepper motor. If the paper is not loaded
in the printer, check the mechanisms that transfer motion from the motor to the
paper feed rollers, then check the motor cabling. Replace the main board as last
resort.
Paper or other obstructions along the paper path can cause paper jams or
irregular paper feeds. To avoid paper jams, it is suggested that you load paper
in the input tray only when it is empty. When loading new paper in the input
tray or after moving a jammed piece of paper, always remove the sheets
already present in the input tray and then reload the entire block again.
Incorrect Data Transmission
- Make sure you are using the right interface cable and that it is not too long
(up to 2.5 m for a parallel interface cable).
- Make sure the printer and personal computer are connected together cor-
rectly.
- Also make sure that the printer's configuration parameters satisfy the
requirements of the application software installed on the personal computer.
S-5.PM5
11/7/94, 17:19
6
Summary of Contents for DECcolorwriter 120ic
Page 58: ...3 21 Installation Fig 3 21 Fonts selector switches settings S 3 PM5 11 7 94 17 16 21 ...
Page 59: ...3 22 Installation Fig 3 22 Character sets selector switches settings S 3 PM5 11 7 94 17 16 22 ...
Page 60: ...3 23 Installation Fig 3 23 Character sets selector switches settings S 3 PM5 11 7 94 17 16 23 ...
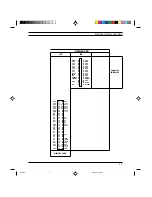
Page 78: ...7 3 Electrical Interconnections Fig 7 1 Main board S 7 PM5 3 14 97 3 38 PM 3 ...

