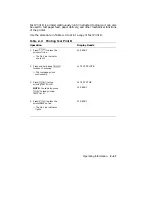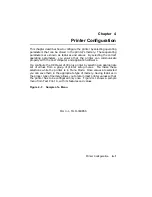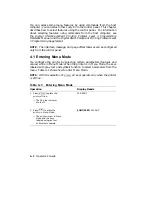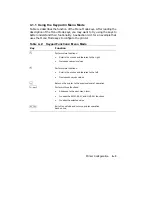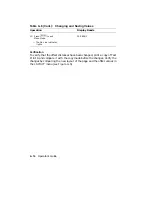
Table 3–3 (Cont.): Keypad Functions: Keypad Mode
Key
Function
Form Feed
Form Feed
works in conjunction with the Data indicator. If
the Data indicator is on after a file stops printing, it means
there is still data in the print buffer. Pressing
Form Feed
prints the remaining pages in the print buffer.
When you press
Form Feed
, the indicator on the key lights
to show that the data is being printed.
If you press
Form Feed
again while the data is printing, it stops printing
the remaining pages and the indicator flashes until the
current page exits the printer. Once the page exits the
printer, the indicator light remains off.
Form Feed
can be
pressed again to resume printing.
Error Skip
The DEClaser 2100 plus printer alerts you to certain error
conditions by stopping the printer and displaying the type
of error on the control panel.
When this happens you
may elect to note the problem and then continue printing
by pressing
Error Skip
. Pressing
Error Skip
bypasses these
errors so that printing continues. After you press
Error Skip
the printer remains off line. You must press
On Line
to
place the printer back on line and continue printing.
Some errors can repeat, such as communications errors
or print formatting errors when the printer is receiving
additional communication data. When this happens you
may need to repeat the Error Skip procedure several times.
Refer to Chapter 6 for additional information about errors
and corrective actions.
Test/Font
Test/Font
performs several functions in Keypad Mode:
•
Pressing the key once prints Test Print A (see
Section 2.13).
•
Pressing and holding the key down for at least three
seconds prints Test Print B (see Section 2.14).
•
Pressing the key twice prints the Font List (see
Section 2.15).
The Control Panel
3–5
Summary of Contents for DEClaser 2100 plus
Page 19: ...Figure 1 1 Components Front Right Side View MLO 004826 1 2 Operator s Guide...
Page 21: ...Figure 1 2 Components Rear Left Side View MLO 004827 1 4 Operator s Guide...
Page 23: ...Figure 1 3 Components Inside the Printer MLO 004828 1 6 Operator s Guide...
Page 39: ...5 Replace the cover on the cassette Fig 2 14 MLO 004840 Operating Information 2 13...
Page 44: ...2 Fold out the extension tray Fig 2 17 MLO 004836 2 18 Operator s Guide...
Page 48: ...14 Close the rear output tray Fig 2 21 MLO 004834 2 22 Operator s Guide...
Page 65: ...Figure 2 1 Engine Test Print Fig 2 40 MLO 004525 Operating Information 2 39...
Page 68: ...Figure 2 2 Test Print A Fig 2 42 MLO 004851 2 42 Operator s Guide...
Page 72: ...Figure 2 3 Test Print B Fig 2 43 MLO 004852 2 46 Operator s Guide...
Page 75: ...Figure 2 4 Font List Fig 2 44 MLO 004853 Operating Information 2 49...
Page 224: ...Figure C 2 Serial Connections to Modem MLO 004885 Specifications C 5...
Page 225: ...Figure C 3 Serial Connections Without Modem MLO 004887 C 6 Operator s Guide...


