4-17
(6) Power supply and fuse replacement
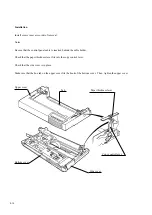
Removal
1.
Remove the fuse from the power supply, if necessary.
2.
Disconnect AC and CNPW connectors.
3.
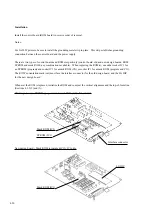
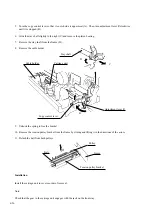
Remove the four screws (three screws for LA30W) then remove the power supply. The rod and its securing
screw are not used for LA30W.
CNPW connector
Cable
Power supply
Rod
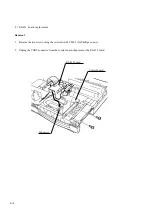
Installation
Install the power supply and fuse in reverse order of removal.
Notes:
Old and new design power supplies are compatible with each other, but their fuses are not compatible.
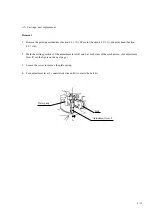
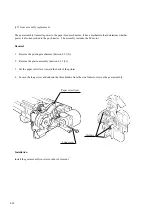
For LA30N only; before connecting the CNPW connector to the corresponding connector on the control board
(ROM board), be sure to wind the cable once around the rod. If the cable wires are bound with a tie, cut the tie
before winding the cable.
Fuse (*)
AC connector
Fuse (*)
Rod
(LA30N only)
* Difference between fuses :
For new design power supply
Part number
Engraving
29-33706-01 125V 4A
29-33707-01 250V 2.5A
For old design power supply
Part number
Engraving
29-33029-01 125V 6A
29-33030-01 250V 3.15A
CNPW connector
Old design
power supply
New design
power supply
Summary of Contents for LA30 N
Page 1: ...Order Number ER LA30N SV 003 Service Manual TM LA30N LA30W Companion Printer...
Page 2: ......
Page 5: ......
Page 39: ...3 16...
Page 91: ......
Page 137: ......
Page 140: ......
Page 141: ...TM Printed in Ireland...

