Defining Form Settings
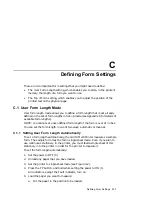
C.1 User Form Length Mode
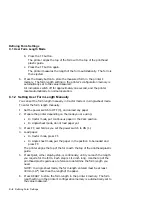
b.
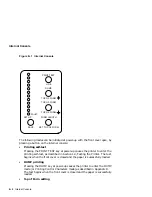
Press the FF button.
The printer aligns the top of the form with the top of the printhead
plastic guide.
c.
Press the FF button again.
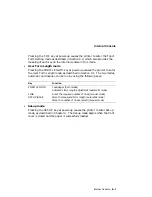
The printer measures the length of the form automatically. The form is
then ejected.
6.
Press the Ready button to store the measured form in the printer’s
memory. The form length setting in the printer’s configuration memory is
automatically set to the value measured.
All indicators switch off for approximately one second, and the printer
resets automatically to normal operation.
C.1.2 Setting User Form Length Manually
You can set the form length manually in tractor mode or in single-sheet mode.
To enter the form length manually:
1.
Set the power switch to OFF (0), and unload any paper.
2.
Prepare the printer depending on the mode you are using:
•
In tractor mode, put continuous paper in the Park position.
•
In single-sheet mode, do not load paper yet.
3.
Press FF, and hold as you set the power switch to ON (1).
4.
Load paper:
•
In tractor mode, press FF.
•
In single sheet mode, put the paper in the position to be loaded and
press FF.
The printer aligns the top of the form with the top of the printhead plastic
guide.
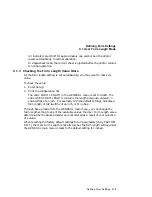
5.
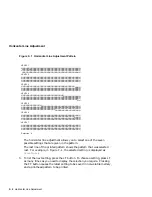
Press Quiet, either step-by-step, or continously, until you reach the length
you require for the form. Each step is 1/12 inch long. Use the top of the
printhead plastic guide as a reference to determine the form length you
need.
NOTE: In single sheet mode, the form length entered must be at least
30mm (1.17") less than the length of the paper.
6.
Press READY to store the form length in the printer’s memory. The form
length setting in the printer’s configuration memory is automatically set to
the value measured.
C–2 Defining Form Settings

