2.
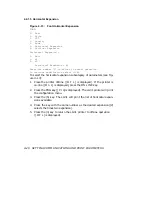
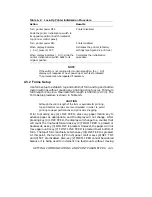
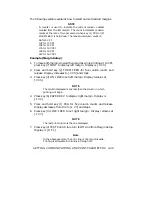
Press key (4) LINE FEED to set top of form. Display is [ 0 0 0].
3.
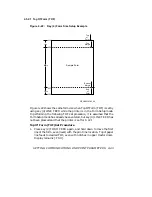
One-inch top margin is desired at 6 LPI. Press and hold (2) FORM
FEED, count six lines, release pushbutton. Display counts one line
feed per half-second. Final display is [.0 0 6].
4.
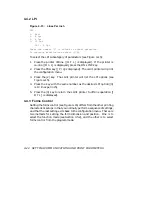
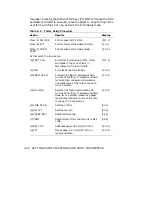
Press key (5) CPI/LPI to set top margin. Display remains at [.0 0 6].
5.
The body of the form is 21.6 cm (8½ inches) or 51 lines. Press and
hold key (2) FORM FEED, count 51 lines (51 + 6 = 57 total), release
pushbutton. Display counts to [.0 5 7] and stops.
6.
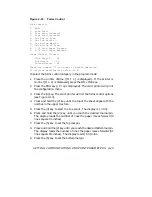
Press key (6) PAPER REV to set bottom margin. Display remains at
[.0 5 7].
7.
Form is 27.9 cm (11 in) or 66 lines. Press and hold key (2) FORM
FEED, count nine lines, release pushbutton. Display is [.0 6 6].
8.
Press key (7) FONT to set bottom of form, save form setup, form feed
to first print line of next form, and exit Form Setup. Paper moves
forward to first print line of next form. Display is [ O F L].
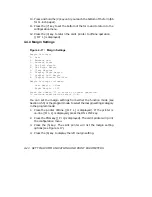
During steps 3, 5, or 7 in the above TOF set procedure, if the counter goes
beyond the desired number of lines, press key (3) ON LINE to subtract
excess lines from the display counter.
NOTES
1.
When a new supply of forms is needed and the same form is
used, it is only necessary to align the top perforation with
the notches in the paper locking levers (upper tractors) and
press keys (0) TEST CLR and (8) SET TOF to set the top
of form position. The form will move forward to place the
first line of the next form in a printable position. Do not
use key (4) LINE FEED for this purpose. Press key (3) ON
LINE to resume printing.
2.
After the form parameters have been entered by pressing
key (7) FONT, changing the vertical pitch will not change
form length. Example: changing from 6 to 8 LPI on a 27.9
cm (11 inches) page will not shorten page to 21.0 cm (8¼
inches) or 66 lines/8 LPI=8¼ inches.
3.
See Table 4-6 for procedure to adjust form up or down.
4–34
SETTING COMMUNICATIONS AND PRINT PARAMETERS

