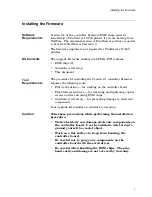
Installing the Firmware
5.
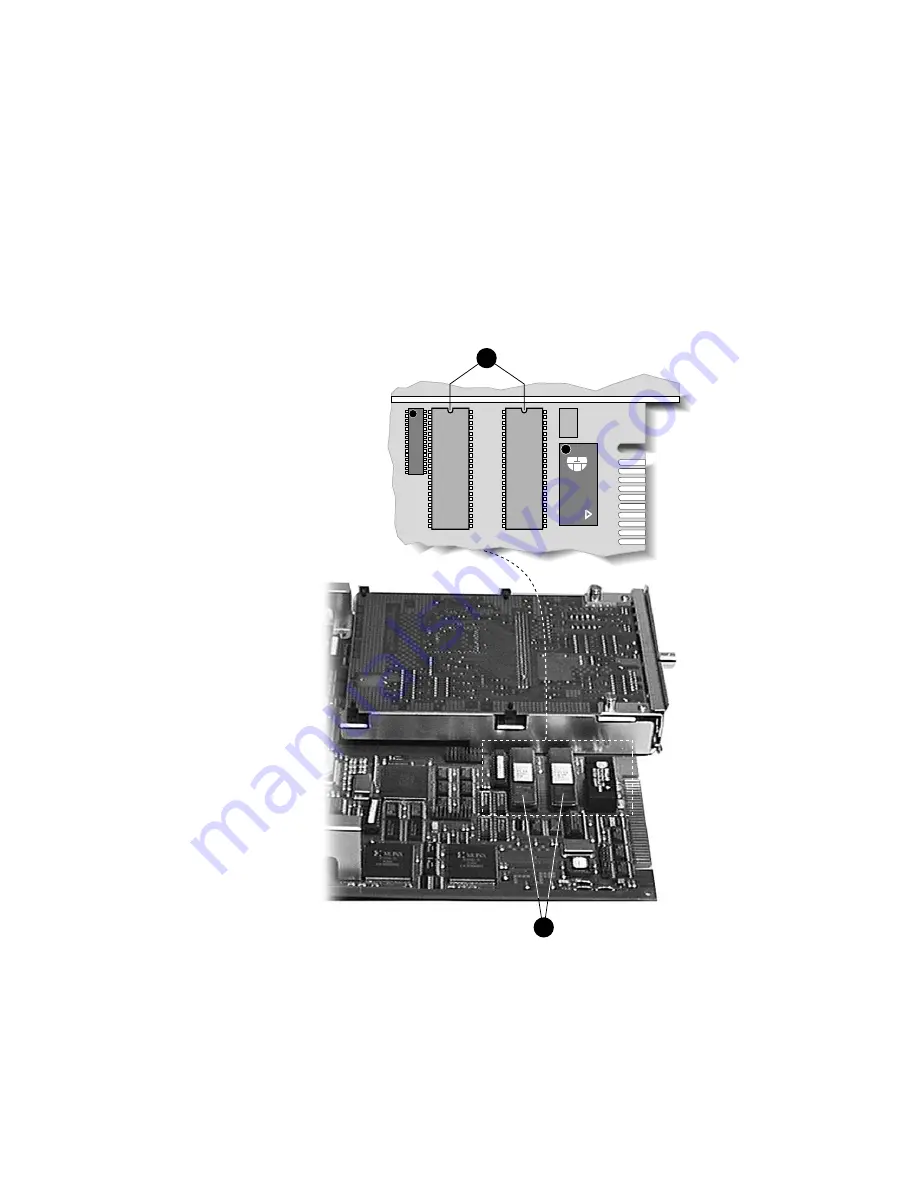
Extract the existing ROM chips ( ) by sliding the screwdriver
underneath each chip and gently loosening the pins from their
sockets.
6.
Carefully align the pins on each new chip with the sockets on
the board, noting the orientation of the notch (
).
Note:
You may find it easier to align the pins with the sockets
if you bend in the pins
slightly
. The pins bend easily, so gently
rock each chip on each side, on your flat work surface, to
adjust the pins for alignment.
Press the chips firmly and evenly to seat them in their sockets.
1
2
27
3
E8
27
2
E8
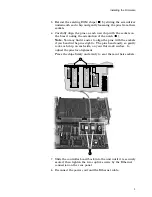
7.
Slide the controller board back into the unit until it is securely
seated, then tighten the two captive screws by the Ethernet
connection on the rear panel.
8.
Reconnect the power cord and the Ethernet cable.
3


