(No.HD001<Rev.001>)1-41
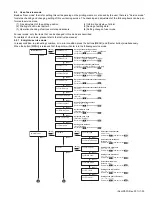
5.3.2 Off-line Test
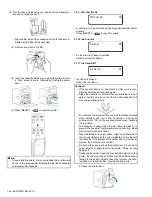
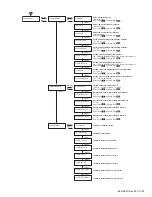
This is used to print the built-in test pattern of this printer and for
execution of an MG self-test.
5.3.2.1
Pattern setting
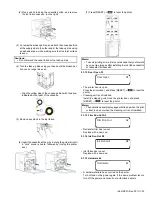
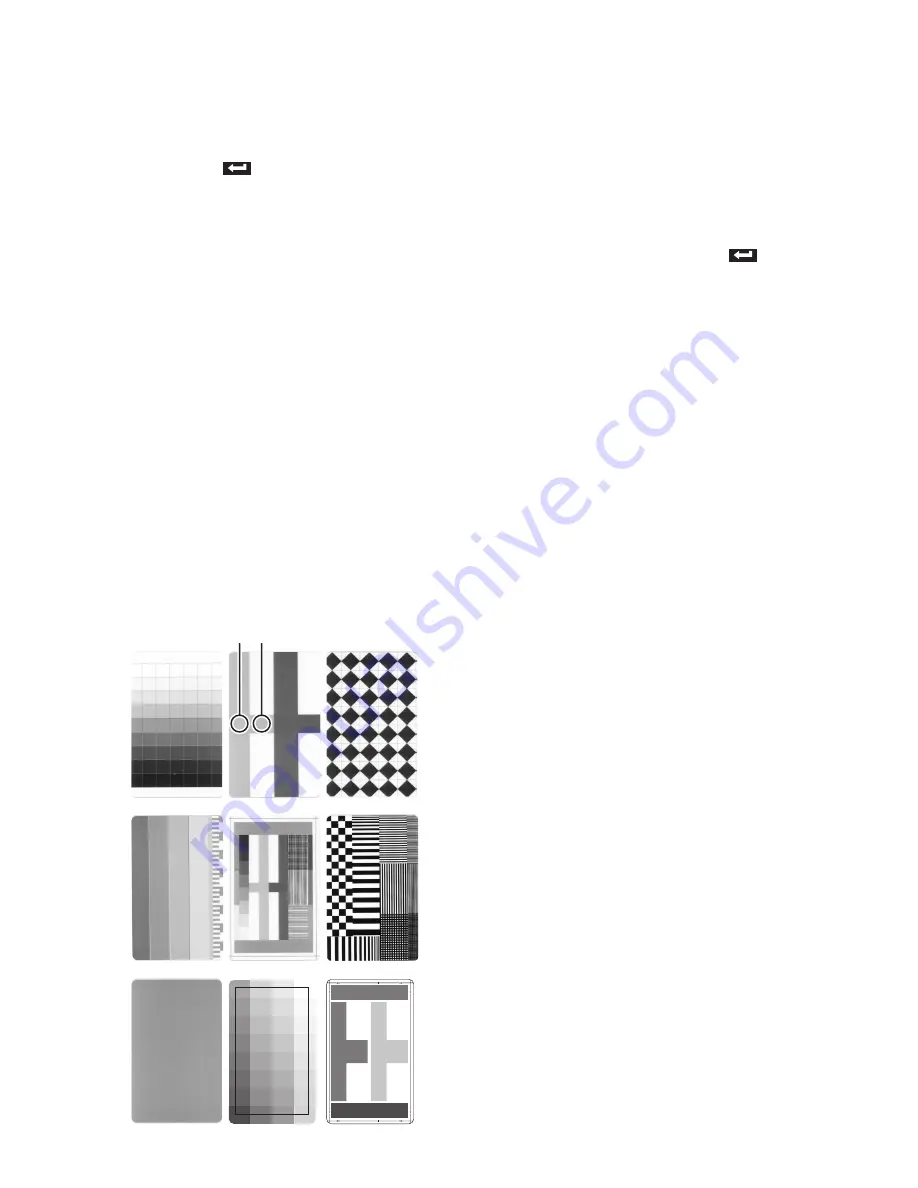
This printer has nine types of built-in printing patterns. Select a
pattern and press the [
] button to store it. Return to the ini-
tial pattern is made when the power is cut.
(1) Step
This is for confirmation of uniform gradation.
(2) Registration
This is used to confirm that each color overlaps correctly.
(3) Address
The head has 1036 heater elements for printing. This is
used to confirm the uniformity of the density for each heater
element.
(4) Color
This is a pattern for overall evaluation.
(5) Vth
A and B are printed with the same data values. This is used
to confirm that the power supply voltage compensation
(Vth) has been done correctly (same density).
(6) Gray
For checking of feed irregularities caused by mechanical
trouble etc.
(7) Black
For checking of black ink blurring, drop-outs, etc.
(8) Normal
This is a pattern for overall evaluation.
(9) Adjust
This is a pattern for overall evaluation.
(10) ALL
The above patterns (1) to (9) are printed in sequence.
(Each pattern is printed on separate card.)
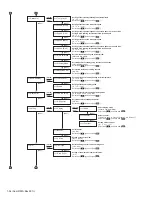
5.3.2.2
Side
Selection whether test printing is to be done on one side or both
sides.
5.3.2.3
Times
The number of cards for the test contents selected by "Test se-
lect" of the following item is selected.
5.3.2.4
Test
The test to be executed is selected.
(1) Print
Select this for printing and press [
] twice to start.
(2) Feed
Select this to test only the card feed.
(3) IC (Contact)
The cards are fed and the contact for clip card is lowered.
There is no data communication.
(4) IC (Antenna)
The card is fed and stops under the antenna for contact-
free clip card.
(5) MG
Data actually are written to and read from magnetic stripe
cards. An error is displayed on the LCD panel in case of ab-
normalities.
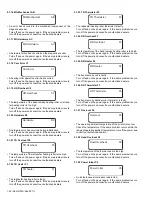
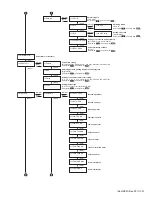
5.3.3 Diag. Test
5.3.3.1
Actuator
It is possible to operate each motor individually and to check for
motor defects and to check the operation of the mechanisms.
When cleaning roller has not been inserted or a door open, the
power supply to the motor is cut, it will not operate, and inspec-
tion should be performed.
(1) Ink TUP Enc. (Ink Take-Up Encoder)
Before starting the test, remove the ink cassette. The en-
coder that detects the amount of ink ribbon feed is
checked. An error is displayed if there are any abnormali-
ties.
(2) Ink TUP Mo. (Ink Take-Up Motor)
Before starting the test, remove the ink cassette. The ink
take-up motor operates for about 5 seconds.
(3) Ink SPY Mo. (Ink Supply Motor)
Before starting the test, remove the ink cassette. The ink
supply motor operates for about 5 seconds.
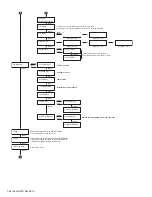
(4) Film TUP Mo. (Re-Transfer Film Take-Up Motor)
Before starting the test, remove the re-transfer film cas-
sette. The re-transfer film take-up motor operates for about
5 seconds.
(5) Film SPY Mo. (Re-Transfer Film Supply Motor)
Before starting the test, remove the re-transfer film cas-
sette. The re-transfer film supply motor operates for about
5 seconds.
(6) Card Feed Mo. (Card Feed Motor)
The card feed motor operates for about 5 seconds, and the
roller rotates.
(7) Turn Over Mo. (Turn Over Motor)
The turn over motor rotates, and the turn over unit rotates
once. (Two half turns)
(8) Turn Feed Mo. (Turn Over Feed Motor)
The turn over feed motor operates, and the inside roller of
the turn over unit rotates for about 5 seconds.
(9) Card Load Mo. (Card Load Motor)
The card load motor rotates for about 5 seconds.
A
Step
Vth
Registration
Address
Color
Black
Gray
Normal
Adjust
B
Summary of Contents for XID 8300
Page 1: ...No HD001 Rev 001 2010 10 SERVICE MANUAL CARD PRINTER XID8300 XID8300 DS XID8300C XID8300C DS ...
Page 46: ......
Page 56: ......

