page 60
Digital Projection E-Vision Laser 7500, 8500 & 10K Series
Operating Guide
USING THE PROJECTOR
Rev D August 2017
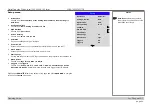
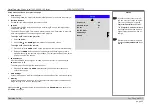
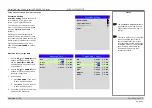
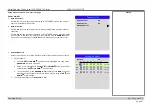
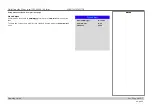
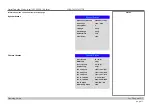
3D menu continued from previous page
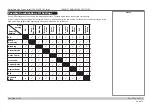
3D types
In most situations you can use the
Auto
setting to have the projector automatically detect the
format. Otherwise, consider the notes below to help you set up the 3D input manually.
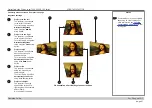
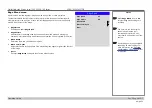
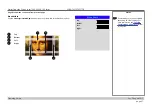
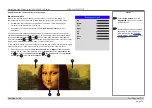
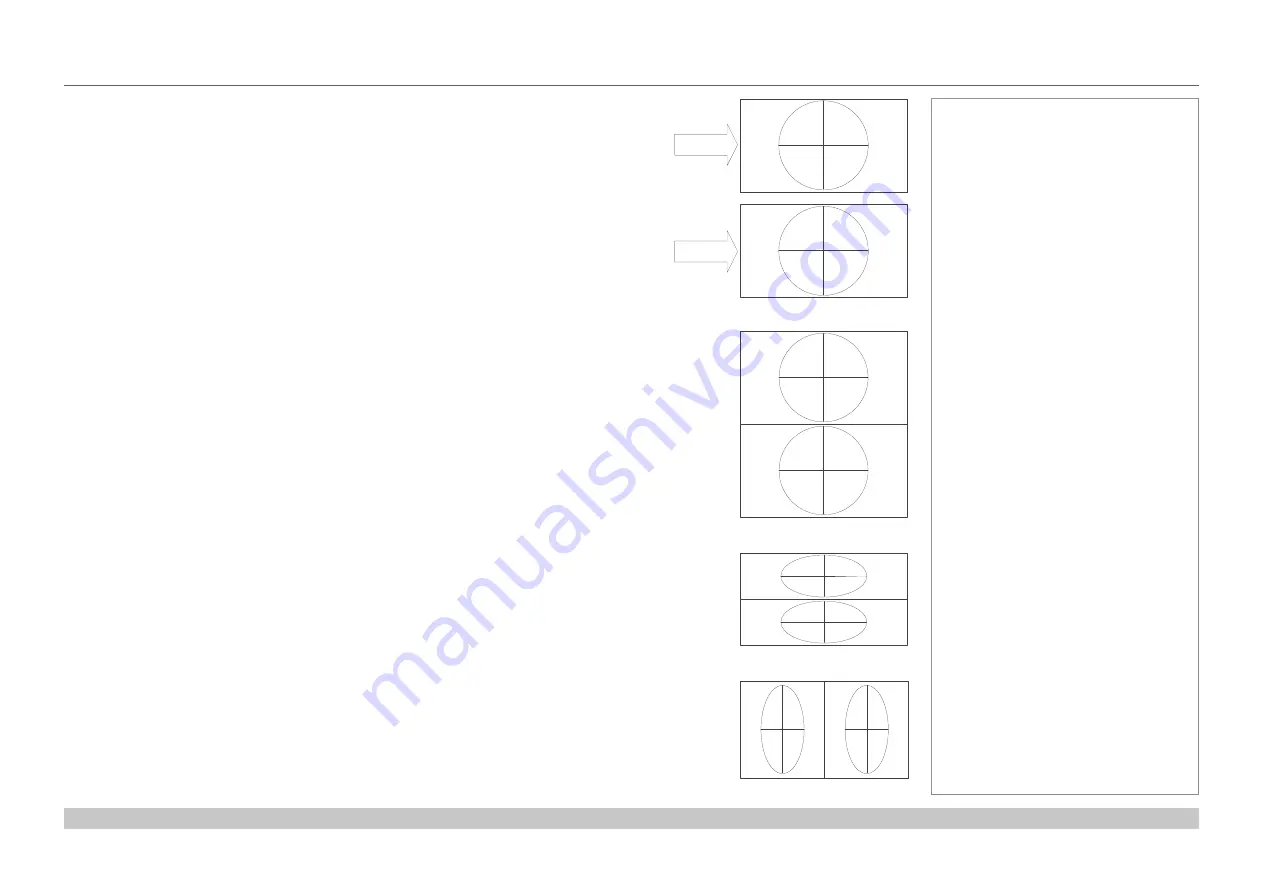
The following 3D formats are supported:
•
Dual Pipe (LEFT and RIGHT)
The left and right eye images are delivered on two separate HDMI links, which the projector
will interleave for 3D display.
•
Frame Packing
This format will be detected, re-synchronised, frame-multiplied and displayed at 96 Hz with
the left eye / right eye dominance automatically extracted from the video data. You need to
optimize
Dark Time
and
Sync Delay
manually to suit your chosen switching glasses.
•
Top and Bottom
Sets the projector to reformat the video frames and map them to the display with the left
eye / right eye dominance automatically extracted from the video data. You need to optimize
Dark Time
and
Sync Delay
manually to suit your chosen switching glasses.
•
Side by Side (Half)
: interlaced and progressive, 50 and 60Hz
The side-by-side image will be de-interlaced (if appropriate), resized and then sequentially
displayed at 100 or 120 Hz. The left eye / right eye dominance will be automatically extracted
from the video data, however you will need to optimize
Dark Time
and
Sync Delay
manually
to suit your chosen switching glasses.
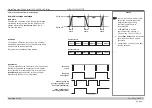
Dark Time
and
Sync Delay
need to be set only once, to optimize the image for the glasses in
use.
L
R
Frame Packing
L
R
Top-and-Bottom
L
R
Side-by-Side (Half)
L
R
Dual Pipe
HDMI 1
HDMI 2
Notes


