Digital Spectrum
I n c o r p o r a t e d
digital picture frame
Start Here
MemoryFrame Quick Start Guide
e
r
m
P
u
i
m
e
r
P
um
i
m
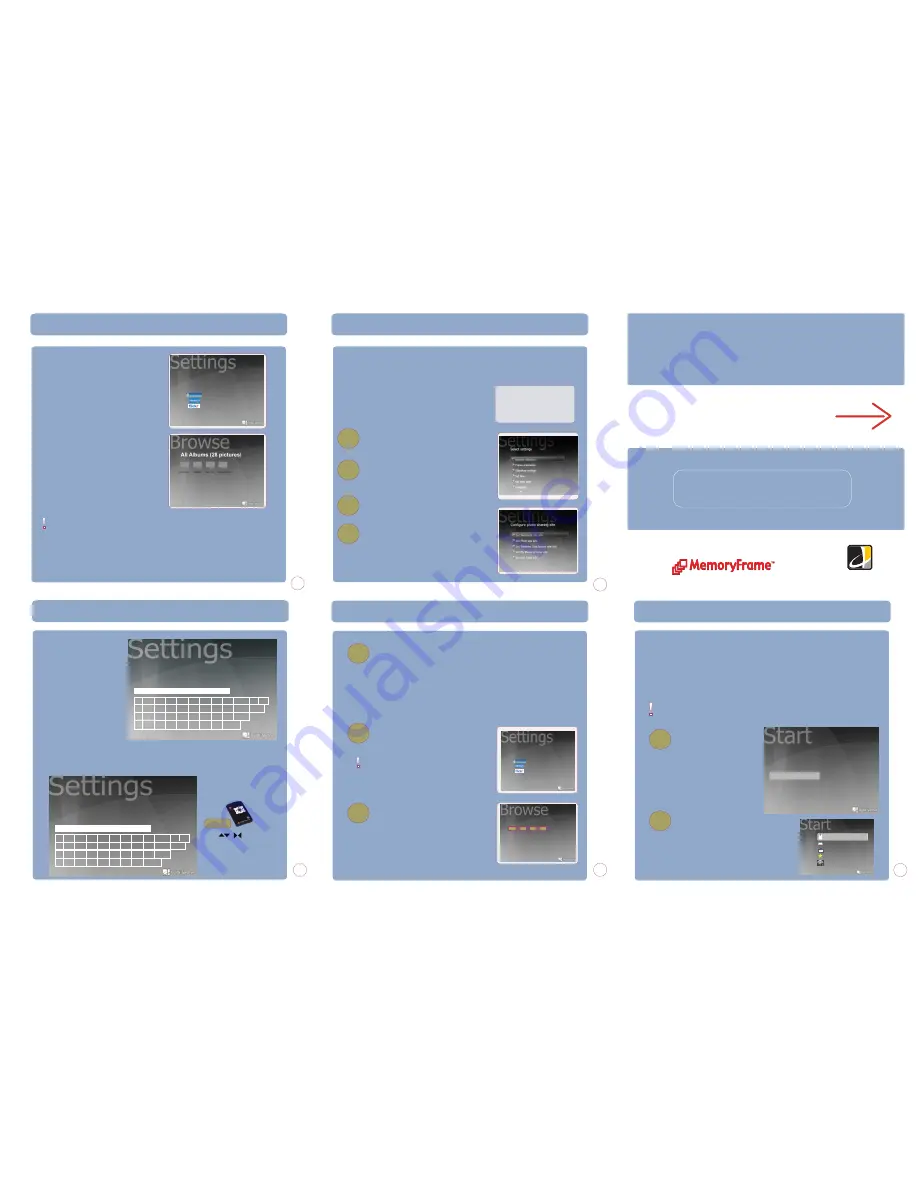
After entering the security key, select
"Enter”
on the keyboard, and press the
"ENTER"
button on the remote to go to
the
"Which site would you prefer"
screen.
Windows LiveSpace, Webshots, Flickr).
Select your preferred site and press
"ENTER"
.
A list of albums will be displayed.
Select your preferred album and press
"ENTER"
on the remote.
The slide show
will begin automatically.
Which site would you prefer?
Windows Live Spaces
Webshots
FLICKR
If no album is displayed, or you encountered an error, please do the following:
1. The Digital Picture Frame might be too far away from the access point. Move the
frame closer.
2. Wrong security key might be entered. Check your access point security key and re
enter it to the Digital Picture Frame
Configuring wireless photo sharing 2.
Configure for photo sharing:
- Press MENU. to open the Main Menu
- Select Settings and press ENTER
- Scroll down the Settings options and
select Configure photo sharing
Select
the
"Configure photo sharing"
option and press
"ENTER"
.
Select your chosen site (Windows
LiveSpace, Webshots, Flickr). and press
"ENTER"
.
Need a photo sharing account?
In order to display pictures from a photo sharing site you need to either
have an existing account or create a free account with one of the photo
sharing sites listed below:
Http://www.webshots.com
Http://www.flickr.com
Http://spaces.live.com/
Once you have an account set
up and have uploaded some
pictures follow the steps
below to configure the frame
for photo sharing.
1
2
3
4
Configuring for photo sharing
1
Follow the same procedures for playing
picture slideshow.
When prompted for the source location,
select
From photo sharing site
and press
ENTER
2
Select the photo sharing site of choice.
Press
”
ENTER”.
You must be connected to your wireless
network for this feature to function .
Consult the user guide for network
configuration.
3
The folders for the chosen photo
service will display after a few
moments. Select the folder you wish to
view and press
“ENTER”
Select a photo and press
“PLAY”.
The
slide show will start automatically.
Select photo sharing site
Windows Live Spaces
Webshots
FLICKR
All Albums (28 pictures)
Huntington Birthday New Car Petes Wedding
Retrieving pictures from photosharing sites
Once you have set up a
photo sharing account enter
the user id for that account
using the remote to
navigate the keyboard. Once
the key is highlighted, press
the ”
ENTER”
button to
select the character. If you
enter the wrong character,
select
“BS”
to clear the
character.
Up
Set site info
Enter your user id
1 2
3 4 5 6 7
8 9
0 - BS
Q
w
e
r
t
y
u
i
o
p Space
A
s
d
f
g
h
j
k
l Enter
Z
x
c
v
b
n
m
. Shift
Example@webshots.com
Set site info
Enter your password
1 2
3 4 5 6 7
8 9
0 - BS
Q
w
e
r
t
y
u
i
o
p Space
A
s
d
f
g
h
j
k
l Enter
Z
x
c
v
b
n
m
. Shift
Example12345
Once you are done entering the user id, select
”Enter”
on
the keyboard, and press the
”ENTER”
button on the
remote to go to the next screen.
This screen allows you to enter the password that
you created when setting
up your photo sharing
account.
Configuring for photo sharing 2.
Using the MemoryFrame with Windows Vista or Windows XP
MemoryFrame can automatically play images from Vista or WinXP (equipped with
Windows Media Player 11). In order to share pictures from you Vista pictures folder or
Windows XP using Media Player 11 you will need to configure both to allow sharing
with the MemoryFrame. Please refer to page 14 of the manual (To play slideshow from
Media server (XP or Vista))
.
You must be connected to your wireless network for this feature to operate.
Consult “Configure Digital Picture Frame” on page 6 of the manual.
Follow the same procedures for
playing picture slideshow.
When prompted for the source
location, select
From WinXP or
Vista
and press ENTER
How do you want to get
media?
From WinXP or Vista
From local storage
From photo sharing site
Change settings
Once the available networks are displayed,
select the network where you media resides.
You will then be able to browse available
media by “tag”, “date taken”, “folder” or “rating”
Select your choice by pressing
“ENTER”
on the
remote and your media will start playing.
Pictures by tag
Pictures by date taken
Pictures by folder
Pictures by rating
All music
1
2
1
Additional features
7
8
9
10
11
Remote
Use the / buttons to
navigate the keyboard. Press the
“ENTER”
button once you have
made your selection


