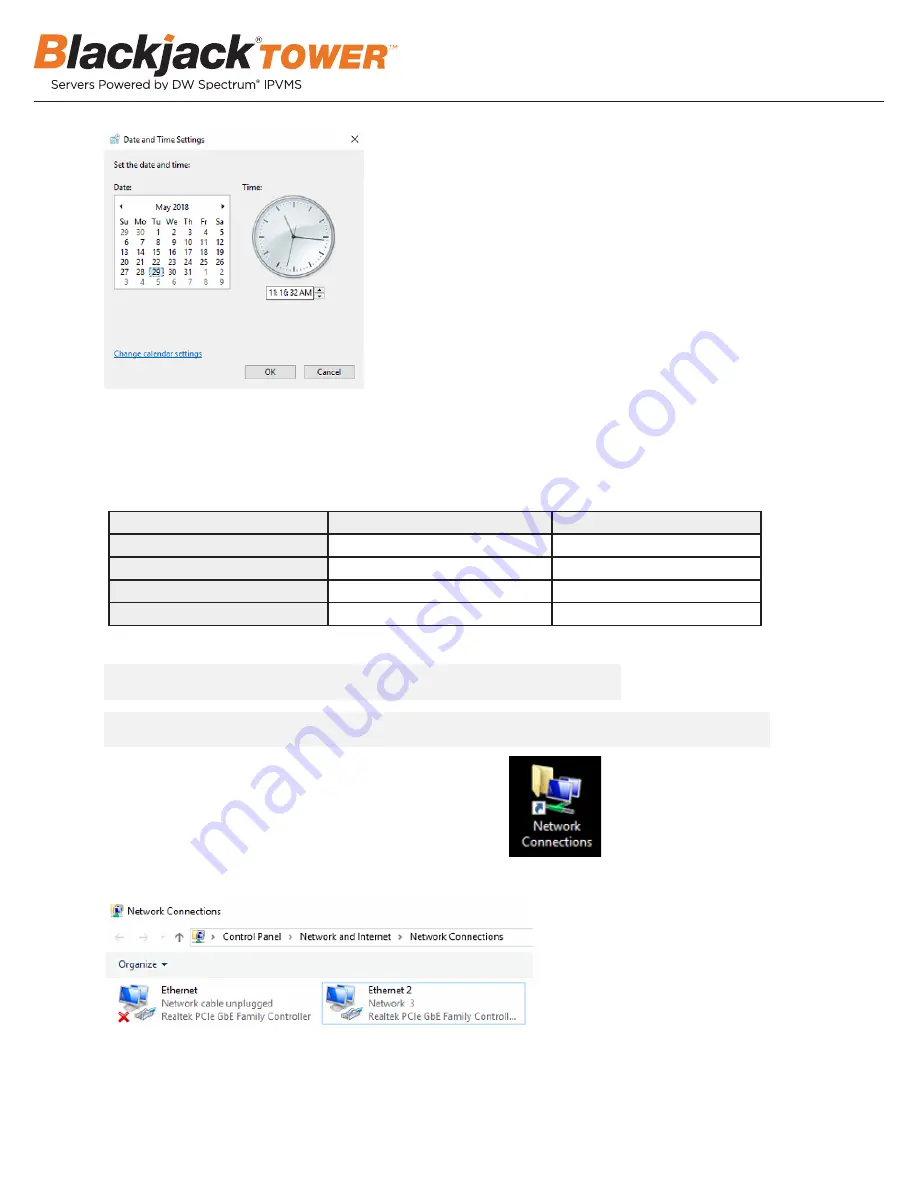
Press OK after adjusting to the correct date and/or time.
4. Press OK to close Date and Time when done.
Linux
1. Update Date and Time by clicking on the time on the upper right-hand corner then click “Time & Date settings…”
2. If the server will be connected to the Internet, leave Set the Time to “Automatically from the Internet” and update the Location to the correct
Time Zone. Enter the nearest major city to select the correct Time Zone. If it shows multiple cities in the list, select the correct city. (e.g.,
New York for EST, Chicago for CST, Denver for MST, and Los Angeles for PST)
Press OK after adjusting to the correct date and/or time.
4. Press OK to close the date and time when done.
4
STEP 3:
Configure network
Please have the following information ready before starting the network configuration.
* The camera network and local network cannot be on the same network.
Camera network
Local network (LAN)
IP address
Subnet mask / Netmask
Default gateway / Gateway
Not applicable
DNS servers
Not applicable
NOTE
The Blackjack® server’s network settings are set to DHCP as default.
NOTE
If you are not sure what information to enter, contact your Network Administrator or Internet
Service Provider for the information.
3. Click X on upper left corner of the Time and Date window when done.
* Closing the window will automatically save the changes made.
STEP 3:
Configure Network
Please have the following information ready before starting the network configuration.
Camera Network
Local Network (LAN)
IP Address
Subnet Mask /
Netmask
Default Gateway /
Gateway
Not Applicable
DNS Servers
Not Applicable
* Camera Network and Local Network cannot be on the same network.
Windows
1. Double click Network Connections on the Desktop
2. Right click on the Ethernet with cable connected and click Properties.
NOTE
If you are not sure what information to enter, contact your Network Administrator or Internet Service Provider
for the information.
NOTE
The Blackjack Cube’s network settings are set to DHCP as default.
1. Double click on the “Network Connections” on the desktop.
2. Right-click on “Ethernet with cable connected” and click “Properties”.
Windows®
3. Click Internet Protocol Version 4 (TCP/IPv4) and click Properties
4. Select Use the following IP address (Use the following DNS server addresses will be selected automatically)
5. Enter IP address and Subnet mask of the camera network. (do not enter anything for the Default gateway, Preferred DNS server and Alternate
DNS server.
NOTE
It must be the same network as the cameras and must not be the same network as the local network.
Contact your network administrator for more information.


