background image

-----------------------------------------------------------------------------------------------------------------------------------

30

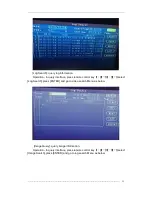
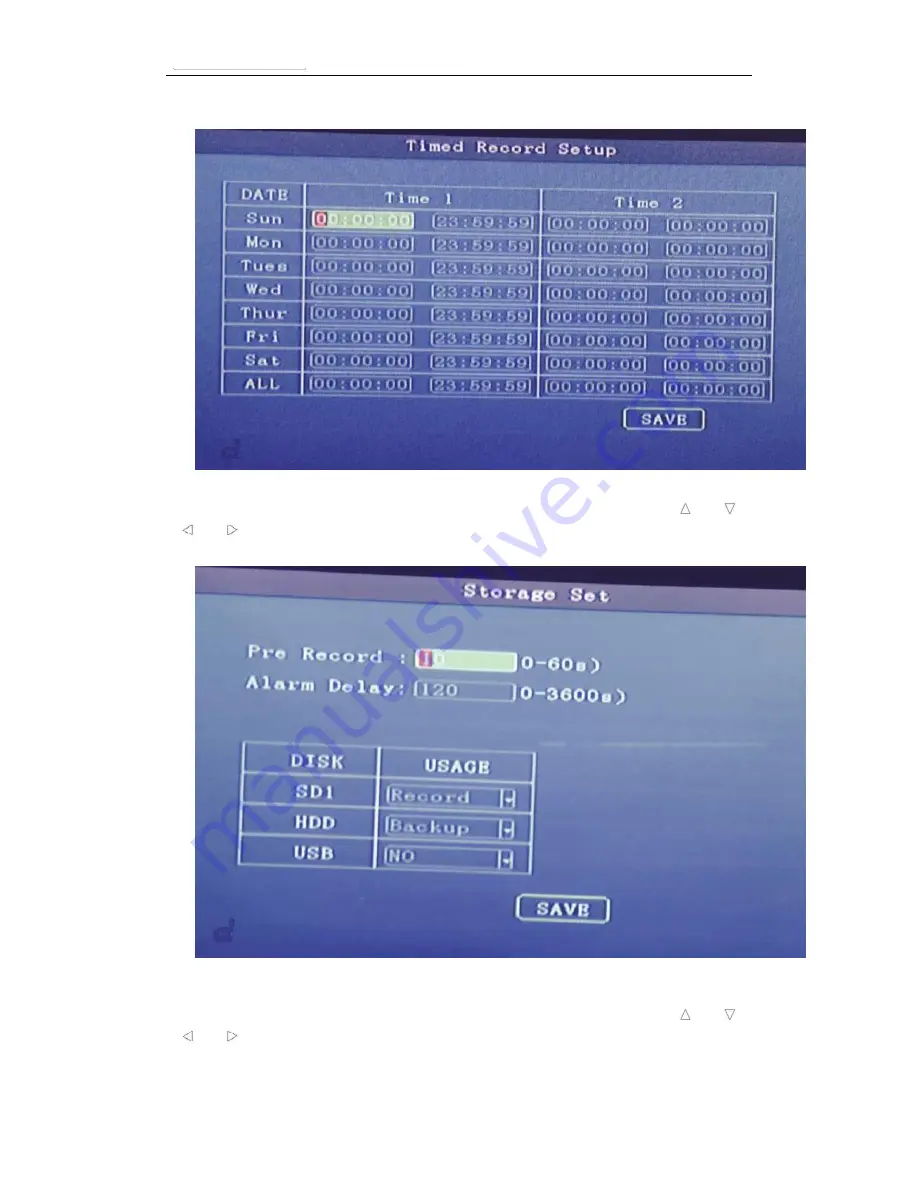
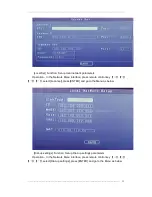
[Storage Set] Function: Set up Storage items.

Operation

In the video set up interface, press remote control key

【 】【 】

【 】【 】

,select [Storage Set],press [ENTER] and go to the Menu as below

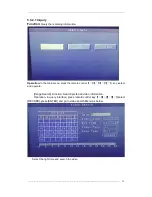
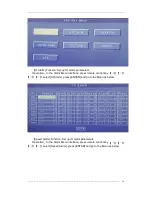
[OSD] Function: Modify video display overlay information

Operation

In the video set up interface, press remote control key

【 】【 】

【 】【 】

,select [OSD],press [ENTER] and go to the Menu as below

Summary of Contents for MDVR-4F1AHD

Page 1: ...1 1080P AHD HDD MDVR USER MANUAL FTH DVR B7 Further Technology Dongguan Co Limited MDVR 4F1AHD professional car video recorder...

Page 2: ...cial instructions 10 4 2 3 Audio video input output Description 11 4 2 4 GPS 3G 4G Antenna Wi Fi Antenna 13 4 3 Host installation Instruction 13 4 3 1 Wiring diagram 13 4 3 2 HDD Installation 15 4 3 3...

Page 3: ...ording 1080P 720P D1 HD1 CIF optional Adjustable Frame Rate Quality Professional Power Design for all kinds of Vehicles 8 36V DC Wide Voltage Over load Over voltage Short Circuit Reverse Protection Su...

Page 4: ...e OTA remote upgrade automatically partition backup technology upgrade don t crash Support mobile phone remote monitoring and 3G call function Supporting the ministry of communications 808 agreement e...

Page 5: ...interface can connect PTZ etc 2CH CAN interface Wireless transfer Support Built in 3G network WCDMA CDMA2000 TD SCDMA compatible with GPRS EDGE Support Built in 4G network TTD LTE FDD LTE Position Su...

Page 6: ...aved automatically when the power is cut off and make sure that all the files can not be damaged Power Consumption Normal Working 10W Working Environme nt Temperature 20 to 70 Humidity 20 to 80 others...

Page 7: ...ws the use of a device iv correct device ground connection to the vehicle s ground wire loop composition v If the machine does not use long preferably completely disconnect the power supply to prolong...

Page 8: ...ents cameras accessories and when the wire launch vehicle may cause damage to the equipment make sure the vehicle is stationary during installation to prevent the unit from dropping xii screws fasteni...

Page 9: ...reading and writing data SD SD indicator LED lights SD Calgary uploaded successfully LED flashes a description of this disc is recording or reading and writing data REC Video light LED lit indicates i...

Page 10: ...right side 1PIN ACC under the right of 1PIN is 12V OUT NET network interface I O ALM 232 485 CAN interface PANEL 232 MIC SPK expansion interface VIN1 8 audio and video input interfaces VGA VGA video...

Page 11: ...wires one need to make sure the battery voltage is between 6V 36VUU otherwise it will be burned 2 After connecting the cable pay attention to insulation of the line between lines to prevent short cir...

Page 12: ...ed White Black Blue Yellow Green Male signal connector definition PIN 1 2 3 4 Function 12V output GND Audio input Video input Color Red Black Green White Yellow Blue AV OUT Audio Video output PIN 1 2...

Page 13: ...tenna 3G 4G Antenna Wi Fi Antenna 4 3Host installation Instruction 4 3 1 Wiring diagram Power Line camera4 WIFI antenna camera3 camera2 camera1 speaker 232 Alarm lines for people counter oil sensor Ty...

Page 14: ...14 ALM 232 485 CAN connection lines...

Page 15: ...e color Item Remark Red DC Power positive Black DC GND yellow ACC ACC line Red 12V OUT 12V output 4 3 2 HDD Installation Hard disk installation steps 1 Open the hard disk lock and un screw the 2 fixin...

Page 16: ...ides of the hdd connect the HDD with SATA lines fix the HDD into the dedicated ditch as shown below HDD installation diagram 4 Closing lid playing screws as shown below Lock HDD box Box Fixing screw1...

Page 17: ...box to pull out the hard disk box then you can see SD card port as shown below The SD card with the SD card port is pressed into place note positive and negative insert the top right corner of the SD...

Page 18: ...Set Network Alarm Set System Infor Inquiry video log and pictures Device infor set User Login Set System Parameter Time Video record set Preview and OSD Storage Parameter set Server Parameter setting...

Page 19: ...19 5 2 Remote Control 5 2 1 System Key Turn on off key Info Info Key retain Lock Press this key to lock remote input after exiting menu Switch 1 4 screens Number keys 1 4 can do this too...

Page 20: ...tart Login Exit menu EXIT Back to the previous menu Last program Next program Modify the current item last subproject Modify the current item next subproject OK Confirm 5 2 3 Play Keys Play Pause Stop...

Page 21: ...21 Press OK to enter the edit mode input password press EXIT to exit the edit Press OK to enter the Main Menu Original Password 111111 5 3 2 Main Menu EXIT Exit Menu...

Page 22: ...e main menu press the remote control key select and operate Image Search Function Search preferred video information Operation In query interface press remote control key select RECORD press ENTER and...

Page 23: ...nterface press remote control key select Log Search press ENTER and go to video search Menu as below Image Query query image information Operation In query interface press remote control key select Im...

Page 24: ...m Management press ENTER and go to video search Menu as below In the System settings interface press on the remote control Keys select the right item to set up Terminal Setup Function Change the termi...

Page 25: ...ser manage interface press remote control key select User Management press ENTER and go to the Menu as below System time Function set up the system time Operation In system time interface press remote...

Page 26: ...interface press remote control key select power manage press ENTER and go to the Menu as below Parameter Set Function set up Import Export Recover the DVR Parameters Operation In system set up interfa...

Page 27: ...1 HDD Operation In system set up interface press remote control key select format press ENTER and go to the Menu as below 5 3 2 3 Record Setting In Main Menu interface press remote control key select...
Page 28: ...set up interface press remote control key select Basic set press ENTER and go to the Menu as below Main video stream Function Modify the main video stream parameters Operation In the video set up inte...

Page 29: ...eo set up interface press remote control key select Sub stream press ENTER and go to the Menu as below Timer recording Function Set up Timer recording Operation In the video set up interface press rem...
Page 30: ...et up interface press remote control key select Storage Set press ENTER and go to the Menu as below OSD Function Modify video display overlay information Operation In the video set up interface press...

Page 31: ...n the Main Menu interface press remote control key select Network press ENTER and go to the Menu as below Center Set Function Set up network center parameters Operation In the Network Menu interface p...
Page 32: ...u interface press remote control key select Local set press ENTER and go to the Menu as below Dial up settings Function Set up Dial up settings parameters Operation In the Network Menu interface press...

Page 33: ...he Network Menu interface press remote control key select WIFI settings press ENTER and go to the Menu as below 5 3 2 5 Alarms and Peripherals In the Main Menu interface press remote control key selec...
Page 34: ...rm Menu interface press remote control key select IO Alarm press ENTER and go to the Menu as below Speed Alarm Function Set up IO alarm parameters Operation In the Alarm Menu interface press remote co...

Page 35: ...interface press remote control key select Acceleration press ENTER and go to the Menu as below Motion Detection Function Set up Motion Detection parameters so convenient for recording video collectio...

Page 36: ...interface press remote control key select Voltage alarm press ENTER and go to the Menu as below Serial Management Function Set up Serial Management parameters Operation In the Alarm Menu interface pre...

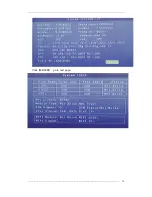
Page 37: ...ace press remote control key select PTZ control press ENTER and go to the Menu as below 5 3 2 4 System information System Information Function Check syetem key parameters In the Main Menu interface pr...
Page 38: ...38 Click ENTER go to next page...

Page 39: ...es not record a Replace SD card b Insert SD card c Format SD card and restart device d Check whether the video mode of the device is on the boot recording Device is Off after working 30 minutes a ACC...

Reviews: