2 - 36
Setting Up a New Site
DigiGate-700
for Windows
™
®
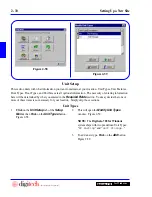
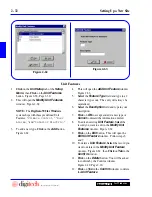
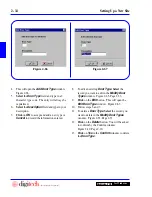
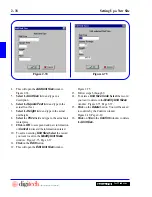
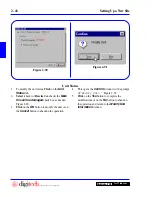
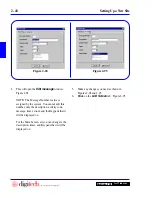
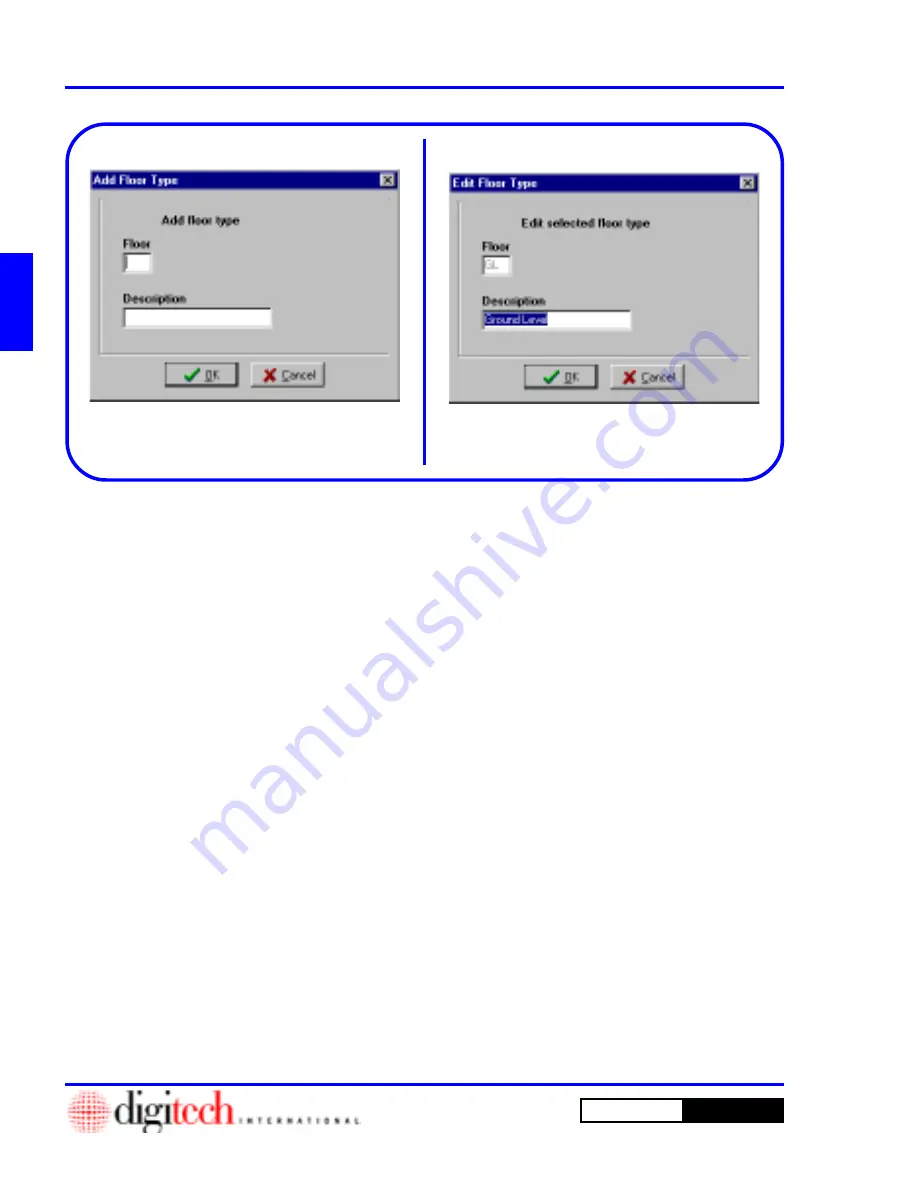
4. This will open the
Add Floor Type
window.
Figure 2-70.
5.
Select
the
Floor Type
field and type in a 2
character type code. The entry will always be
capitalized.
6.
Select
the
Description
field and type in your
description.
7.
Click
on
OK
to accept and add a new type or
Cancel
to discard the information entered.
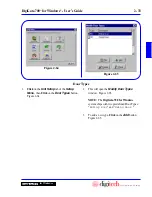
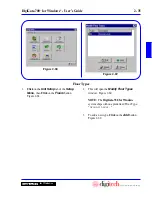
8. To edit an existing
Floor Type
,
Select
the
record you want to edit in the
Modify Floor
Type
window. Figure 2-69, Page 2-35.
9.
Click
on the
Edit
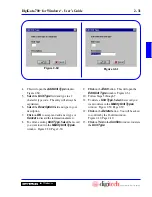
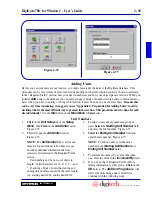
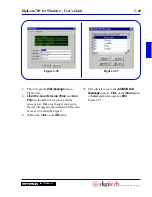
button. This will open the
Edit Floor Type
window. Figure 2-71.
10. Follow steps 6 and 7.
11. To delete a
Floor Type
,
Select
the record you
want to delete in the
Modify Floor Type
window. Figure 2-69, Page 2-35.
12.
Click
on the
Delete
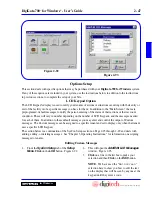
button. You will be asked
to confirm by the Confirm window.
Figure 2-19, Page 2-10.
13.
Click
on
Yes
in the
Confirm
window to delete
the
Floor Type
.
Figure 2-70
Figure 2-71
Summary of Contents for DigiGate-700
Page 1: ...World Class Security Solutions DigiGate User s Guide ...
Page 2: ......
Page 3: ...User s Guide DigiGate 700 ...
Page 166: ...This Page Left Blank Intentionally 3 86 Operating Instructions DigiGate 700 for Windows ...
Page 202: ...This Page Left Blank Intentionally B 8 Appendix Title DigiGate 700 for Windows ...
Page 224: ...This Page Left Blank Intentionally G 6 DigiGate 700 for Windows Program Error Codes ...
Page 244: ...This Page Left Blank Intentionally K 8 DigiGate 700 for Windows Program Registration Codes ...
Page 262: ...X 10 Index DigiGate 700 for Windows This Page Left Blank Intentionally 2 3 ...
Page 263: ......
Page 264: ......
Page 265: ......
Page 266: ...DigiGate User s Guide Digitech International Inc 800 523 9504 toll free www digitech intl com ...


