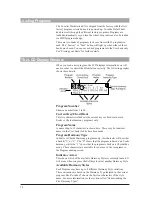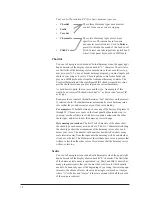
9
Audio Connection Examples
Effect Processor
Mixing Console
Mixing Console
Audio Setup
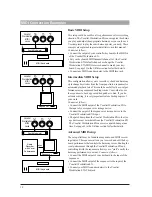
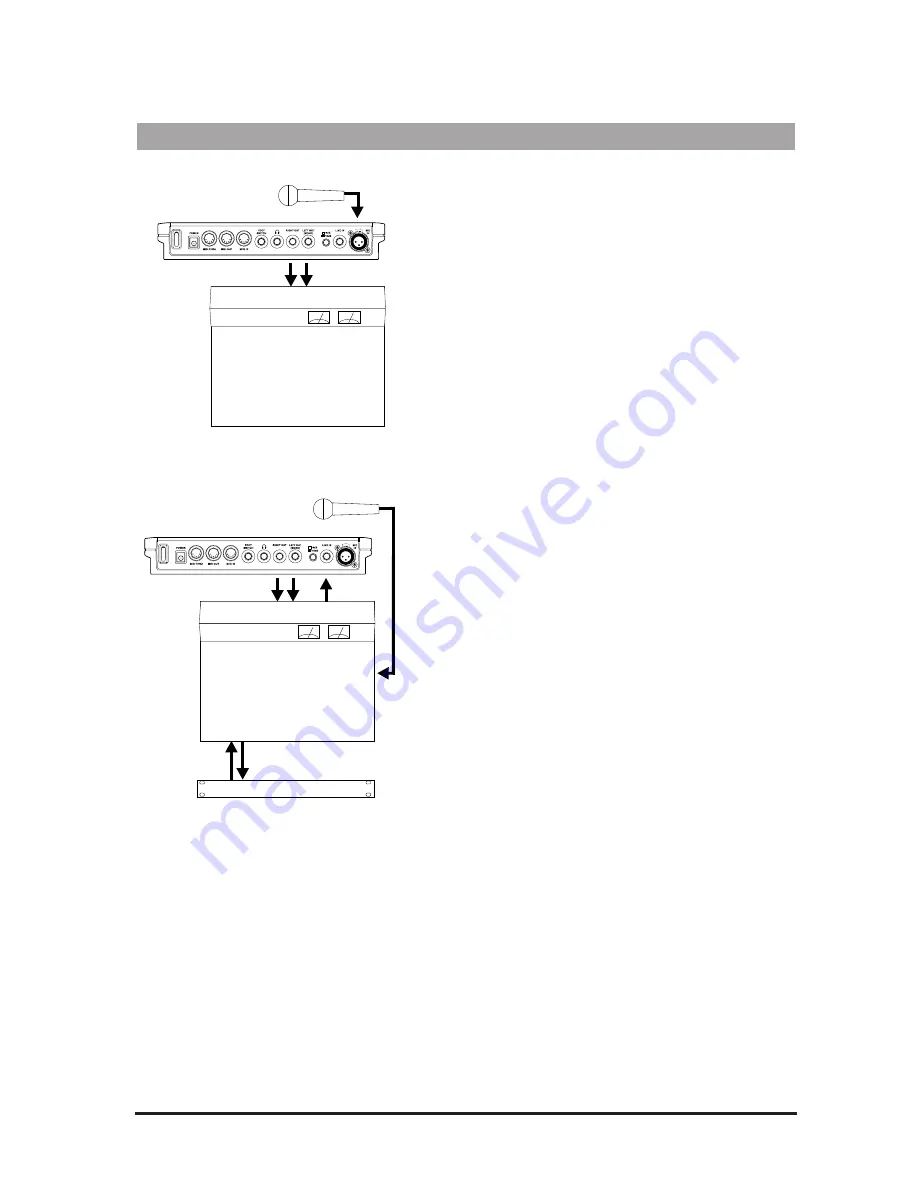
The drawing at left represents the basic Vocalist Workstation
EX audio setup. You would most likely use this in live perfor-
mance or if you are recording with a mixer that has a limited
number of inputs.
Connect as follows:
¥
Connect the microphone to the Mic input.
¥
Connect the Left and Right audio outputs to the inputs of
your mixer. For mono operation, connect the Left output
only.
The drawing at left represents a Vocalist Workstation EX
audio setup that gives additional control over the dry and
effect signal paths. You would most likely use this in record-
ing or if you have a live performance mixer with enough
effects channels. This allows you to use separate processing
on the Lead and Harmony voices, i.e. EQ, compression, or an
external mic preamp such as the DigiTech VTP-1.
Connect as follows:
¥
Connect the microphone to an input channel of your mixer.
¥
Connect the effects send of your mixer to the Line input of
the Vocalist Workstation EX.
¥
Connect audio outputs Left and Right to either the effects
returns or the inputs of your mixer.
¥
Pull the Lead level fader on the Vocalist Workstation EX
down to zero. Note that this also removes any Lead voice
from the reverb. If you want the Vocalist Workstation EX to
provide reverb on the lead but no dry lead, leave the Lead
level fader up and set the Mix parameter, Lead Reverb
Wet/Dry mix to 100% wet. See page 23 for more details on
Mix parameters.
FX Send
FX Return or Line Input
Summary of Contents for VOCALIST Workstation EX
Page 1: ...VERSION EX 1 2...


