background image


3


Alternatively you can also download “DIGITUS Plug&View” APP 

 from APP 

store or Google Play and execute this APP from your mobile devices and login the 
account and password instead of using browser. 

 
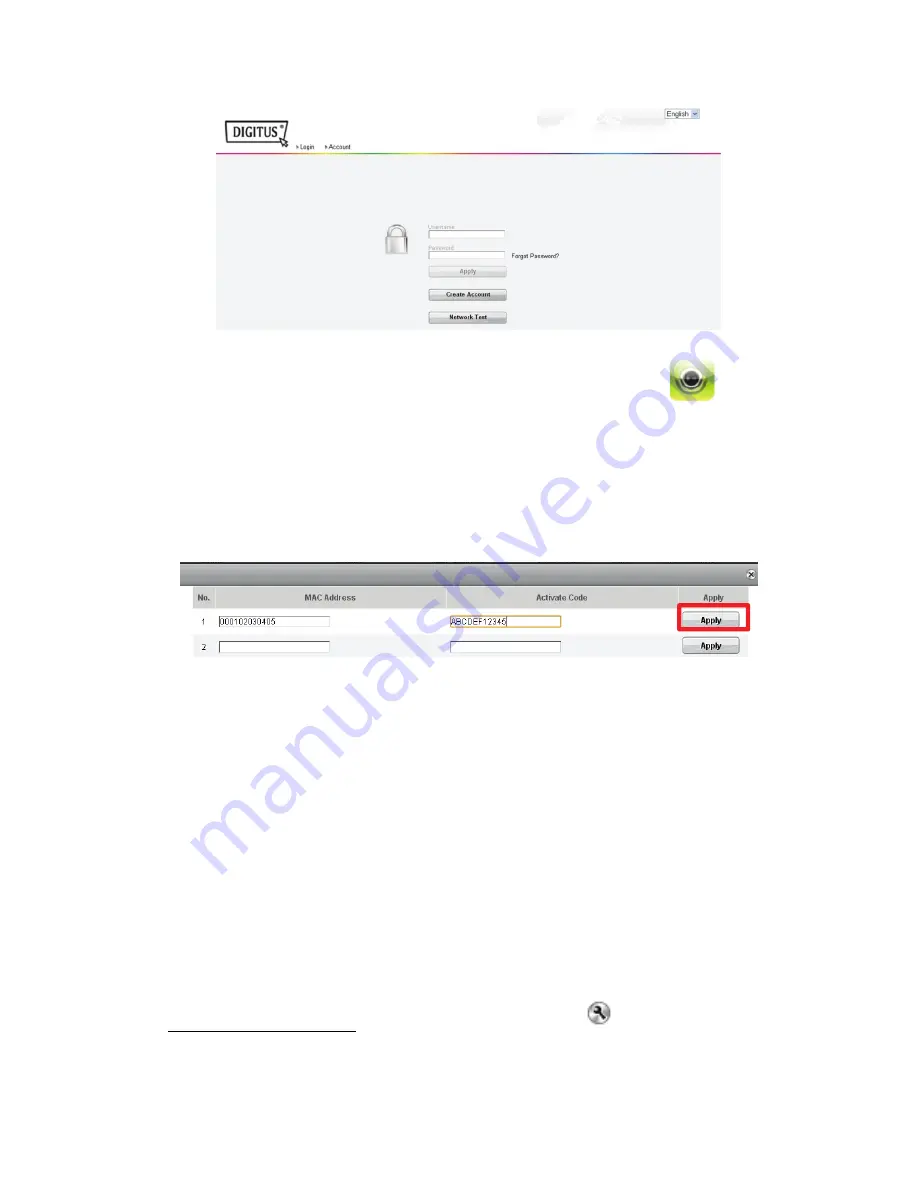
3.  With browser, please key in the MAC address and Activation code as shown on the 

1

st

 page of the QIG to add camera under your account. After press “Apply”, it will 

show “Success”. 


Alternatively the easiest way to add camera without key-in long numbers is using the 
smart phone to scan the QR code on the 1

st

 page of this QIG using “DIGITUS Plug&View” 

APP from your mobile devices. 
 
After adding the camera, now you can have live-view anytime anywhere. 


3.2 Getting connected wirelessly 

 
Wireless (WiFi) connection between IP cameras and Wireless router / Access point is 
also available with the following procedures. 
 
4.  After completing Step 1 ~ 3 for wired connection with Ethernet cable, login into 

http://www.mydigitus.net/ and click the setting icon 

 to enter camera user 

interface.  

Summary of Contents for DIGITUS Plug&View OptiView

Page 1: ...1 DIGITUS Plug View OptiView User Manual DN 16028...

Page 2: ...nting accessory x 1 3 Installation Procedures 3 1 Getting connected 1 Power on the camera and connect the Ethernet cable from the camera to the router Please make sure that the router is setup to be a...

Page 3: ...ively the easiest way to add camera without key in long numbers is using the smart phone to scan the QR code on the 1st page of this QIG using DIGITUS Plug View APP from your mobile devices After addi...

Page 4: ...hen you will enter the Web User Interface of the cameras Please select livestream mode to enter Please key in admin for the account and password to log in 5 Press Tool bar to enter the configuration p...

Page 5: ...the new WiFi setting and close this camera user interface window Then unplug the Ethernet cable Now you can access the camera wirelessly via Plug View APP or through http mydigitus net 4 0 Change Devi...

Page 6: ...t that means the IP cam is offline therefore the screen is blank 5 2 Full Screen Full screen button is to lead you to a new screen layer where the video is displayed in full screen for the clearer vis...

Page 7: ...elected camera s configuration can be accessed by clicking on the right bottom side of the screen 5 4 Play Back Play back function is only supported when IP cam is embedded with SD card for media reco...

Page 8: ...ct a specific clip to review at your wish While playing back the selected media clip you may also manage it to be stopped paused move one clip forward or backward from the media control panel Or you m...

Page 9: ...ce receiving via camera or not Refresh Refresh button is for you to refresh or reload the IP cam video Remove Remove button is the button for you to remove this specific IP cam media in Overview page...

Page 10: ...camera the browser will prompt the users to install the OCX component Then press Livestream mode for Internet Explorer to enter the User Interface 6 1 Setting Menu Description Press the tool bar to e...

Page 11: ...with your computer time For recoding to the computer or notebook you can select the desired recording path For recycling recording please tick Recover cover 6 1 2 Alarm Service Setting To enable moti...

Page 12: ...tup the email setting for the event notification Press Submit first before Test the email setup 6 1 3 Network Configuration DHCP is default enabled and it should always be enabled for DIGITUS Plug Vie...

Page 13: ...urrounding Access Point or Wireless router Please key in the key for the AP or Wireless router Then press submit to take effect 6 1 4 User Device manage You can change or add user name and password un...

Reviews: