12
Adjustments
Casefeeder
It may be necessary to readjust the
micro-switch for different calibers.
Cases may become lodged between the
micro-switch and the tube wall. The
other extreme is the case failing to put
enough pressure on the micro-switch to
shut off the system causing it to con-
tinue running and over flowing the
tube.
Remove the two clutch screws
(#13732), lock washer (#13813) and
upper clutch (#13632) and the casefeed
plate. Place the spacer on the shoulder
of the lower clutch and reassemble –
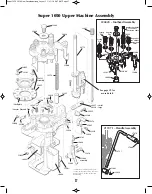
see the schematic on page 31 for more
details. The casefeed plate should now
be approximately 1/8” above the floor
of the casefeed bowl. Note: Make sure
the casefeed plate is centered in the
bowl.
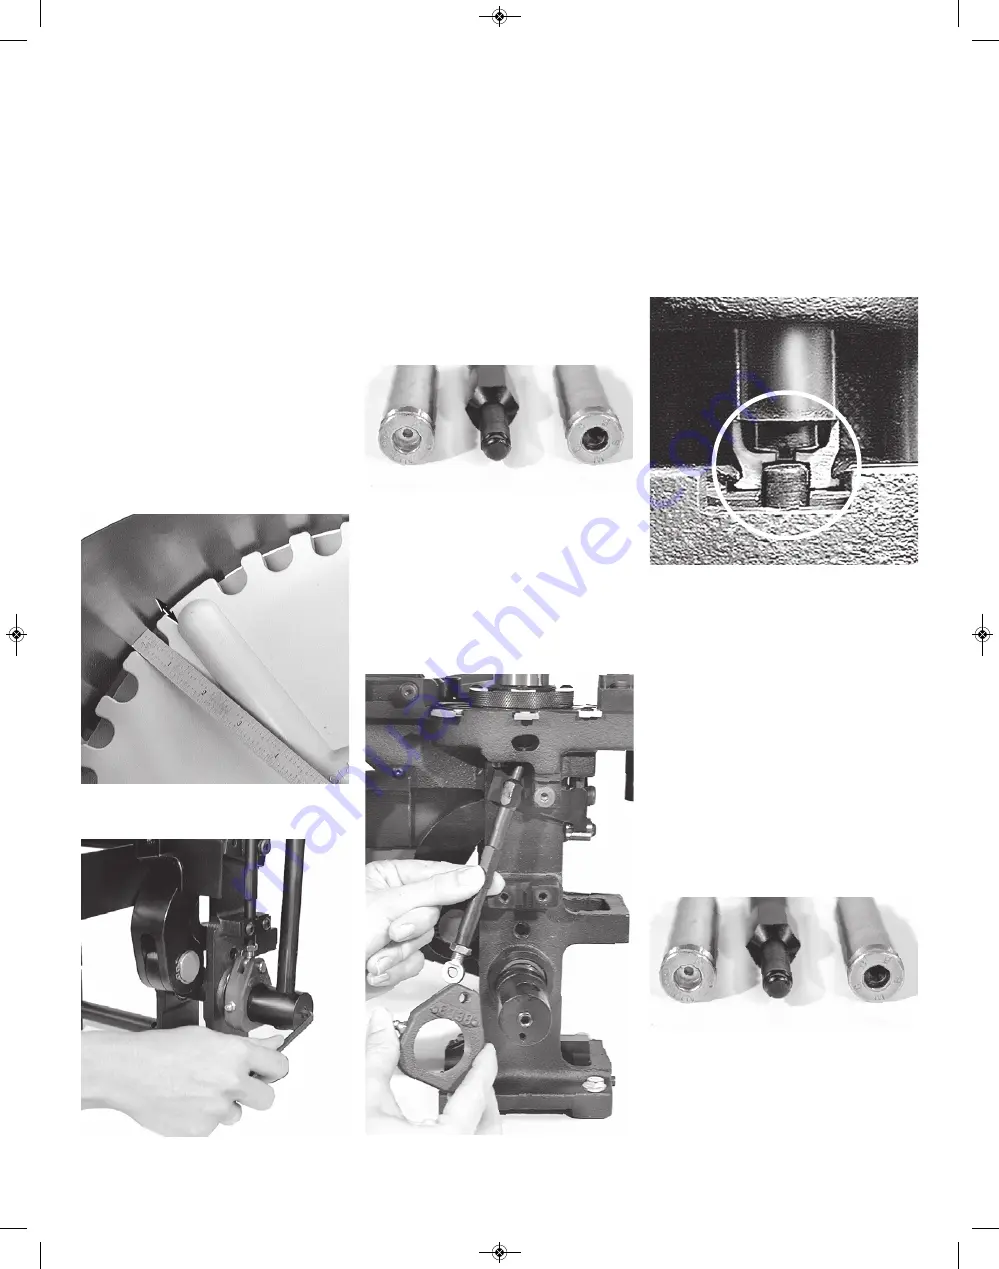
Fig. 26
Handle
The operating handle is adjustable to
three different length settings
Fig. 27
.
Choose the one most comfortable for
your operation. Loosen the set screw
(#13432) then retighten when the handle
is in the most comfortable position.
Swager
Swaging on the Super 1050 is a simple
process and is necessary on all cartridge
cases as a means of uniforming the en-
trance of the primer pocket.
Fig. 28
The
swage rod (#20314 large or #20313 -
small) is fully adjustable.
Swage Conversion and Adjust-
ment Conversion – Fig. 29
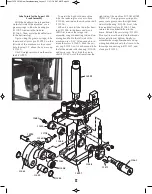
Begin by removing the swage cover
(#13064). Next remove the hitch pin
(#13840) and slide out the clevis pin
(#13522). Remove the operating handle.
Rotate the swage connecting rod a half
turn and remove it. This will allow you
access to the swager. Pull the swager
down and out of the machine.
Fig. 29
Insert the new swager and reassem-
ble.
Swage Adjustments
Use ONLY an unswaged military case
for these adjustments.
With the handle in the down posi-
tion, screw the swage back-up ex-
pander down until it makes contact
with the case bottom and holds it in
place.
Fig. 30
With the handle still in the down posi-
tion, turn the swage rod up until it makes
contact with the case bottom.
Raise the handle halfway and rotate
the swage rod a quarter turn. Now, cycle
the handle. Inspect the case and when
you achieve a completed swage of the
primer pocket, tighten the swage lock nut
(#14067).
A properly swaged pocket will show
a rounded edge around the rim. Some
military cases (.223 & .308) start out
with three small dents around the base
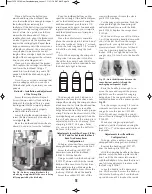
Fig. 26 - Make sure the casefeed plate is cen-
tered in the bowl with approximately 1/8”
all the way around.
Fig. 29 - See the schematics on page 28 for
more details.
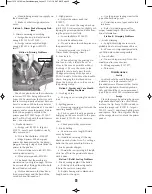
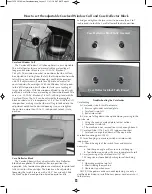
Fig. 28 - Note the difference between the
swaged primer pocket (left) and the
unswaged primer pocket (right).
Fig. 31 - Note the difference between the
swaged primer pocket (left) and the
unswaged primer pocket (right).
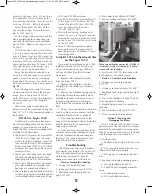
Fig. 27 - Note that there are three different
positions for mounting the operating handle.
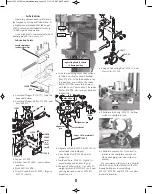
Fig. 30 - A cutaway view of a .45 ACP with
the swage rod and the back-up rod properly
adjusted in the swaging position.
1/8”
Super 1050 2018 New Casefeeder.qxp_Layout 1 1/31/18 6:47 AM Page 12


