background image


8

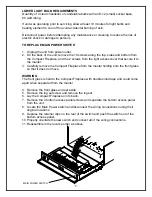
LOWER LIGHT BULB REQUIREMENTS 

Quantity of 4 clear chandelier or candelabra bulbs with an E-12 (small) socket base, 
60 watt rating. 
 
If unit was operating prior to servicing allow at least 10 minutes for light bulbs and 
heating element to cool off to avoid accidental burning of skin. 
 
Disconnect power before attempting any maintenance or cleaning to reduce the risk of 
electric shock or damage to persons. 
 

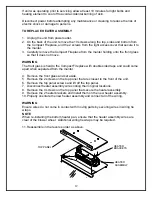
TO REPLACE MAIN POWER SWITCH 


1.  Unplug the unit from power outlet. 
2.  On the back of the unit, remove the 10 screws along the top, sides and bottom from 

the Compact Fireplace, and the 2 screws from the light access cover that secure it to 
the mantel. 

3.  Carefully remove the Compact Fireplace from the mantel holding onto the front glass 

so that it does not move. 


WARNING 


The front glass is held to the Compact Fireplace with double sided tape and could come 
apart when separated from the mantel 
 
4.  Remove the front glass and set aside. 
5.  Remove the log set screw and remove the log set.  
6.  Lay the Compact Fireplace on its back. 
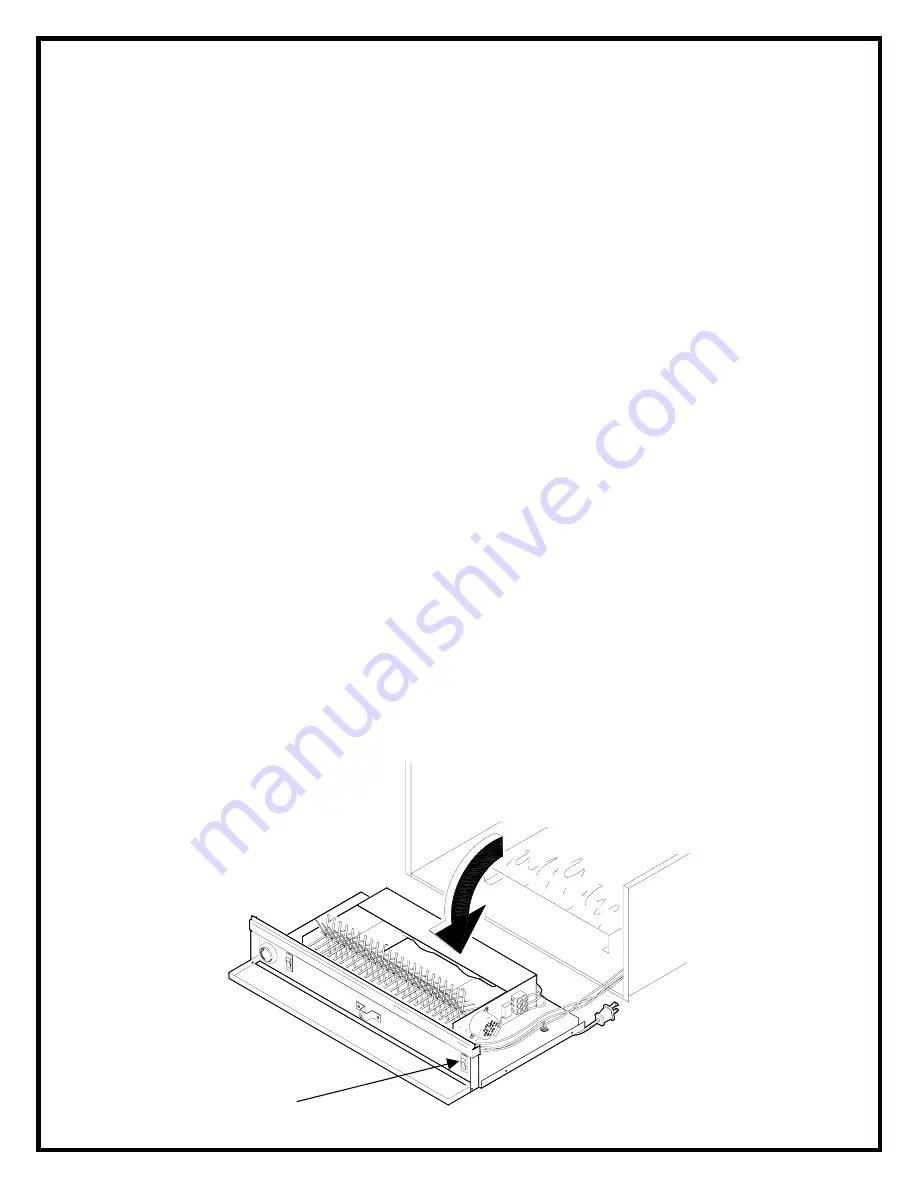
7.  Remove the 4 bottom access panel screws and separate the bottom access panel 

from the unit. 

8.  Locate the Main Power switch and disconnect the wiring connections noting their 

original locations. 

9.  Depress the retainer clips on the rear of the switch and push the switch out of the 

bottom access panel. 

10. Properly orientate the new switch and connect all of the wiring connections. 
11. Reassemble in the reverse order as above.   


MAIN POWER SWITCH 

Summary of Contents for 6901860100

Page 1: ...PARTS SERVICE MANUAL FOR THE COMPACT FIREPLACE...

Page 2: ...M PAGE 5 LIGHT BULB REPLACEMENT PAGE 6 MAIN ON OFF SWITCH REPLACEMENT PAGE 7 HEAT ON OFF SWITCH REPLACEMENT PAGE 8 THERMOSTAT CONTROL REPLACEMENT PAGE 9 FLAME MOTOR FLAME ROD REPLACEMENT PAGE 10 HEATE...

Page 3: ...ear the click again and the heater will turn on To turn the heater off switch the HEATER ON OFF SWITCH to the OFF position NOTE When the heater is switched ON the heater fan will operate The heater el...

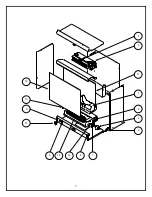
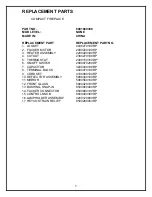
Page 4: ...3 1 11 3 4 8 6 14 6 7 9 2 12 5 15 10 13...

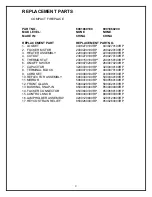
Page 5: ...300150100RP 6 ON OFF SWITCH 2800070200RP 2800070200RP 7 CAPACITOR 3200030100RP 3200030100RP 8 TERMINAL BLOCK 4000070100RP 4000070100RP 9 CORD SET 4100090104RP 4100090104RP 10 REFLECTOR ASSEMBLY 590034...

Page 6: ...CUTOUT 2300270100RP 5 THERMOSTAT 2300150100RP 6 ON OFF SWITCH 2800070200RP 7 CAPACITOR 3200030100RP 8 TERMINAL BLOCK 4000070100RP 9 CORD SET 4100090104RP 10 REFLECTOR ASSEMBLY 5900340100RP 11 MIRROR 5...

Page 7: ...6 WIRING DIAGRAM...

Page 8: ...od idea to replace all of the light bulbs at one time if they are close to the end of their rated life Group replacement will reduce the number of times you need to open the unit to replace the light...

Page 9: ...t to the mantel 3 Carefully remove the Compact Fireplace from the mantel holding onto the front glass so that it does not move WARNING The front glass is held to the Compact Fireplace with double side...

Page 10: ...mantel holding onto the front glass so that it does not move WARNING The front glass is held to the Compact Fireplace with double sided tape and could come apart when separated from the mantel 4 Remo...

Page 11: ...ass so that it does not move WARNING The front glass is held to the Compact Fireplace with double sided tape and could come apart when separated from the mantel 4 Remove the front glass and set aside...

Page 12: ...lace from the mantel holding onto the front glass so that it does not move WARNING The front glass is held to the Compact Fireplace with double sided tape and could come apart when separated from the...

Page 13: ...with double sided tape and could come apart when separated from the mantel 4 Remove the front glass and set aside 5 Remove the 2 screws on the top panel that are closest to the front of the unit 6 Rem...

Page 14: ...ure it to the mantel 3 Carefully remove the Compact Fireplace from the mantel holding onto the front glass so that it does not move WARNING The front glass is held to the Compact Fireplace with double...

Page 15: ...e 2 screws from the light access cover that secure it to the mantel 3 Carefully remove the Compact Fireplace from the mantel holding onto the front glass so that it does not move WARNING The front gla...

Reviews: