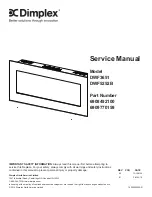
3
!
NOTE:
The unit can be operated in
Heat Only Mode
.
When the unit is only running with the heater, the (low
heat) or the (high heat) icon and the intake temperature
will continuously be displayed on the On Screen Display.
!
NOTE:
The heater may emit a slight, harmless odor
when first used. This odor is a normal condition caused
by initial heating of internal heater parts and will not occur
again.
D & E . Thermostat Controls
Adjusts the temperature set point to your individual require-
ments. Once the desired set temperature is reached the
heater will turn off. The heater will cycle on and off to main-
tain the desired set temperature. The default temperature
setting is 72°F (22°C).
→ Adjusted by pressing the
to decrease the set
point and the
to increase the set point on the re-
mote.
•
The On Screen Display will indicate the temperature set
point as it is adjusted.
!
NOTE:
Holding the
button down, then press
on
the unit, will change the temperature from °C to °F, or vice
versa.
Disable Heat
If desired, depending on the season, the heater on the unit
can be disabled. The unit will operate in the same fashion,
with remainder of the controls.
Pressing the and
buttons on the unit at the same
time and holding for 2 seconds will disable and enable the
heater.
!
NOTE:
When the heater has been disabled and either
the
or the
is pressed the On Screen Display will
indicate “--”.
F . Color Themes
Different presets of ambient lighting color combinations
contained in the unit.
→ Changed by repeatedly pressing the corresponding but
-
ton on the remote or the unit.
•
Cycles through the different preset ambient lighting set-
tings of the unit, this includes different combinations of
colors of the top lighting, flame base and media lighting
(if applicable).
!
NOTE:
The last theme of the cycle is a prism where the
unit cycles through a variety of colors. Pressing the
button stops the cycling and holds the unit on the preferred
color, indicated by a solid circle. When the unit is on prism,
and is cycling through the colors, a rotating circle will be
displayed.
G . Brightness
Changes the brightness of the lights in the unit.
→ Adjusted by repeatedly pressing the corresponding but
-
ton on the remote.
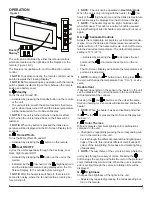
OPERATION
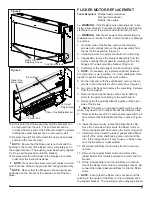
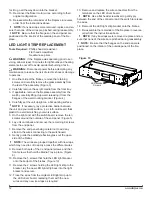
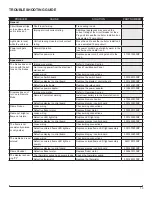
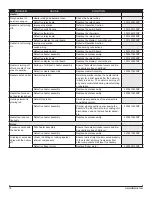
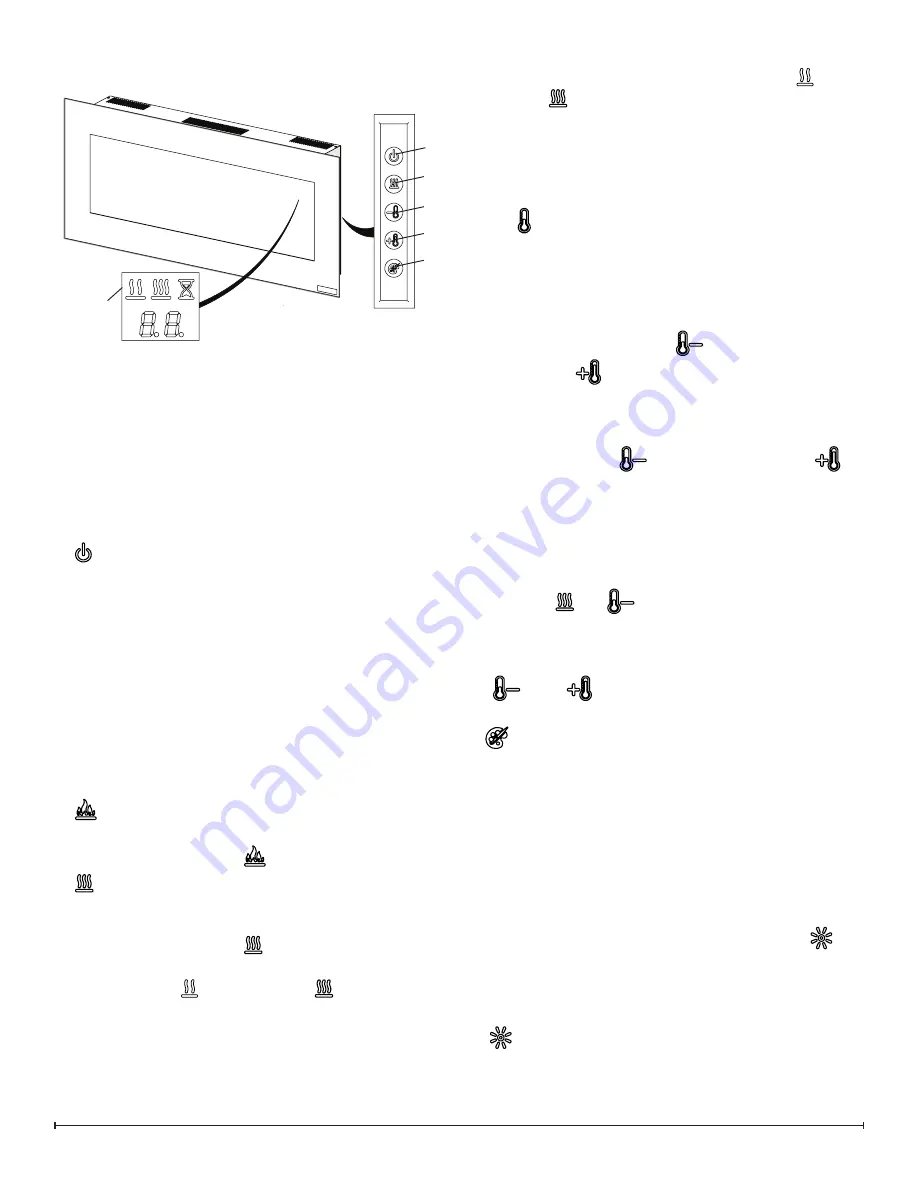
Figure 1
The unit can be controlled by either the manual controls
which are located on the right side of the fireplace or the
remote (Figure 1 & 2).
The fireplace is supplied with an IR multifunction remote
control.
!
NOTE:
To operate correctly, the remote control must be
pointed towards the Floating Display
TM
.
!
NOTE:
Before attempting any operation with the remote,
pull the plastic insulator strip out from between the remote
casing and battery cover.
A . Standby
Turns the unit On and Off.
→ Activated by pressing the Standby button on the remote
or the unit.
•
The unit will turn on with the same functions that it was
set to when it was turned Off and the intake temperature
will be indicated on the On Screen Display.
!
NOTE:
If the unit is turned off when the flame effect
is Off, when the unit is turned back on the flame will be
restored.
!
NOTE:
When any button is pressed the intake tem-
perature will be displayed on the On Screen Display for 5
seconds.
B . Flame Effects
Turns the flame effect On and Off.
→ Activated by pressing the
button on the remote.
C . Heat ON/OFF
Cycles the unit sequentially through the 3 settings: Low
Heat, High Heat and Off.
→ Activated by pressing the
button on the unit or the
remote.
•
Indicated by the (low heat) or the (high heat) icon
and the intake temperature being displayed on the On
Screen Display, for 5 seconds before turning off.
!
NOTE:
After the heater is switched off, there is a 60
second fan delay, where the fan will continue running be-
fore turning off.
A
C
D
E
F
Floating
Display
TM

